
Stone veneer panels fail the same way most claddings fail: water finds the weakest hidden spot, and the first visible sign is a cracked face or a panel that knocks hollow under a knuckle. One loose 15x60cm stacked piece costs you a morning to fix. Ignoring it costs you the four panels around it by spring.
During the last repair season we walked dozens of North American dealers and contractors through the same rescue: isolate the failed panel, pull window framing on the wall behind it, re-bed a matching stone, and seal the moisture path that started the damage. This guide puts that repair sequence in writing for the formats we ship — stacked stone panels, thin ledgestone, and interlocking Z-panels.
- Tap-test the whole area first; a hollow panel and its neighbors all go in the same repair scope.
- Use a diamond-blade grinder to score joints and a pry bar to remove the failed piece without yanking neighbors.
- Fix the substrate, lath, and weather barrier before any new stone goes on — the barrier is the real repair.
- Bed the replacement in fresh mortar and match color from the same production batch; mixing batches shows.
- Order spare panels with your container — 5-10% spares is cheap insurance against batch-mismatch claims.
When Repair Is the Right Call
A single cracked or loose panel is a repair. A stained and hollow section running the length of a wall is a moisture problem with a repair on top. Tell the difference before you buy materials, because the second case needs the wall opened, not just the stone replaced.
Do the knuckle test. Tap the suspect panel and the eight panels around it. A solid bed rings dull; a hollow one sounds sharp and loose. Mark every hollow panel with painter’s tape and measure the extent before you touch a tool. If the hollow zone covers less than a few square feet, proceed. If it tracks along a flashing line or a window head, plan on opening the wall to find the entry point first — the waterproofing guide explains the barrier sequence responsible.
One more rule: know your backing. Mesh-backed and cement-backed veneer panels lift as an assembly once the mortar bond is cut. Marine-grade epoxy-bonded panels bond harder and may take the lath with them when pried. Adjust your removal force accordingly, and expect the substrate repair step to grow.
Veneer is cladding, not structure, but it is a heat shield and a blast of honesty at the same time. A cracked panel clustered over a doorway, at a building corner, or around a fireplace opening can be the first visible sign of structural movement rather than a bad stone. If the crack returns after you repair the barrier, pause the masonry work and get a structural opinion before reinstalling panels.
Tools and Materials List
Assemble everything before the first cut. Stopping mid-repair to find a backer rod is how fresh mortar sets before the panel is in.
| Tool | Job |
|---|---|
| Angle grinder with diamond blade | Score mortar joints around the failed panel |
| Bolster chisel and masonry hammer | Break the bond and split stubborn joints |
| Pry bar or flat wrecking bar | Lift the panel clear after joints are cut |
| Type S mortar and mixing paddle | Bed and tool the replacement |
| Notched trowel and joint tool | Spread mortar and finish joints to match |
| Galvanized lath, backer rod, sealant | Rebuild substrate and flashing gaps |
| Drop cloth, tape, goggles, dust mask | Protect the rest of the wall and the crew |
Keep a vacuum on all cuts. Stone dust settles into the joints of adjacent panels and stains them a polish that no sealer likes.
Step 1: Assess the Wall Before You Pull Anything
Mark the full hollow zone, not just the obvious crack. Check the caulk lines, flashing, and weep openings in the same bay; a gap there tells you whether the failure started at the surface or behind it. Photograph everything before removal. The photo is your record for the insurance or supplier conversation later.
Check for efflorescence, the white crystalline bloom that signals slow moisture movement. A little is cosmetic; a thick crust across several panels says the wall has been wet for months and the repair scope is bigger.
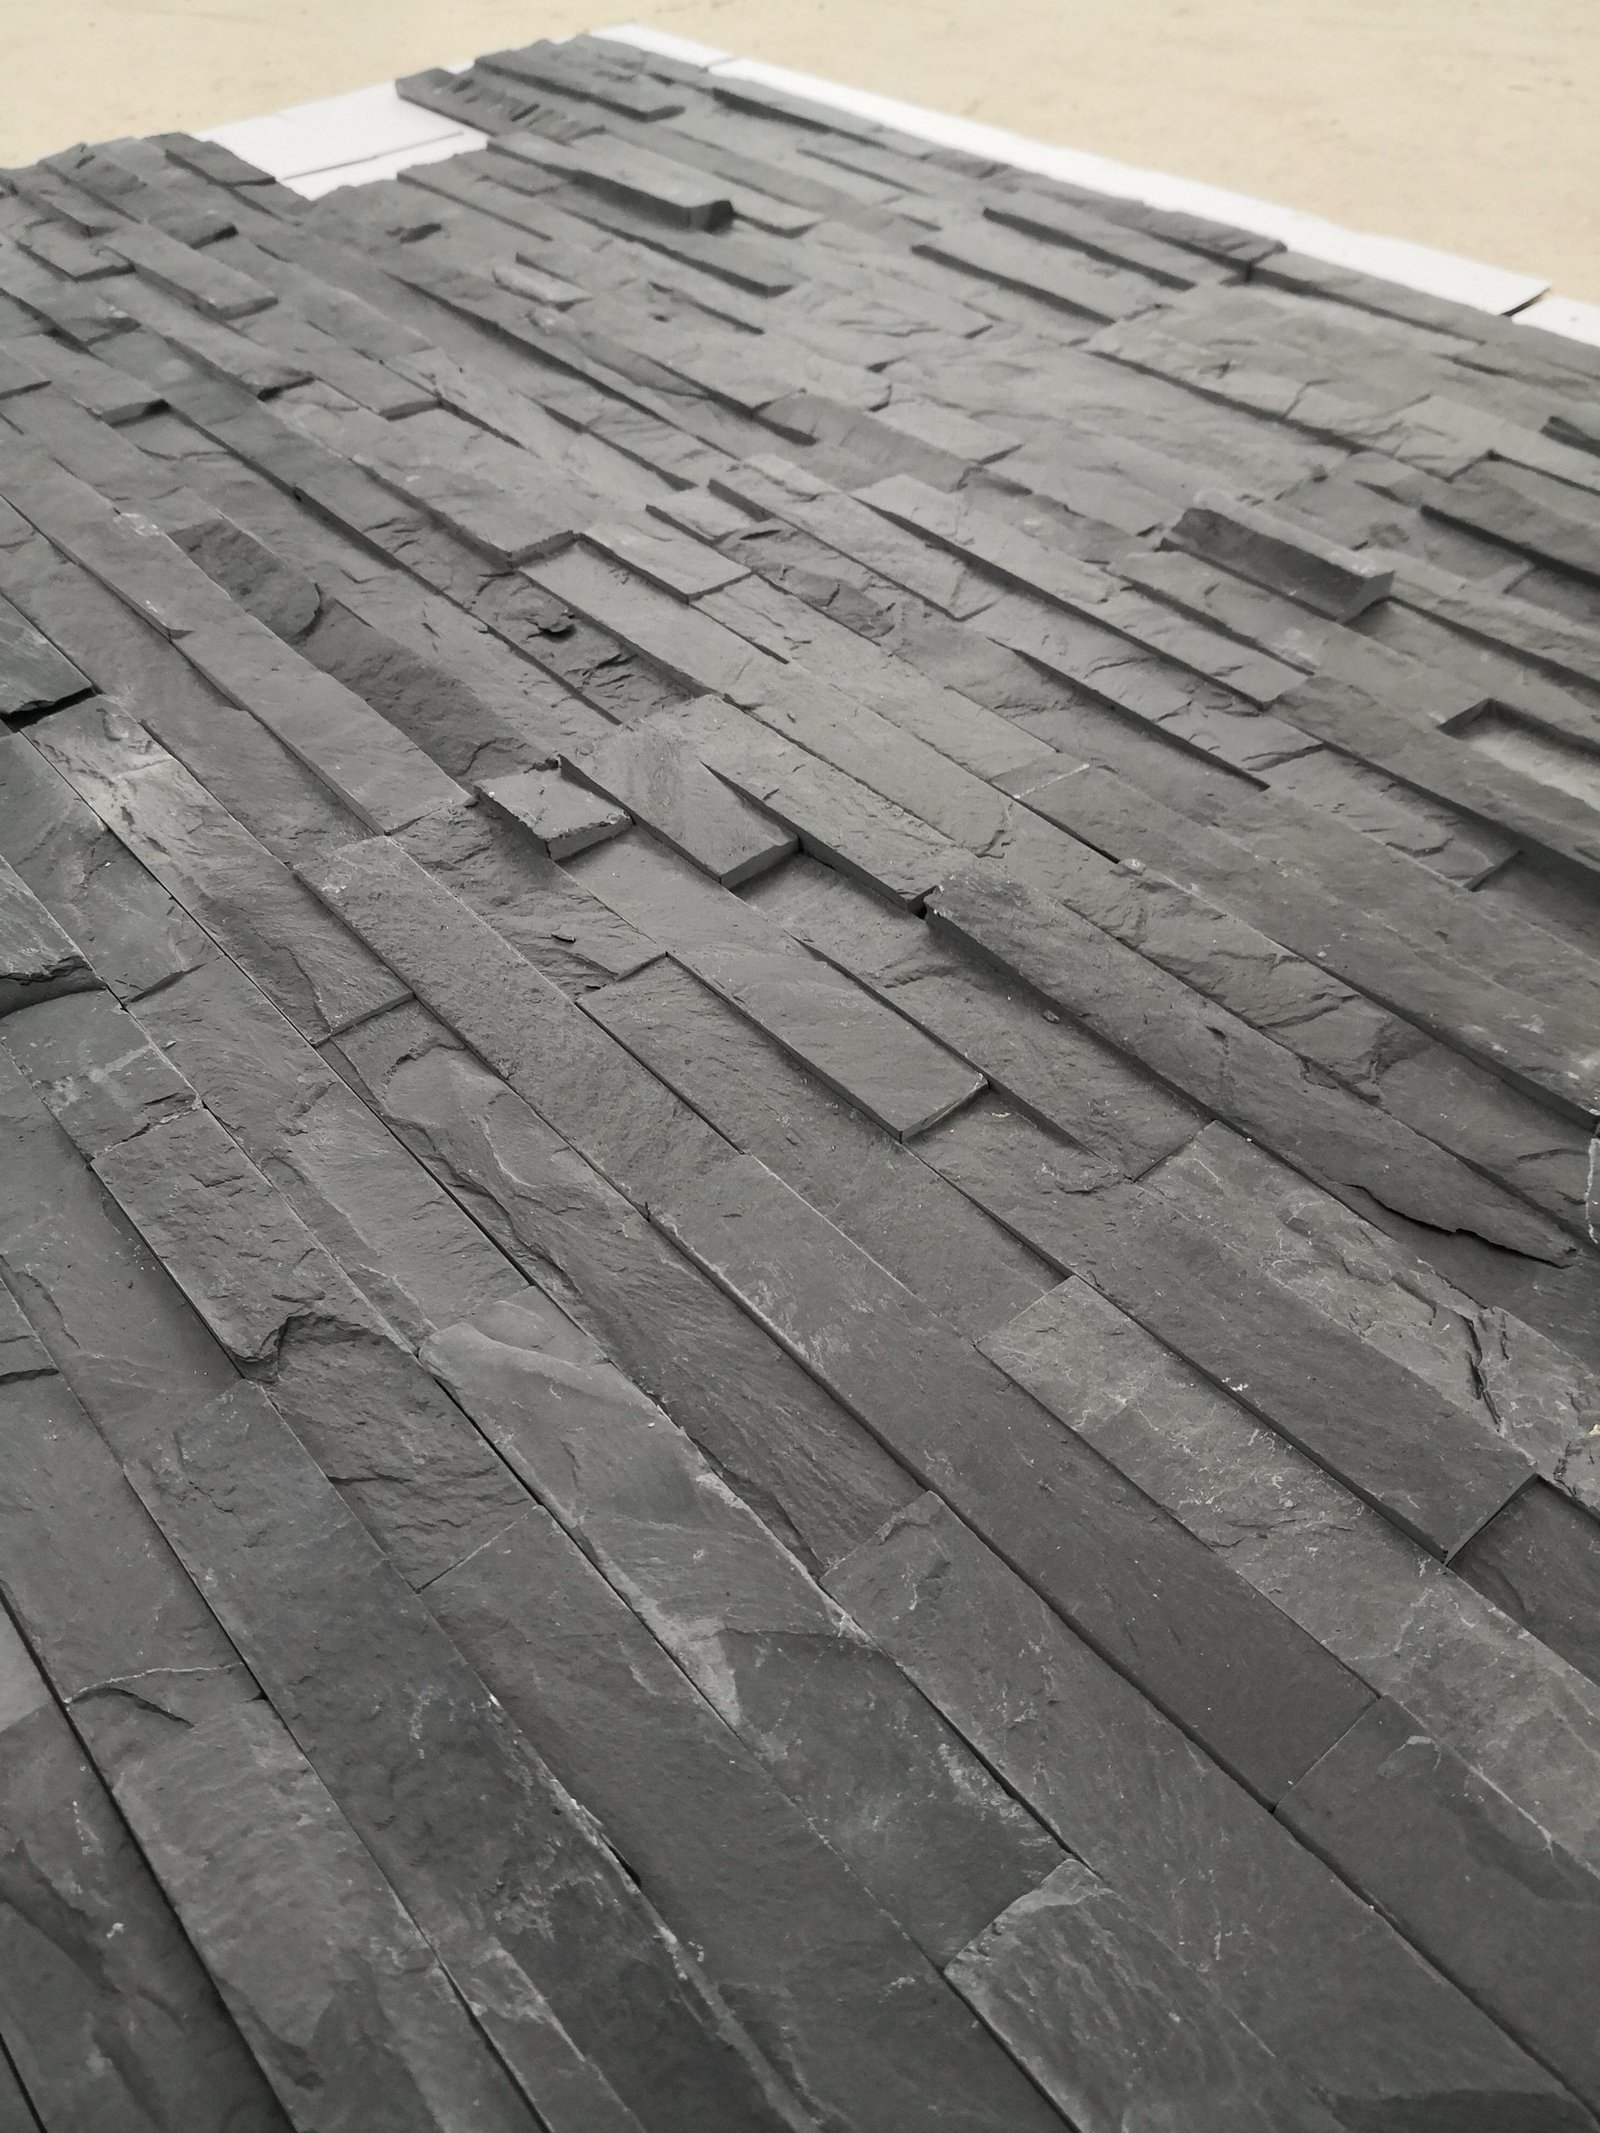
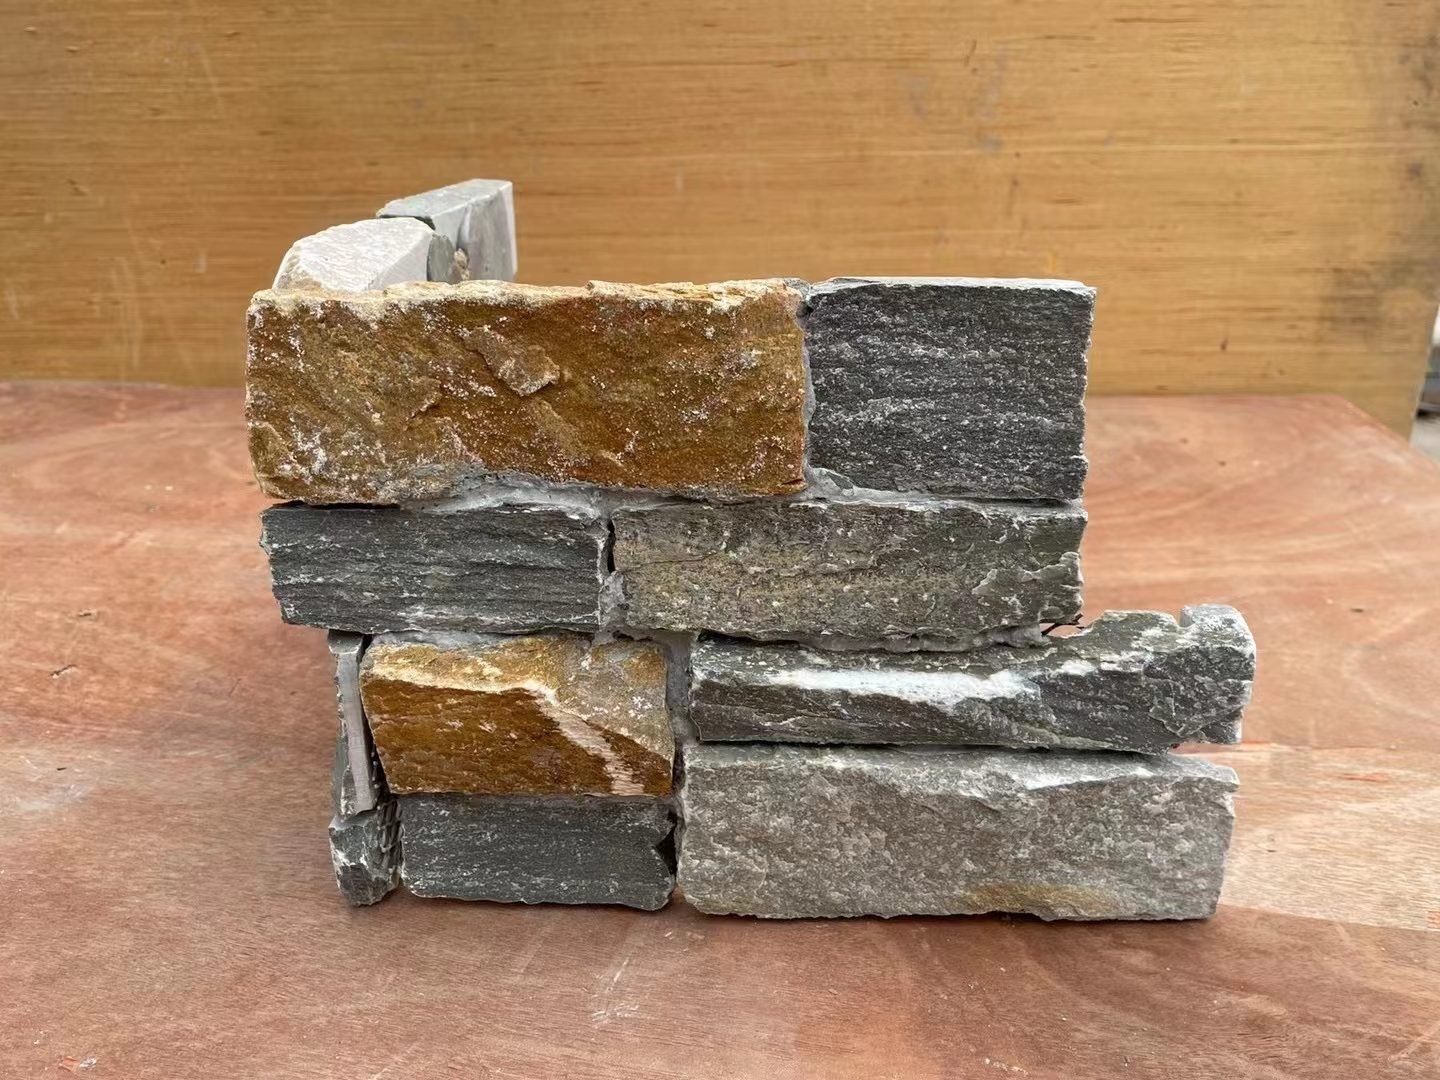
Finally, confirm the format. Measure the failed panel and check your records: 15x60cm stacked, 36x10cm ledgestone, or a Z-panel at 20x55cm or 15.2x61cm. The replacement is an exact format match, so order or pull the spare before you start cutting.
Step 2: Protect the Area and Prep the Panel
Lay a drop cloth on the floor and tape it to the wall. Remove downspouts, light fixtures, and outlet covers within reach — a grinder near a fixture cuts through more than stone. If the failed panel sits near power, trip the circuit for that wall and work dry.
Score the mortar joint around the failed panel with the diamond blade, cutting just deep enough to separate the stone from its bed. Do not cut into neighboring panels; the blade is there to relieve the joint, not to reshape the wall. On stacked panels with tight staggered joints, cut each joint line in two passes: one inside the joint, one at the face.
Step 3: Cut Out the Damaged Panel
With joints scored, drive the bolster chisel into a joint and work it gently around the perimeter. The goal is to break the mortar’s grip, not to pop the panel. When the panel starts to move, slide the pry bar behind it and lift from the center of its surface, not the edge. Lifting from an edge transfers the force to the next panel and cracks it.
If the panel refuses to move, the bond is stronger than the tool — switch to a second cut line through the panel face and remove it in two pieces. A sacrificial panel is cheaper than a dragged row of good ones.
Two grinder habits keep the job safe. Cut with the blade flat through the joint — never wedge it sideways, which binds and kicks the tool. And run the vacuum at the cut with a dust shroud; fine stone dust is the reason you want the mask on before the grinder spins.
Clean the reveal down to the lath or substrate. Old mortar lumps act as spacers that keep the new panel proud of its neighbors by exactly the wrong amount.
Step 4: Repair the Substrate and Flashing
Now look at what the removed panel was hiding. This is the moment the repair either works or fails in three years. Check the weather-resistive barrier for tears, the lath for rust or detached fasteners, and the flashing for gaps at the base and window heads.
Patch the barrier with compatible tape or a barrier patch. Replace damaged lath with galvanized lath and mechanical fasteners into studs or the solid substrate — the substrate preparation guide covers the plywood, cement-board, and metal-lath systems we specify. Re-seal any flashing gap with backer rod and sealant before mortar goes on.
Skip this step and you are re-installing the same problem. The panel did not fail alone; it failed because something behind it stopped working.
Step 5: Fit and Bed the Replacement Panel
Dry-fit the replacement first. Mark any notch needed for the L-corner or Z-interlock and cut the format clean with the grinder. When the fit is right, wet the back of the panel and spread Type S mortar with a notched trowel, covering the full back face so no voids sit behind the stone. Press the panel into place with a slight twist, seating it flush to the existing plane.
Color matching does the sneaky work here. Production batches at Top Stone Panels are color-sorted by vein selection, so a spare from the same batch blends into the wall; a panel from another batch shows as a different tone even when the stone type matches. Pull the spare from the same container or clearly marked batch, and keep a second spare on the shelf.
Alignment rules change with the format. For ledgestone, keep the bed line level so the new 36x10cm strip continues the horizontal rhythm of the row. For a replacement 20x55cm or 15.2x61cm Z-panel, engage the male-female interlock before the mortar skins — the connection carries the alignment, and forcing it after the bed sets cracks the lip.
Check the face plane against the wall with a straightedge before the mortar skins. This is the easiest moment to fix a proud or sunken panel — two minutes of adjustment now beats a grinding wheel later.
Step 6: Tool, Cure, and Inspect the Joints
Tool the fresh joints to match the existing pattern: flush for a tight modern face, recessed for a more textured elevation. The joint tool rides on the face and compacts the mortar evenly; wipe excess off the stone before it sets, because dried mortar on split-face stone is a stain you will scrub for days.
Let the mortar cure per the mix instructions and keep the repair damp for the first day in hot weather. Then inspect the joints for voids and the panel for movement. A correctly seated panel should read as one surface with its neighbors — you should struggle to find the repair line from three feet away.
Wait at least 72 hours before considering a water-repellent sealer, and only if the original wall is sealed. A mismatch in sealer sheen draws the eye to the repair you just hid. The sealing guide covers product choices and the film-former debate.
Now re-check the caulk and flashing you touched. The full grouting guide shows the flush and recessed finishing options if you need to match a wider joint style.
Ordering Spares and Preventing the Next Failure
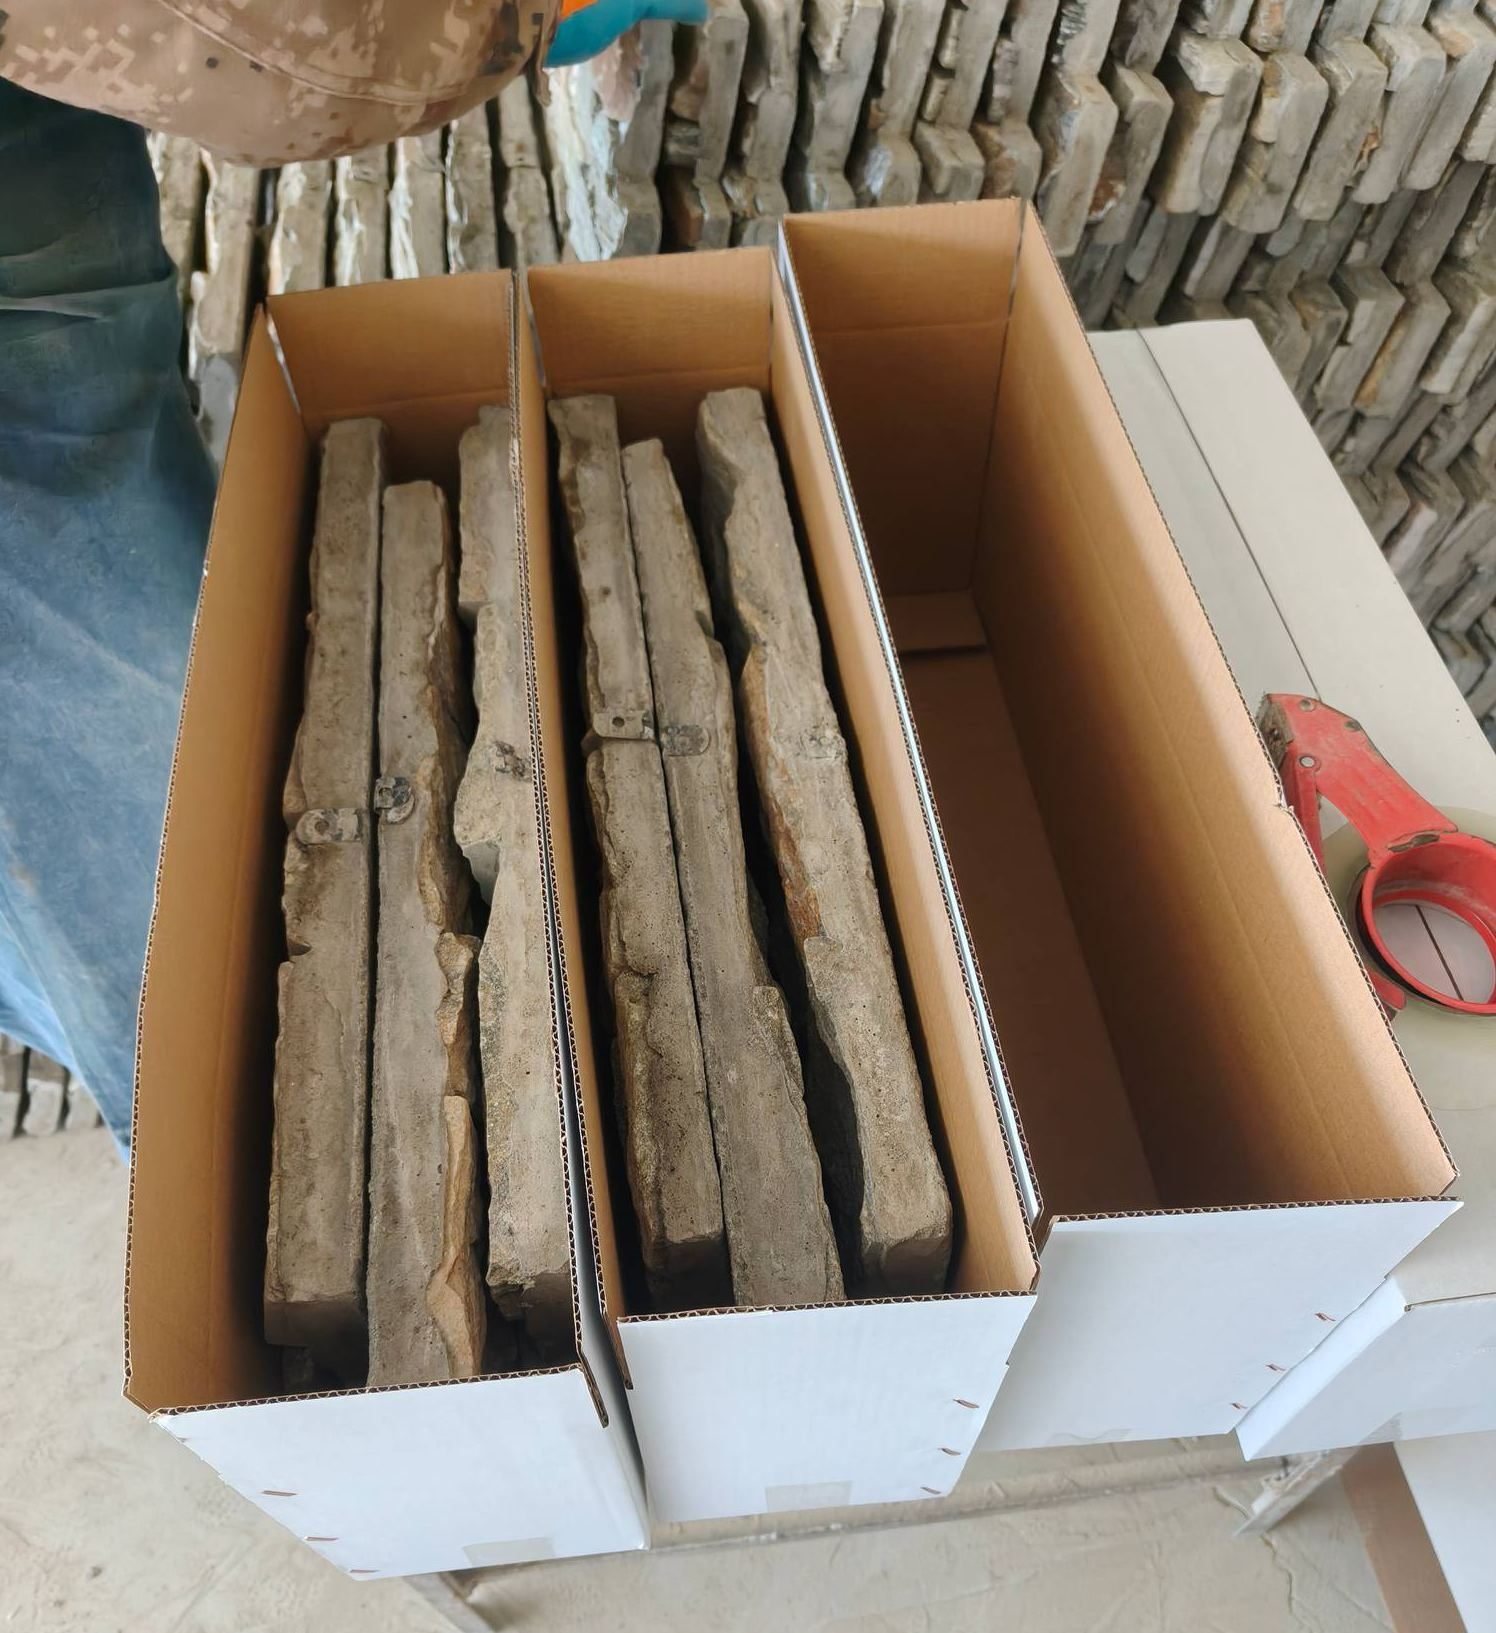
The cheapest repair is the one stocked before the damage. Order spare panels with the original container — a rule of 5-10% extra footage covers normal breakage and a weather claim without a second freight bill or a batch mismatch. Store spares flat, off the ground, and keep the batch code on the box.
Prevention is more of the same discipline the repair already taught you. Check sealant joints and flashing twice a year, wash efflorescence in spring, and keep de-icing salt away from lower courses. The natural stone veneer maintenance routine lays out the seasonal list, and dense slate with -30°C to +50°C tolerance does the rest.
When a second panel fails within months of the first, stop repairing. That pattern is a wall-system failure, and the professional answer is to open the area, rebuild the barrier, and reinstall — per the Natural Stone Institute‘s guidance, adhered veneer failures get treated as system failures, not unit failures.
Frequently Asked Questions
Can I replace a single stone veneer panel?
Yes, if the hollow zone is small. Score the joints, remove the panel in one piece, repair the substrate, and bed a matched spare in fresh Type S mortar.
What mortar do you use to reattach stone veneer?
Type S mortar with full-back coverage on the panel. Dry-pack skinny pieces and never leave voids; a void traps water and starts the next failure.
How do I match the color of a stone veneer panel?
Use a spare from the same production batch as the original wall. Batches are vein-selected for color, so different batches may show a visible tone shift.
Why does my stone veneer keep falling off the wall?
Moisture behind the wall system is the usual cause: a failed barrier, damaged flashing, or cracked sealant lets water in and rots the bond. Fix the barrier, not just the panel.
Conclusion
A loose stone veneer panel is a fifteen-minute diagnosis and a one-day repair — provided you fix the water problem that loosened it. The sequence is unchanged for stacked, ledgestone, and Z-panel formats: assess, protect, cut, repair the substrate, bed the match, tool the joint.
- Tap-test before you cut, and treat a second failure in the same bay as a wall-system problem.
- Repair the weather barrier, lath, and flashing — the stone is only as good as what is behind it.
- Match replacement panels from the same production batch and keep 5-10% spares in stock.
- Order spares with your container: 20-25 working days production, samples in 1-3 days.
Reach for the grinder only after you have looked behind the failure once. The panel you save is the one that does not come back in spring.



