Repairing cracked stone veneer starts with one decision most installers skip: reading the crack before touching it. A hairline surface crack on a panel face is cosmetic and fixable in minutes with the veneer still on the wall. A through-crack, a hollow-sounding tile, or a piece that popped off is a bond or moisture failure, and patching over it just hides the next failure stage. Treating every crack like the same repair is how small fixes turn into full-wall redo jobs.
This guide walks the repair decision in order: how to classify the crack, how to fill hairline damage, how to replace a failed panel, when a crack signals a deeper wall problem, and the substrate, waterproofing, and QC points that stop cracks from appearing in the first place. For distributors and contractors, the latter half matters most, because the cost of a crack is mostly in the wall work around it, not the stone.
- Classify the crack first: hairline surface damage is fill-in-place; through-cracks, hollow tiles, and pop-offs need panel replacement.
- Hairline cracks fill with color-matched mortar or stone epoxy, textured to match the split face, then sealed with a low-sheen sealer.
- Replacement means removing the failed panel, re-preparing the substrate, and re-adhering with full mortar coverage; partial coverage is a repeat failure in waiting.
- Moisture behind the wall is the common root cause of cracks and efflorescence on exterior veneer; check flashing and waterproofing before cosmetic repair.
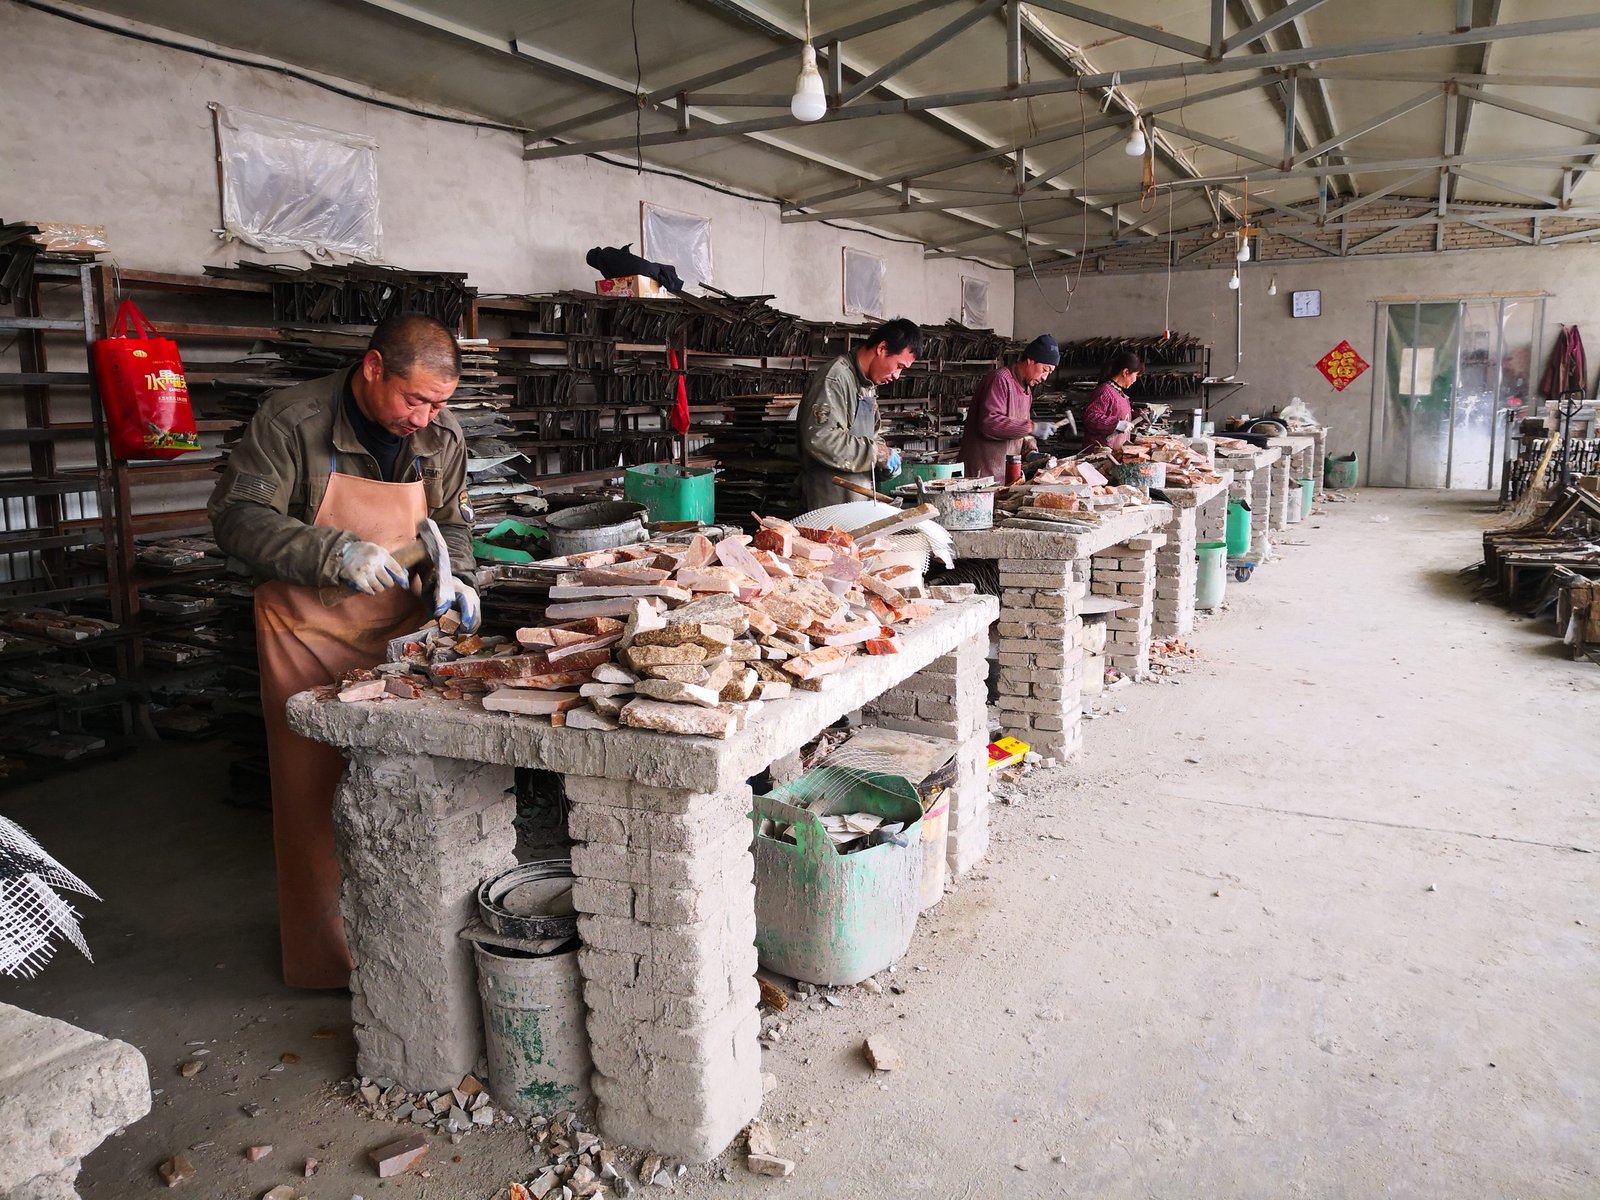
- Prevention starts before the container: factory QC controls thickness tolerance and bond, reinforced packing controls transit breakage, and the site controls substrate and mortar coverage.
- Top Stone Panels ships physical samples in 1-3 days and runs production 20-25 working days, which distributors use to match replacement panels to the original batch.
Why Stone Veneer Panels Crack
Cracks in stone veneer come from five sources, and only one of them is the stone itself. Knowing the source decides whether you repair the face or fix the wall.
- Substrate movement. Wood framing that dries, concrete that cures, or a foundation that settles moves behind the veneer. Thin panels bonded to a moving substrate follow the movement until something gives.
- Bond or mortar failure. A panel installed with spot mortar instead of full coverage has hollow pockets. Foot traffic, thermal movement, or a hard knock on a hollow area produces a pop or crack radiating from the pocket.
- Moisture behind the wall. On exterior veneer, water that gets behind the cladding without a drainage path develops ice pressure in cold climates and pushes panels off or cracks them from the back. Moisture is also the engine behind efflorescence at joints.
- Thermal cycling. Stone moves with temperature. When the wall restrains that movement and movement joints are missing, stress concentrates and cracks the face. This is why facade specs include expansion joints you never see in photos.
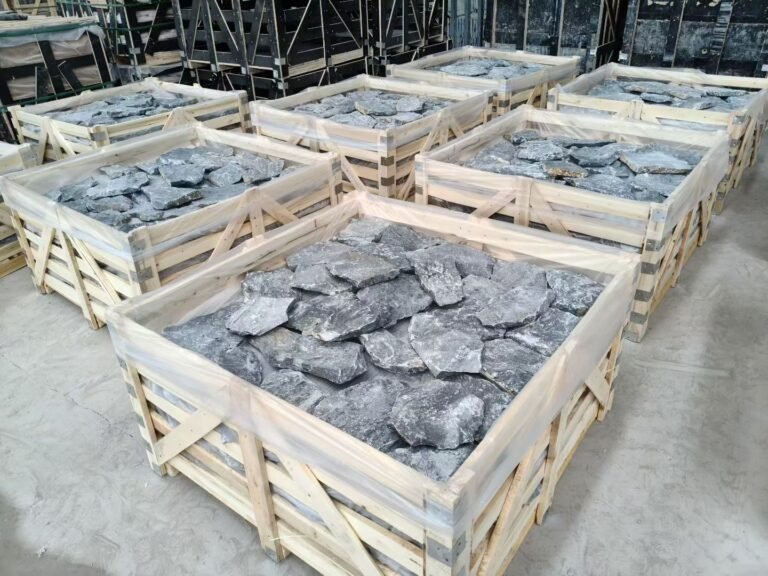
- Transit damage. A panel cracked in the container often reads as a face crack the installer blames on the wall. Control starts at packing, not at the job site.
The common veneer installation mistakes guide documents how many of these sources overlap: a slab with 30% mortar coverage can pass inspection and fail two winters later. The fix is a process change, not a crack filler.
How to Read a Veneer Crack
Walk up to the crack and classify it before buying any material. Three categories cover most cases, and each has a different repair path.
| Crack type | How to identify | Cause | Repair route |
|---|---|---|---|
| Hairline surface crack | Thin line on the face, no movement, no hollow sound | Mortar shrinkage, minor impact, drying | Fill in place with color-matched mortar |
| Chipped edge or corner | Small missing chip, stone otherwise sound | Handling, impact, transit | Fill with stone epoxy, blend texture |
| Through-panel crack | Crack visible front and back or through a thin panel, stone split | Movement, bond failure, transit | Replace the panel |
| Hollow-sounding or popped panel | Tapping sounds hollow; panel shifts or pops | Bond failure, moisture behind wall | Remove and re-adhere with full coverage |
Tap the panel with a knuckle or the handle of a screwdriver across its face. A solidly bonded panel sounds like a solid skip; a hollow panel sounds more like a drum. Mark the hollow area with chalk. If the hollow zone is larger than the crack, the crack is the symptom and the bond is the problem.
Use the table as a decision screen, not a diagnosis. A hairline crack on a wall that also has popped corners and white powder at the base is not three separate repairs, it is one moisture story with three symptoms. Classify each crack, then step back and count the pattern before you buy filler. The most expensive mistake in this trade is patching a wall that needed a waterproofing fix.
The mortar application guide shows the coverage pattern that prevents hollow zones: notched trowel for the substrate, solid back-buttering for the panel. A full mortar bed is the single most reliable crack-prevention step on any veneer install.
Repairing Hairline Cracks in Place
For hairline surface cracks and chips where the panel is otherwise sound, the repair keeps the stone on the wall. The steps take longer to read than to do.
- Clean the crack. Remove dust and loose mortar with a stiff brush, then wipe with a damp cloth. Let the area dry completely before filling.
- Mix color-matched repair material. Use a latex-modified mortar tinted to the stone tone, or a two-part stone epoxy for chips. Match against a dampened piece of the same stone, because wet color is the installed color.
- Fill in thin layers. Press the filler into the crack with a putty knife, let it set, and add a second layer if needed. Thick single fills shrink and leave a new crack.
- Texture the fill. Before the final layer sets, stipple it with a brush or sponge to imitate the split face. A flat smooth fill on a cleft face is more visible than the crack was.
- Seal the repair. Apply a low-sheen penetrating sealer over the patch so the surface absorbs water the way the surrounding stone does, not like a raw fill.
One caution on interior work: cement-backed panels near a heat source can crack from differential expansion. The fireplace veneer installation guide includes the heat-zone rules that keep a hearth surround from cracking its own panels.
Replacing a Cracked or Failed Panel
When the panel is through-cracked, hollow, or popped, the repair is replacement. Trying to glue a through-cracked thin panel back together leaves a weak line that fails again under the next thermal cycle.
- Remove the failed panel. Cut the bond lines with a masonry blade or thin bar, working from the grout joints inward. On cement-backed panels, break the panel loose and remove it in pieces that will not damage neighbors.
- Clean the substrate. Scrape residual mortar back to sound substrate. On exterior walls, inspect the waterproofing and flashing in the exposed area before re-installing.
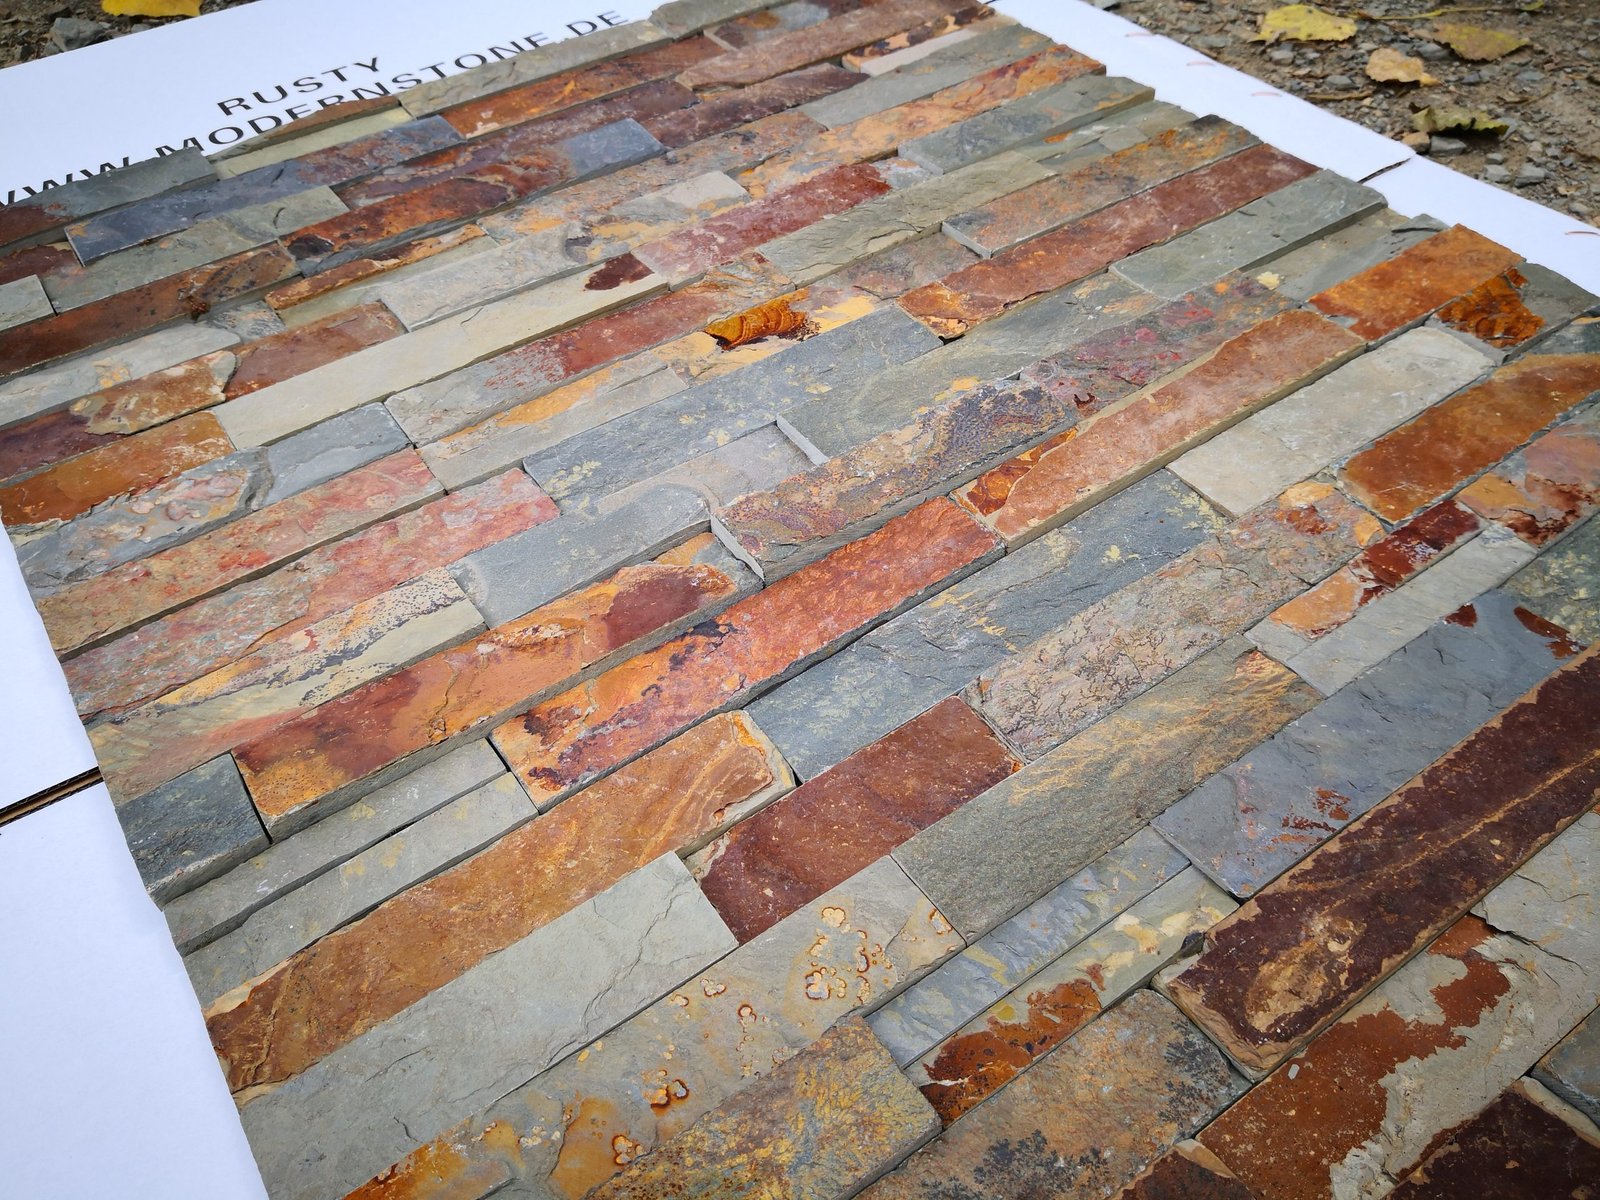
- Match the replacement panel. Use a panel from the same order or a sample-matched batch. Warm-tone and multicolor stone especially need a visual match, not a color name match.
- Apply full mortar coverage. Notched trowel on the substrate plus back-buttering on the panel. Work the panel into place with a twisting motion and a level check.
- Blend the joints. Grout or point the joints to match the surrounding pattern, texture the fill, and seal the fresh joints.
The remove and replace guide goes deeper into cutting, substrate repair, and matching. For a distributor reordering a single replacement box, the quantity calculation guide explains how to build a small repair stock into the original order so color matching stays within one batch.
Top Stone Panels keeps batch-matched panels available across a 20GP wholesale order, with 3-step QC controlling thickness and bond before the container loads. Samples ship in 1-3 days so you can match a replacement panel to the original wall.
Batch-matched color | 3-step factory QC | Reinforced carton packing
Cracks That Signal a Bigger Wall Problem
Some crack patterns are not about the panel at all. They are the wall telling you something failed behind the veneer, and repairing the face without fixing the cause wastes the work.
- Multiple cracks on one wall face. If cracks cluster on the same facade, suspect substrate movement or missing expansion joints. Count them, map them, and find the restraint point.
- Cracks with efflorescence. White powder at the crack means water is moving through the wall. Fix the water path: flashing, sealant at openings, drainage gap. Then clean the salt. The efflorescence removal guide covers the cleaner and the process.
- Discoloration around the crack. Dark rings, green stains, or rust-colored lines indicate prolonged moisture and possibly rusting metal behind the wall. Inspect before repair.
- Pop-off clusters near the base. Panels popping near grade level are a classic moisture and freeze signal in cold climates. The wall needs a weep and drainage solution, not just re-glued panels.
Exterior wet-area rules are non-negotiable here. The waterproofing behind veneer guide and the wet-area installation guide give the flashing details that stop these failure classes before they start. If the crack cluster sits in a shower or pool area, moisture control is the whole repair.
How to Prevent Cracks from Recurring
Prevention splits into three phases: the container, the wall, and the crew. Each phase has a check that costs far less than a redo.
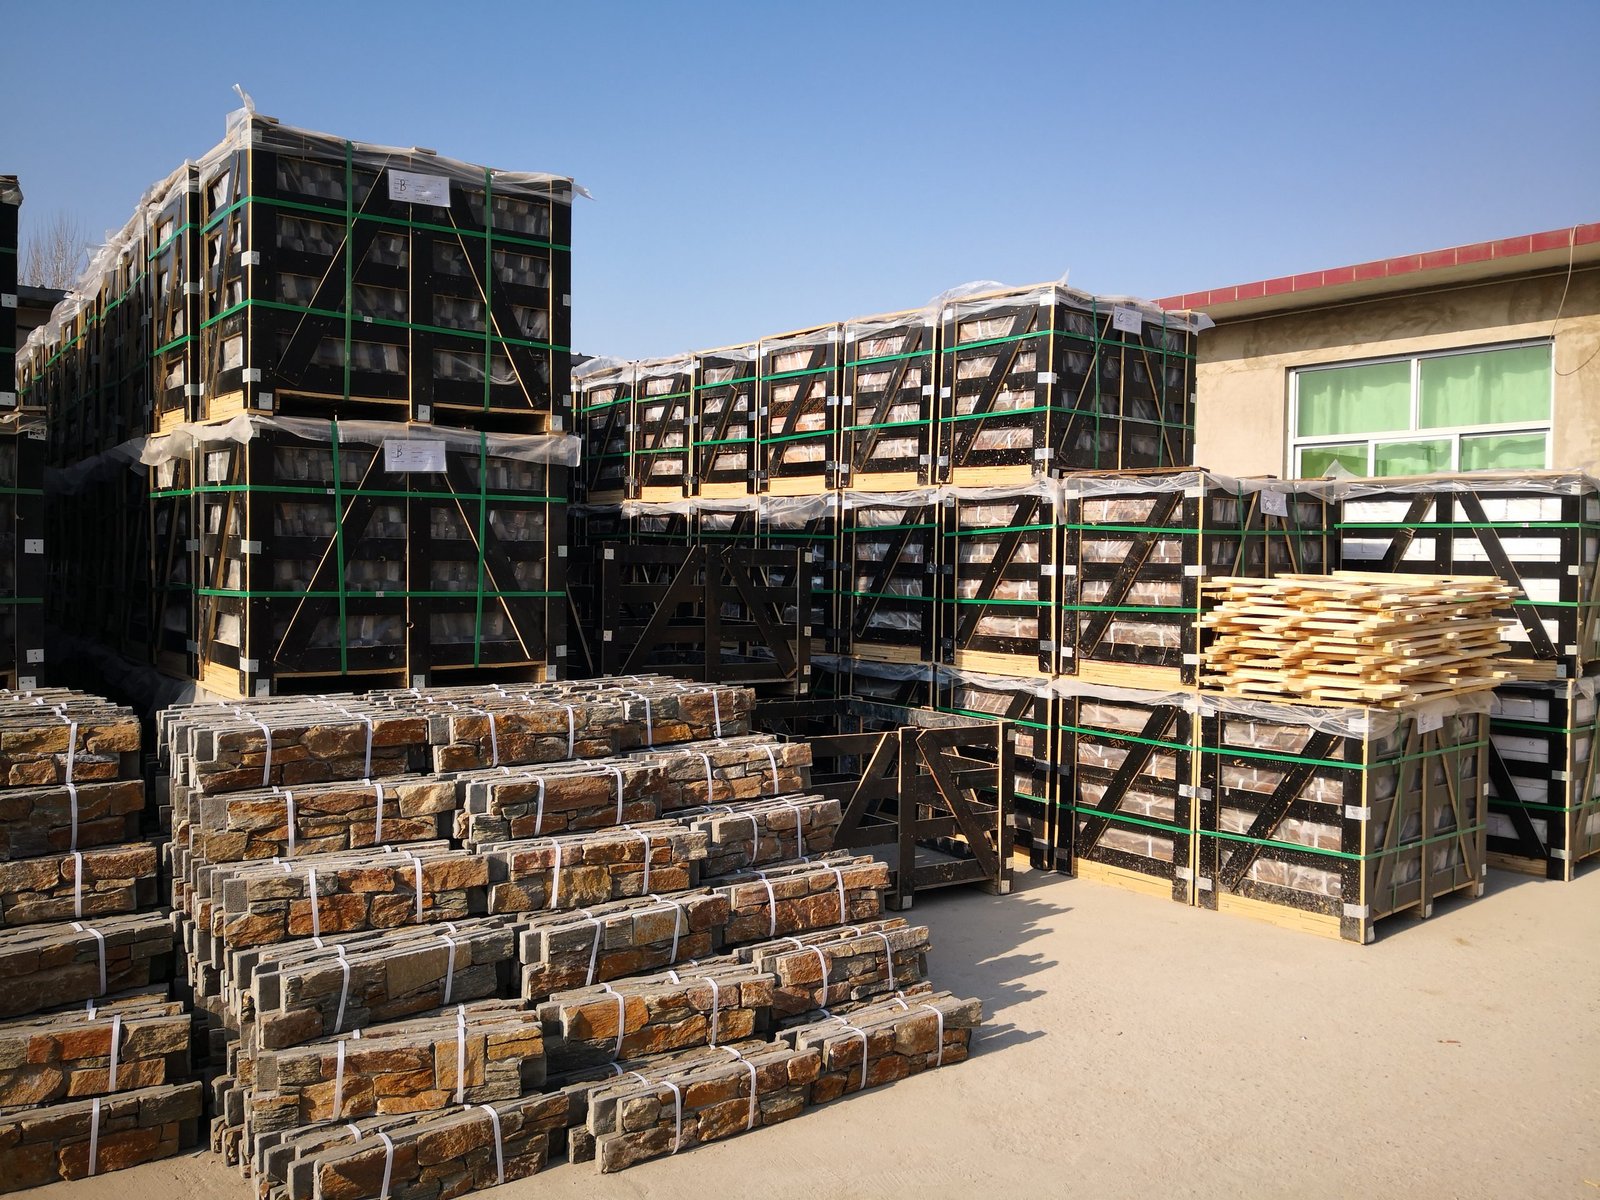
Container phase. Transit breakage is a measured, preventable part of the supply chain. Reinforced cartons, steel strapping, and proper dunnage keep panel faces intact. Top Stone Panels ships thin ledgestone and stacked stone in reinforced cartons with the 3-step QC loop, and the epoxy vs cement backing comparison explains why the backing bond matters as much as the stone face for switchback failures.
Wall phase. The substrate decides whether the veneer survives. Use stable sheathing, correct lath and waterproofing for the wall type, and movement joints at floor lines, corners, and openings. The substrate preparation guide covers plywood, cement board, and metal lath separately because each fails differently.
Crew phase. Full mortar coverage, proper open time, and joint management are crew habits, not spec text. Back-buttering every panel and tapping the hollow test after each row catches bond failures while they are cheap. The thin veneer exterior install guide walks the mortar schedule an experienced crew follows.
Maintenance seals the loop. The maintenance guide covers the annual cleaning and sealing cadence; the sealing guide explains when a sealer helps and when it is wasted. A veneer wall that gets a yearly walk-through and a reseal at the right interval develops cracks far slower than a wall that is ignored until something pops.
One rule applies across all three phases: inspect at the joints. Mortar joints are the control lines of a veneer installation. If joints are cracking, the movement is not being absorbed; if joints stay intact while panels crack, the problem is inside the stone or behind it. Train the crew to read the joints on every walk-through, and the wall will tell you what it needs before a failure becomes a redo. Distributors can run the same check when they open a container: inspect the cartons, turn the pallets, and reject any box with visible compression before it gets near a jobsite.
FAQ
Can a cracked stone veneer panel be repaired without removing it?
Yes for hairline surface cracks and chips. Clean the crack, fill with color-matched mortar or stone epoxy, texture the fill to the split face, and seal. Through-cracks, hollow tiles, and pop-offs need panel replacement.
Why does stone veneer crack after installation?
Substrate movement, incomplete mortar coverage, moisture behind the wall, thermal cycling, or transit damage are the common causes. On exterior walls, trapped moisture is the most frequent driver of crack clusters and efflorescence.
What should I use to fill a crack in stone veneer?
A latex-modified mortar tinted to the stone tone for visible cracks, or a two-part stone epoxy for chipped edges and corners. Fill in thin layers, texture the final coat, and seal with a low-sheen penetrating sealer.
How do I match a replacement panel to the original wall?
Use a panel from the original order or a sample-matched batch from the same quarry vein. Warm-tone and multicolor stone need a visual match against a dampened piece of the installed wall, not a color name match.
What causes white powder near veneer cracks?
Efflorescence. Water migrates through the wall, dissolves soluble salts, and deposits them on the face at joints and cracks. Fix the water path first, then clean with a pH-neutral cleaner designed for natural stone.
Conclusion
Managing stone veneer cracks is a classification exercise before it is a repair exercise. Read the crack, decide whether the stone or the wall failed, and pick the fix that matches: fill hairline damage in place, replace through-cracked and popped panels with full mortar coverage, and fix the moisture or movement problem before you reseal anything.
Key takeaways:
- Hairline cracks and chips repair in place with color-matched mortar or stone epoxy; through-cracks and hollow panels get replaced.
- Full mortar coverage and back-buttering stop the bond failures that produce most crack clusters.
- On exterior walls, check waterproofing and flashing before cosmetic repair; moisture behind the wall is the usual root cause.
- Prevent transit cracks with reinforced cartons, steel strapping, and factory QC on thickness and bond before the container loads.
Order a repair-match sample from Top Stone Panels before you touch the wall, so the replacement panel matches the installed batch. Samples ship in 1-3 days, and the thin stone veneer product line carries the panel formats and color options a repair stock needs.