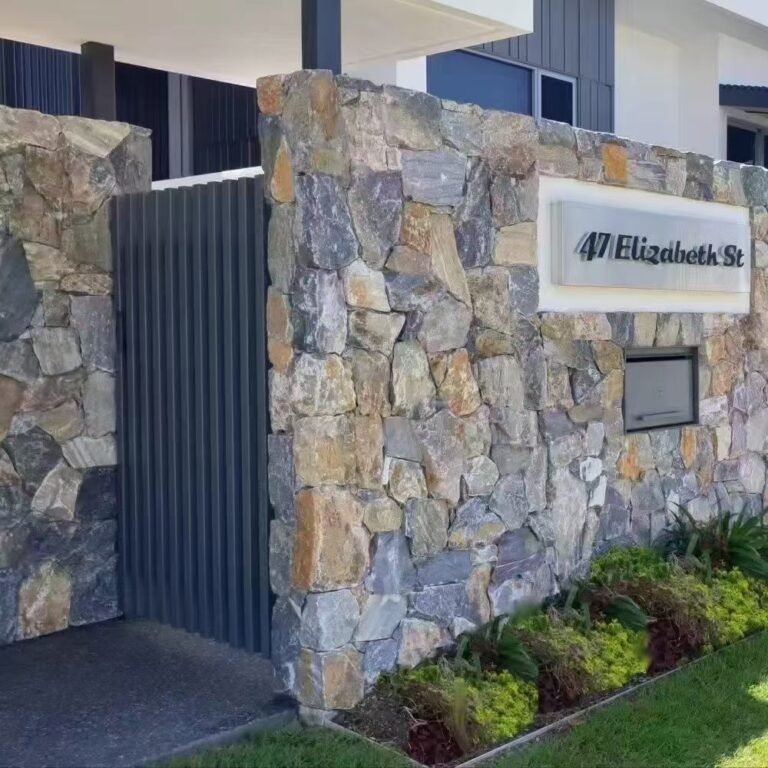
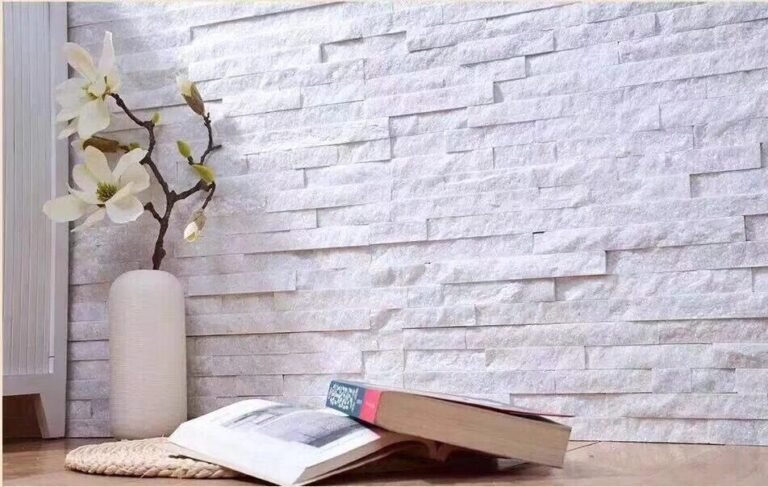
White powder on a stone veneer wall looks like a material failure, and it almost never is. The veneer is fine. The mortar, the cement backing, and the water migrating through them are the story. Efflorescence is the visible receipt for that water movement — soluble salts carried to the face of the wall, left behind as a pale dust when the moisture evaporates.
This guide walks through identification, removal, and — the part most homeowners skip — the moisture fixes that stop the powder coming back. The material context matters here: dense natural slate and quartzite veneer panels absorb very little water, so the salts are coming through the joints and the cementitious system, not through the stone. Understand that and the cleaning sequence becomes logical instead of desperate.

- Efflorescence is a moisture and salt deposit, not a defect in the stone panel — dense slate and quartzite absorb below roughly 0.5% water.
- Start dry: a stiff brush removes light deposits before any chemical touches the wall.
- Acid cleaners work only on siliceous stone (slate, quartzite); they damage limestone, marble, and sandstone on contact.
- Repeated cleaning without fixing flashing, drainage, or curing = the deposit returns; moisture control is the permanent fix.
- Prevent it at install time with flashing, weep details, and 20-25 working days of factory QC behind every panel order.
- What Efflorescence Is and Where It Comes From
- Is Efflorescence a Defect?
- Identify It: Efflorescence vs Other White Deposits
- Step 1: Dry Removal First
- Step 2: Water and a pH-Neutral Cleaner
- Step 3: Acid Cleaning for Stubborn Deposits
- Step 4: Rinse, Dry, and Evaluate
- Prevention: Flashing, Curing, and Sealing
- Mistakes That Make It Worse
- FAQ
- Conclusion
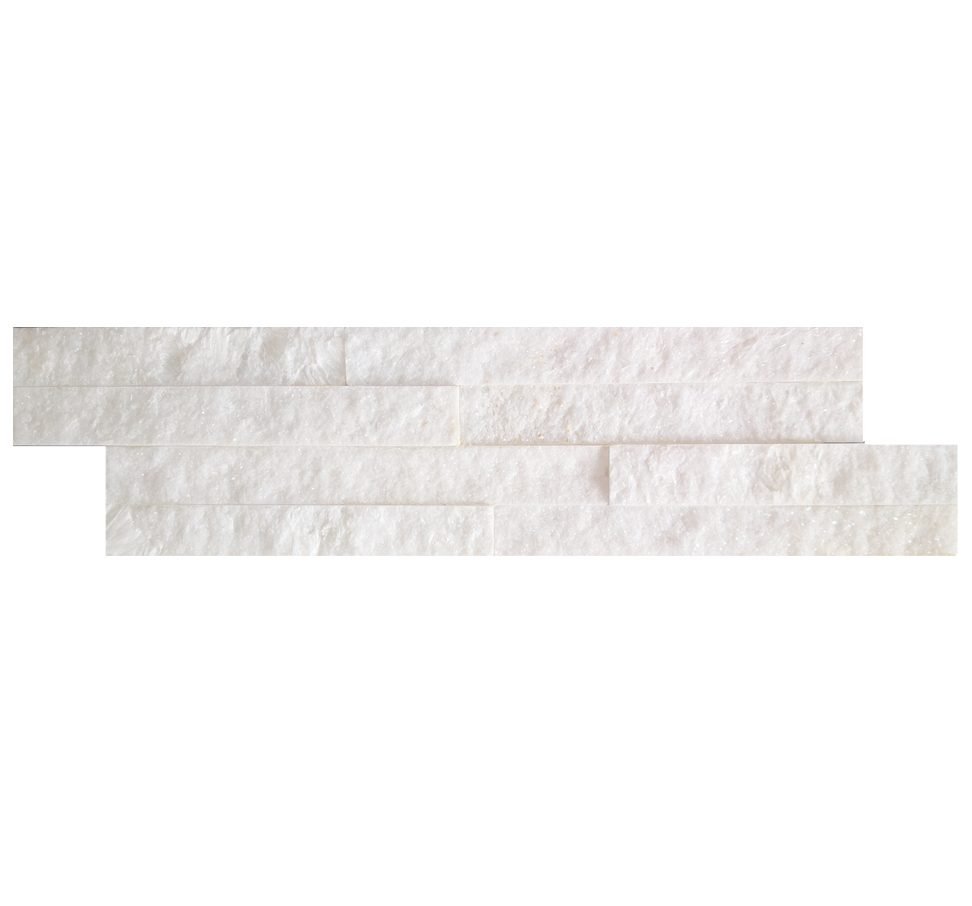
What Efflorescence Is and Where It Comes From
Efflorescence is chemistry, not mildew. Water dissolves soluble salts — calcium hydroxide and related compounds that live in cement, mortar, grout, and concrete — then migrates toward a drying surface. When the water leaves, it crosses the face of the wall and evaporates, and the salt stays behind as a white, chalky film. The name means “to flower out,” and that is exactly what it does: salts flowering onto the surface.
On a stone veneer wall there are three usual salt sources. The first is the setting mortar or thin-set adhesive used to bed the panels — the most common source in the first weeks. The second is cement-backed panels themselves; interlocking and stacked stone systems with cementitious backing carry salts inside the panel construction. The third is the substrate behind the wall — a concrete foundation, block, or cement board that stays damp and feeds moisture forward. Substrate prep decides how much of that dampness reaches the face.
Timing tells you the source. Efflorescence that appears in the first few months after an install is curing moisture working out of the mortar and backing. Efflorescence that appears years later, or that returns within weeks of cleaning, is an active water path — flashing that failed, a planter draining onto the wall, ground contact, or a leak. The two cases get different treatments. Fresh install powder is mostly a patience problem; returning powder is a building problem.
Is Efflorescence a Defect?
No — and knowing that changes how you handle it. The white deposit is on the surface; it does not mean the panels are delaminating, cracking, or losing their bond. Dense natural slate and quartzite absorb very little water in their natural state — dense grades sit at or below roughly 0.5% absorption — so the water is moving through the joint system, not the stone body. Clean the face, dry the system, and the wall is exactly what it was before the powder appeared.
The defect label hurts projects in two ways. Contractors miss the real problem by re-cleaning a wall that keeps returning powder, when the flashing above it has failed. And buyers write off an entire stone lot for a deposit that came from the mortar bag, not the quarry. On a wholesale order from a factory with 3-step QC — raw material selection, in-process recheck, pre-shipment final — the panels ship clean; efflorescence after install points at the site conditions and materials around the stone, not the stone.
One caveat deserves honesty: efflorescence can accompany freeze-thaw damage in a badly detailed wall. If water is getting into the system and freezing, the visible white deposit may sit next to spalling or flaking. That combination is a real defect and needs the wall opened up. The test is simple — if the wall is actively shedding material, stop cleaning and start investigating. If it is only white powder, clean and monitor.
Identify It: Efflorescence vs Other White Deposits
Not everything white on a wall is efflorescence, and treating the wrong one wastes a day and risks the stone. Run the deposit through this table before you buy a single bottle of cleaner.
| Deposit | Appearance | Treatment |
|---|---|---|
| Efflorescence | Powdery, chalky, dissolves in water | Dry brush, then pH-neutral cleaner |
| Mortar haze | Smear on panel faces from sloppy bedding | Scrape dry; clean after mortar cures |
| Hard water scaling | Mineral crust from water spray | Removes slowly; fix the water source |
| Algae or mildew | Green-black or grey growth, damp areas | Diluted bleach mix; improve airflow |
| Spalling / flaking | Stone or mortar breaking away | Structural fix — stop cleaning |
The dry test takes five seconds: rub the deposit with a dry finger. Efflorescence powders off and leaves no stain. Mortar haze resists the rub. Hard water scaling feels crusty and barely moves. If the wall is flaking or spalling, stop — that is not a cleaning problem.
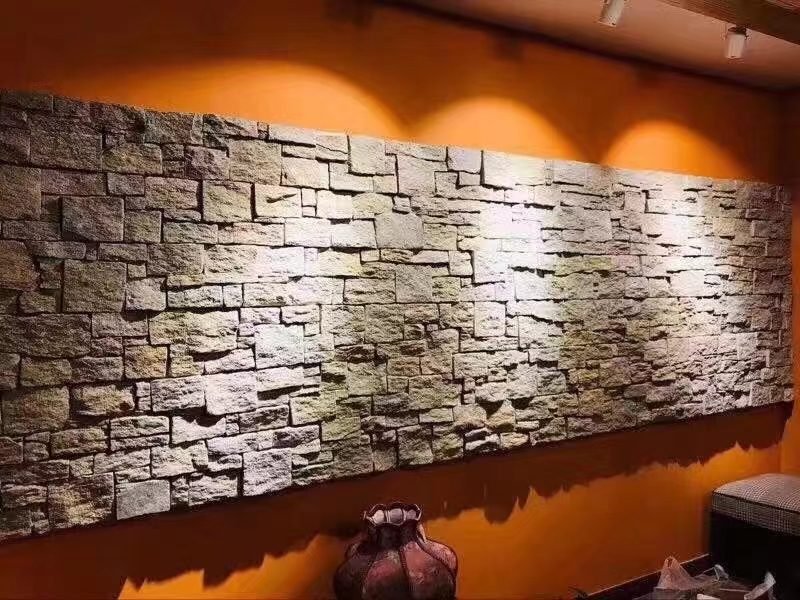
Step 1: Dry Removal First
Start with the least aggressive tool that could possibly work. A stiff nylon brush — a deck brush, not a wire brush — removes a surprising amount of light efflorescence without putting any water on the wall. Work from the top down so the loose powder falls below the work area, and brush diagonal to the panel faces so bristles catch the split-face texture instead of skating over it.
Why dry first matters: water is the transport system for these salts. Every wet pass you make can re-dissolve the deposit and carry it deeper into a joint or a substrate crack, where it later resurfaces. Dry brushing pulls the salt off the face without giving it a ride. For a fresh install showing the first light blush of powder, two passes with the brush and a shop vacuum often finish the job the same day.
A warning for the panel backs and edges: dry brushing aggressive enough to scrape the stone face itself is the wrong pressure. The goal is to lift the powder from the surface texture, not to scrub the split face smooth. If the brush is leaving scratches or removing slate flakes, switch to a softer brush and let chemistry do more of the work.
Step 2: Water and a pH-Neutral Cleaner
If dry brushing leaves a white haze, move to plain water. Rinse the wall from the top down with low pressure and a clean sponge or soft mop — not a pressure washer. Let the wall dry fully, then inspect. Efflorescence that dissolves and rinses away with water alone was light surface salt; it is gone. This step also wets the wall in the safest possible way before any chemical is introduced.
For deposits that survive plain water, use a pH-neutral cleaner formulated for natural stone, mixed per the label and applied with a soft brush. Work a small test area first — a patch low on the wall where a tone shift will not be seen. Scrub gently in the direction of the stone’s natural grain and rinse thoroughly. Neutral cleaners remove the chalky film without attacking the stone chemistry, which is why they are the default for routine stone veneer maintenance.
Rinse volume matters more than cleaner strength. Salts pulled from the surface must be flushed away, not pushed a few centimeters sideways into another joint. Use a steady low-pressure rinse and let the wall dry completely between passes. If the deposit reappears within a day or two, you have a deeper salt load — escalate to the acid step, and start asking where the water is coming from.
Step 3: Acid Cleaning for Stubborn Deposits
Acid is where the chemistry splits the stone families, and getting this wrong damages walls permanently. Muriatic acid — diluted hydrochloric acid, typically mixed roughly 1 part acid to 10-20 parts water — dissolves the mineral deposits fast on some stones and eats the stone itself on others. The rule is absolute: on siliceous stones like slate and quartzite, diluted acid is an accepted final step. On calcareous stones — limestone, marble, sandstone — acid dissolves the calcium carbonate that is the stone. One wrong pass on a limestone wall leaves it pitted forever.
Apply the diluted acid with a synthetic brush to a pre-wet wall, working small sections so the acid never dries on the surface. Keep it off the joints if you can — scrubbing grout with acid strips the joint surface and rebuilds the deposit problem from the other direction. Rinse immediately and thoroughly with clean water, then neutralize any residue by rinsing again. Wear gloves, goggles, and long sleeves; the acid that cleans salts is the same acid that burns skin.
Do not default to acid. On a correct slate or quartzite wall, the sequence brush, water, neutral cleaner handles most real-world deposits. Acid earns its place on heavy, recurring, cement-related crusts where the wall is confirmed siliceous and the deposit resists everything milder. If you are not 100% certain what stone is on the wall, you are not ready for the acid step.
Step 4: Rinse, Dry, and Evaluate
Finish every pass with a clean-water rinse and a real drying period. Efflorescence judgment is meaningless on a wet wall — damp white powder disappears into the wet stone face and returns to view as it dries. Rinse the section, walk away for at least a day, and come back with dry eyes. What remains after a full dry cycle is the true residue.
Evaluate by area, not by the single worst patch. One joint that keeps weeping while the rest of the wall stays clean points at a concentrated moisture source — a planter drip, a downspout splash, a flashing gap directly above. That one spot needs the building detail fixed, not more cleaner. A wall that shows powder evenly across its face has a systemic moisture load still curing out, and time plus drainage does more than any chemical.
Track the result. Clean once, wait two weeks, inspect the same corners and joints. If the powder returns light and slow, keep the wall on maintenance. If it returns heavy and fast, escalate to the moisture investigation in the prevention section below — that is the signal that the real fix is structural, not cosmetic.
Prevention: Flashing, Curing, and Sealing
Every repair guide ends at the same place: the permanent cure for efflorescence is keeping water out of the system. On exterior veneer, that starts with flashing. Every horizontal interruption in the wall — above windows, at the top of the veneer, under copings and caps — needs flashing that directs water away from the stone face and out of the wall cavity. Missing flashing at the top of a veneer run is the classic cause of returning powder on the lower courses.
Curing is the second lever. Fresh mortar and cement backing push water out for weeks. A wall that was installed and then immediately sealed — before the system finished drying — traps that moisture inside, and the salts simply migrate to the surface later through the sealer’s wear points. Let an exterior veneer cure for the full recommended period before sealing, and keep the base of the wall drained. The same thinking applies to wet-area veneer waterproofing, where the moisture stakes are highest.
Sealing closes the third gap — but it must be the right sealant for the stone. A penetrating sealer for natural stone reduces surface pickup and makes future cleaning easier without trapping moisture; a film-forming sealer on a damp veneer wall does the opposite. Choose based on the stone and the climate, apply after the wall is fully cured, and test on a sample panel first. Sealing natural stone veneer done at the right time prevents most of the cases this article exists for.
Start with veneer panels that ship clean.
Top Stone Panels controls each lot with 3-step QC — raw material selection, in-process recheck, and pre-shipment final — so the density and absorption story is documented before the panels leave the factory. Wholesale MOQ is one 20GP container, samples ship in 1-3 days, and production runs 20-25 working days from Xingang.
3-step QC documented Dense slate & quartzite 1-3 day samples
Mistakes That Make It Worse
The industry repeats four mistakes on efflorescence, and each one extends the problem. First, pressure washing. A high-pressure jet drives salt-laden water into the joints and behind the panels, guaranteeing a return visit that is worse than the first. We already covered the pressure washer rule: low pressure or none.
Second, acid on the wrong stone family. The limestone, marble, and sandstone walls that get the harshest commercial treatment are precisely the ones that cannot survive it. If the wall is calcareous, the acid step above does not apply — period. Third, sealing over a wet wall. Locking moisture into a system that is still curing postpones the deposit and can push it behind the panel faces, where it causes staining that cleaning cannot reach.
Fourth, cleaning on repeat without asking why. Three cleanings in six months on the same exterior wall is a moisture audit, not a cleaning schedule. The fourth actually useful step is inspecting the flashing, grading, and drainage — the fix that outlives every bottle of cleaner. Think of the waterproofing behind the veneer as the first line of defense; cleaning is what you do after that line fails.
FAQ
Is efflorescence harmful to stone veneer?
Usually no. It is a cosmetic white deposit caused by moisture carrying salts through mortar or cement backing; the dense stone itself is unaffected. If it reappears after cleaning, fix the moisture source rather than cleaning repeatedly.
What causes white powder on stone veneer walls?
Water dissolves soluble salts in mortar, grout, cement backing, or the underlying concrete, carries them to the surface, and deposits them as white powder when it evaporates. It often shows in the first months as moisture cures.
Can I use vinegar to remove efflorescence?
Only on siliceous stone such as slate and quartzite, and only with care. Vinegar and other acids dissolve calcium carbonate, so they damage calcareous stones like limestone, marble, and sandstone.
How do I stop efflorescence from coming back?
Remove the moisture path: fix flashing and drainage, let the wall cure, and keep cementitious materials dry. Cleaning removes the deposit; only moisture control stops it from returning.
How long does it take for efflorescence to stop?
Light deposits from fresh mortar often stop within the first year as the wall cures and moisture dries out. Deposits that continue past that point indicate an active water source that needs a structural fix.
Conclusion
White powder on a veneer wall is a message about moisture, not a verdict on the stone. Identify the deposit, clean from the mildest step forward, and when it returns, fix the water path instead of buying better cleaner. Dense slate and quartzite panels absorb very little, which means the remedy almost always lives in the joints, the backing, and the building details around the wall.
Key takeaways:
- Dry-brush first; water and pH-neutral cleaner second; diluted acid only on siliceous stone as a last step.
- Never pressure wash, never acid a calcareous wall, and never seal before the system cures.
- Flashing, drainage, and curing are the permanent prevention; cleaning is the maintenance.
- Order panels with documented QC and low absorption so the wall starts with the stone on your side.
Need a second opinion on the material before you order the batch? Talk to Top Stone Panels about absorption test reports and physical samples — 1-3 day turnaround from the factory floor.