Everyone specifies the feature wall. Then the lobby turns out to have three piers, a bulkhead and an exposed beam in it, and those elements get clad by whoever is left on site in week forty. Interior stone columns and beams are the hardest small areas on a project precisely because they are small: four corners, two junctions, a core that was never square, and a viewing distance of two meters instead of twenty. Nothing hides.
This guide is for the designers and fit-out contractors who have to make those elements resolve on paper before they are built. It covers what an interior column asks that a flat wall does not, how the corner and junction details decide the whole elevation, when a pre-assembled kit beats a field-built wrap, what to do with the beam problem, and how services, tolerances and contact wear get designed around rather than discovered. Weather is not the risk inside; geometry and abrasion are.
- An interior pier is four arrises and two plane changes, not one flat surface: the corner strategy decides whether the column reads as masonry or as four glued sheets.
- Design the head and base first. A loose cut course at the ceiling line or a stone edge standing in traffic at the floor is what makes cheap work look cheap.
- A factory column kit is the fast answer when the section and the core agree; a field-built wrap is the answer when the core is out of plumb, tapered or boxed around services.
- Indoors, contact and cleaning replace freeze-thaw as the design driver, so arris protection and a defined wash regime belong in the specification.
- Beams add a soffit, a long horizontal run and a dead-load question that a column does not, and none of those are solved by the stone choice.
- Why a Column Is Harder Than a Wall
- Corners and Arrises Decide the Read
- The Head and the Base
- Column Kit Versus Field-Built Wrap
- Cores That Are Not Square or Plumb
- Beams, Bulkheads and Soffits
- Interior Lighting Punishes Relief
- Services, Impact and the Cleaning Line
- Specifying One Pier, Element by Element
- Frequently Asked Questions
Why a Column Is Harder Than a Wall
A flat wall gives the installer one plane, two edges and a lot of room to hide a layout error. A free-standing pier gives four planes, four vertical arrises, a head condition, a base condition, and no hiding place, because the eye walks around it. The same material that looked excellent on the feature wall can make a column look like four separate sheets of stone folded around a box, and the reason is that nobody resolved the corner.
Interior work also changes the exposure. There is no driven rain, no freeze-thaw cycle and no UV argument, so the durability question that dominates facade selection mostly disappears. What replaces it is mechanical and visual: people lean on it, trolleys and furniture hit the lower third, cleaners scrub it, and the lighting is artificial, raking and close. A column in a lobby is inspected from a meter away under a spotlight; a facade is judged from the pavement.
The consequence for procurement is that an interior element is usually a small quantity of a difficult shape. It is where an order gets assembled from leftover material, sampled incorrectly, or matched badly against a phase already built. Treating each pier as a defined component with its own schedule is the discipline that prevents that.
Corners and Arrises Decide the Read
Four vertical joints running the height of a pier is the failure. It happens when field panels are butt-joined around the arris, or when a 45-degree miter is cut on site and the edge chips. Both produce a straight vertical line on every corner, and four straight lines on a square column is what makes a clad pier look like a clad pier.
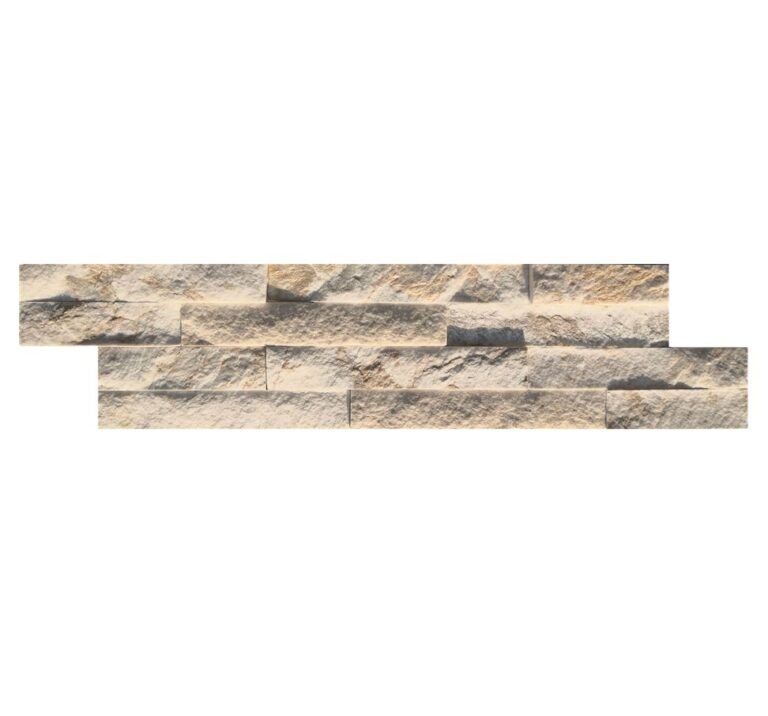
Pre-formed corner units remove it. The asymmetric set from Top Stone Panels pairs a 6×12 inch leg with a 6×6 inch leg and a 6×16 inch leg with a 6×8 inch leg; running long-leg and short-leg corners in alternation breaks the vertical joint around the turn so each arris reads as a masonry quoin. Because the corner arrives finished, the site skips the miter cut altogether, which is where roughly 20 percent of material waste and more than half of corner labor normally go, on a pier with four of them. The geometry and the staggering logic are set out in the guide to L-corner pieces, and the same staggered principle in continuous form is what makes a stacked stone column and pillar cap kit read as built rather than applied.
The Head and the Base
Two horizontal junctions decide the credibility of a pier: where it meets the floor and where it meets the ceiling or soffit. Both are places where a cut course has to live, and both are where the layout is usually abandoned in favour of whatever piece fits.
Land the base deliberately. A designed plinth, a recessed shadow gap or a metal edge protection at the floor line all read as intentional; a stone edge standing proud in a traffic route reads as damage waiting to happen, and it is exactly where trolley and chair impact lands. The lower band of an interior column takes more abuse than the elevation of a building ever does, which is an argument for a denser, sawn-edged material at the bottom and the relief face above it.
At the head, the two honest answers are a cap or a shadow gap. A cap closes the top of the element the way a pillar cap does outdoors, and indoors it also gives the ceiling line something to meet. A shadow gap sets the stone back from the ceiling so the joint is in shadow rather than being caulked, and it tolerates the fact that floor-to-floor height is never exactly what the drawing says. What should not happen is a full course terminated by an unsightly line of decorator’s caulk, which is the usual outcome when the head detail is left open.
Column Kit Versus Field-Built Wrap
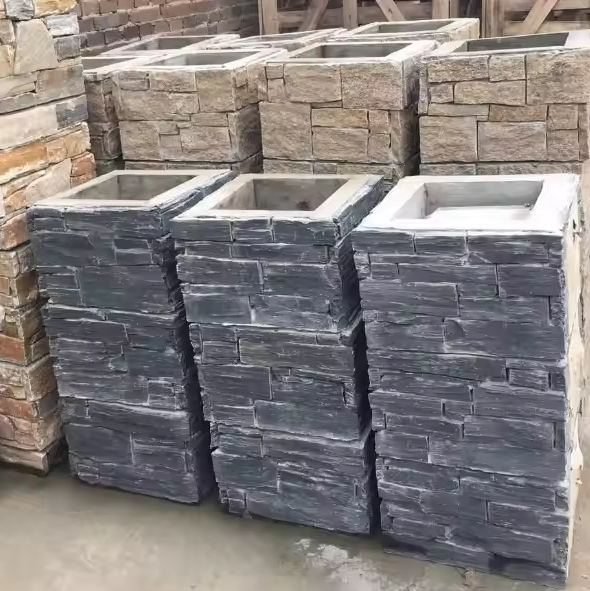
A pre-assembled column kit and a factory-made pillar cap are modular units built to a stated section, with 40x40cm and 50x50cm being the common interior-scaled examples in our range, and the whole point is that the squareness is manufactured rather than earned on site. A crew erects them like stacking components, and four arrises come out true because they were set in the plant. The full comparison of kit systems against site-built boxing is in the pillar wraps and column kits guide, and the sizing and structural logic behind the section choices sits in the article on sizing and styles for stone columns and pillars.
Field-built wraps win where the element is not a standard box: a tapered concrete pier, a column with a service chase on one face, a circular or octagonal core, or a square section that is genuinely out of plumb. The decision is not aesthetic, it is dimensional. Measure the core in three places at three heights before choosing, because a kit assumes a section you can actually deliver, and a wrap assumes a crew that can cut four true arrises.
Cores That Are Not Square or Plumb
Existing structure is rarely square. A framed building’s boxed column will be a few millimeters out over its height, a concrete core can be bellied, and a renovated building will have plaster built up on one side. Cladding amplifies that: a skin of stone held to a leaning plane shows the lean more clearly than painted plaster ever did, because the horizontal joints become wedges.
Two responses work. The first is to absorb the error in a true setting plane: furring or a battened cage built square and plumb, with the stone fixed to that rather than to the core. The second is to make the error a design feature by planning a taper deliberately, which is a rare and expensive solution. What never works is taking the stone down the face of an out-of-plumb core and hoping the coursing hides it, since every course then has to be cut to a wedge and the joints drift.
Thickness is the other interior-specific trap. A pier already eats floor area; a stone wrap adds to all four faces, so the difference between a thin veneer skin and a full bedded system is measurable in the room. Thin stone veneer is what most interior piers should use, and how those panels are layered and what each layer contributes is covered in the primer on the anatomy of a stone veneer panel. Batch color selection matters more on a column than on a wall too, because four faces of one pier sit in each other’s sight line, and our vein-matched batching holds 95 percent or greater color-transition consistency for exactly that reason.
Beams, Bulkheads and Soffits
A beam is a column tipped on its side, and it is worse. The stone now has a soffit that is looked at from below, two long horizontal runs, a junction with the ceiling on both sides, and gravity working against the bond along the whole length. It also raises a dead-load question that no interior wall does: the structure was designed to carry the beam, not the beam plus stone plus adhesive, and that has to be checked with the engineer before a material is chosen rather than after.
Soffit work is where interior stone fails most often, because the units have to be held in place while the bond cures and any void behind a horizontal face is a permanent liability. Where the soffit is visible, a thinner, lighter face with full coverage behind it and mechanical support during cure is the practical answer; where the beam is boxed into a bulkhead, cladding the two visible faces and returning the edge into the ceiling is usually the better building. A shadow gap at the ceiling junction hides the tolerance that a flush joint will advertise.
Interior Lighting Punishes Relief
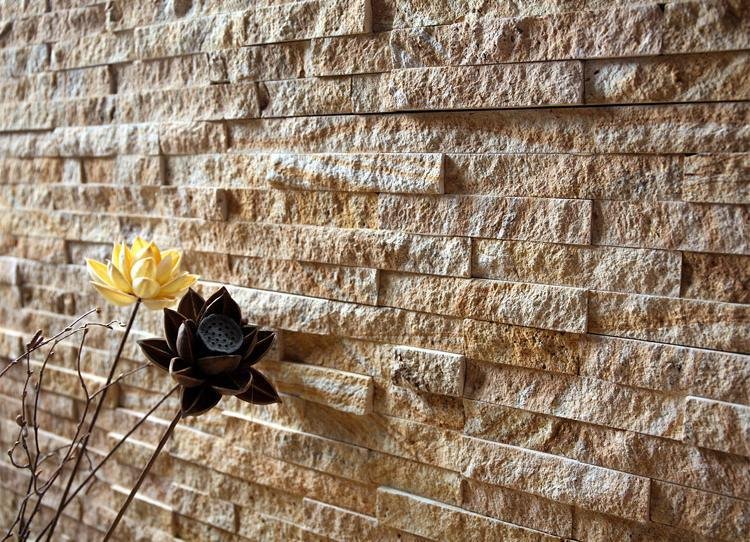
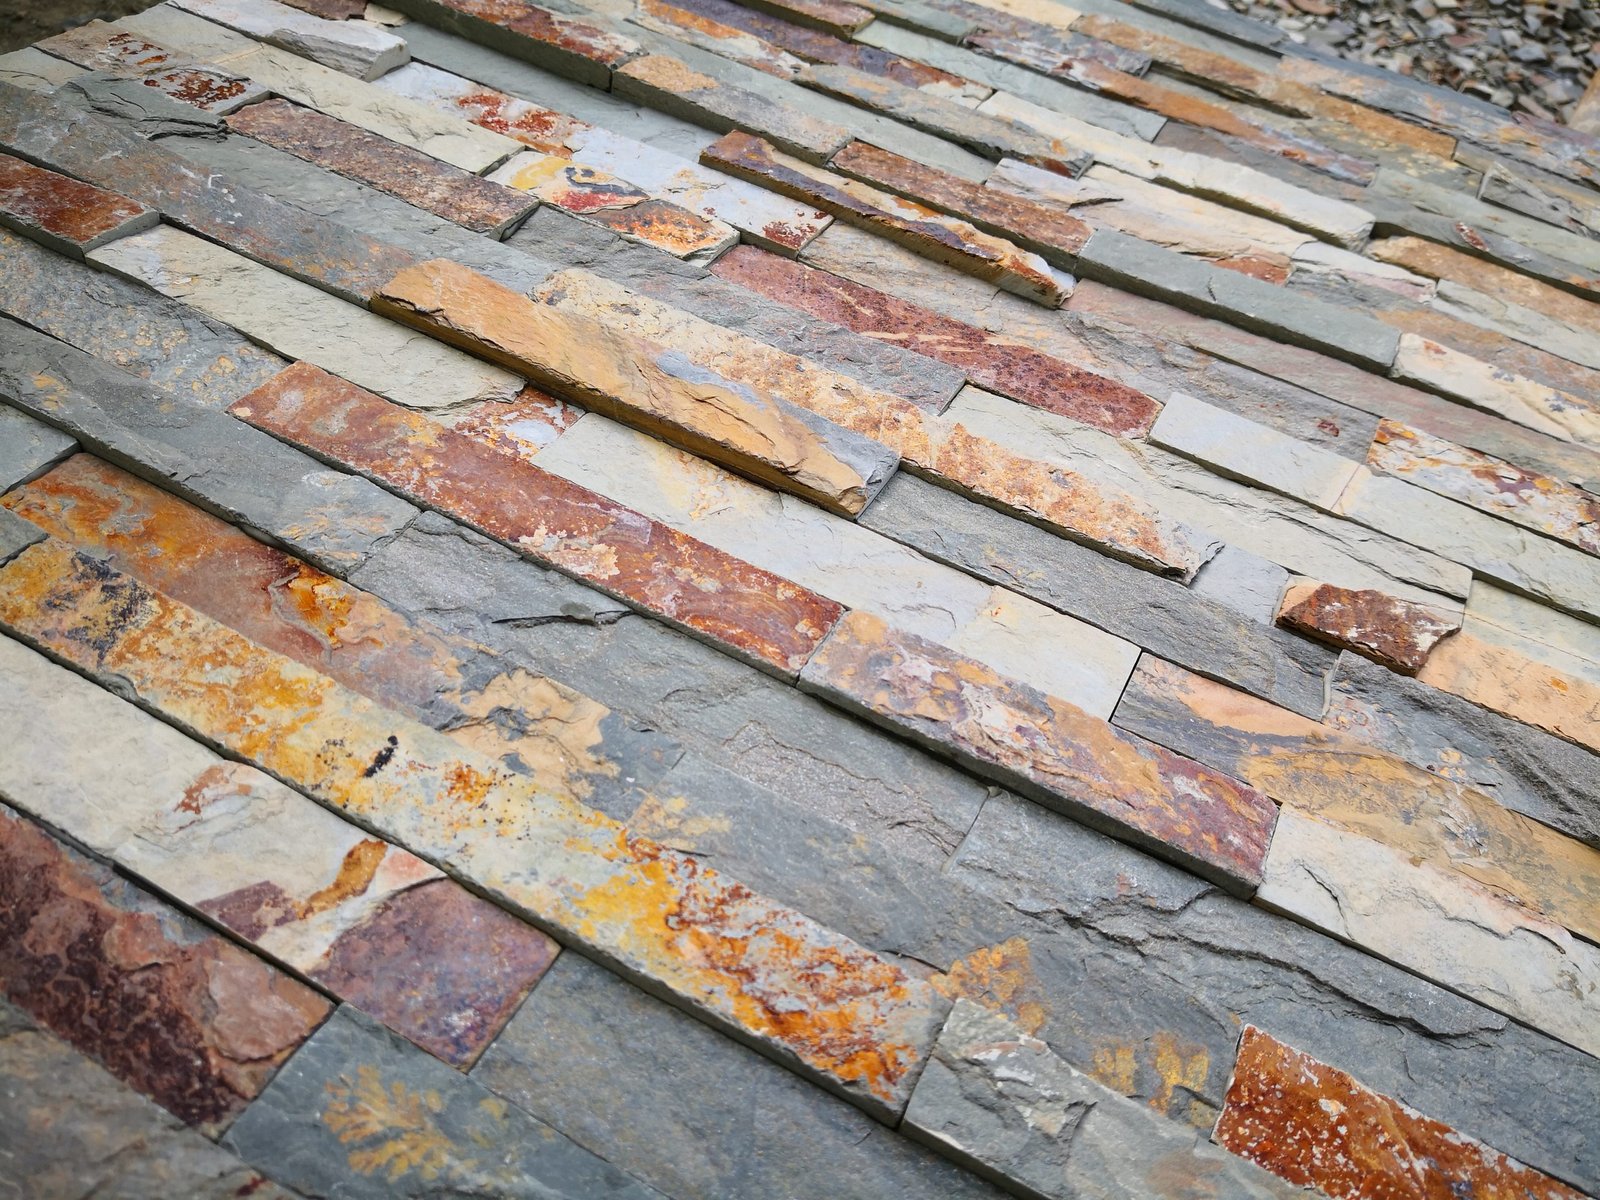
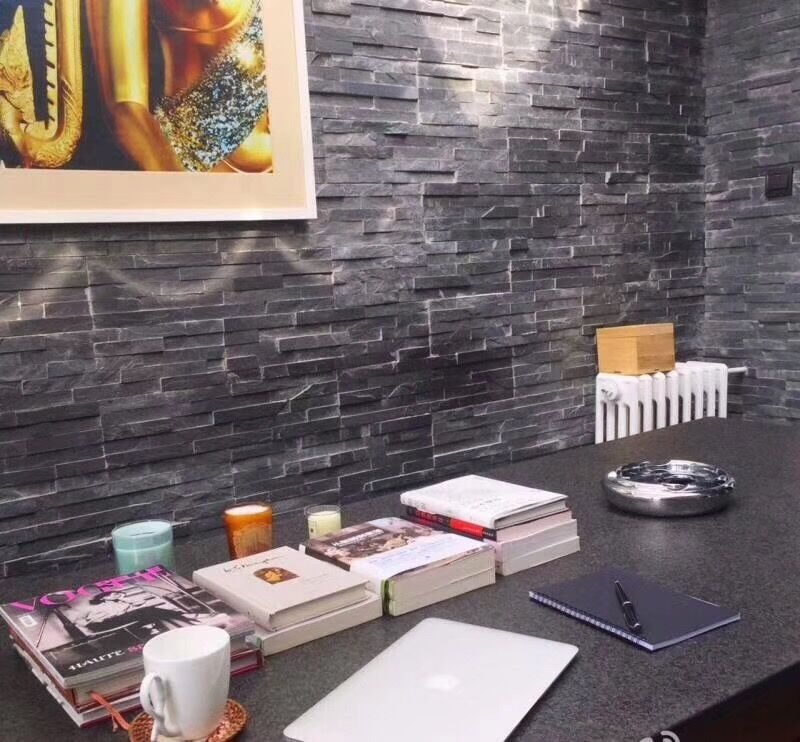
Relief is a lighting decision indoors. A split-face ledger with real depth is lit at grazing angles by wall washers and uplights, and every crest throws a long shadow, so what reads as natural texture outside reads as uneven and dirty inside. Designers who move a facade product indoors unchanged usually get a column that looks coarse under the downlight and photographs badly.
Match the relief to the lamp. Where the element is uplit, choose a lower-relief face or a sawn and honed edge so the shadow line is a line rather than a fringe. Where the pier is lit ambiently from a distance, the deeper texture survives and gives the mass it needs. Test a panel on the actual fitting at night before signing the column off: a mock-up pier under the real luminaire is a day’s work and it settles an argument that samples on a desk cannot.
color moves the same way. A warm cream face under 3000K lamps goes more beige than the swatch suggested, and a cool gray can go blue-green. The site’s interior applications library handles the wall versions of this problem, including the eight interior feature wall designs, and it is worth reading alongside a pier specification rather than instead of one.
Services, Impact and the Cleaning Line
Columns carry services. Lighting feeds, data, sprinkler heads and access panels all live in or on a pier, and every one of them has to be resolved before the stone goes on, because cutting a finished stone face around a box that was not coordinated is how a good detail becomes a patch. The clean solution is to set service openings on a joint or in a shadow gap, and to put access where it can be removed without lifting stone.
Impact protection is the next line on the schedule. The lower third of an interior pier takes knocks, and an exposed stone arris is the most fragile part of it, which is why metal edge protection at the external corners of a busy lobby is often the right answer even with a good corner product. Sealing and cleaning belong in the same document as the material: the guide to sealing natural stone veneer sets out what a sealer does and does not buy indoors, and independent cleaning and maintenance guidance for natural stone is published by the Natural Stone Institute. Naming a maintenance routine in the specification is what stops a facilities team reaching for a degreaser on a sealed face.
Specifying One Pier, Element by Element
Below is the schedule an interior pier should carry, in the order the decisions actually have to be made. Anything left off this list will be decided by the subcontractor on the day.
| Element | Decide before ordering | What goes wrong if left open |
|---|---|---|
| Core and section | Measured in three places at three heights; square, tapered or irregular | Kit arrives for a section that does not exist |
| Corners | Pre-formed units, alternating legs, or protected miters | Four straight vertical joints, chipped arrises |
| Base | Plinth, shadow gap or edge protection at floor level | Impact damage in the first year of use |
| Head | Cap or set-back gap at the ceiling line | Caulk line, and the tolerance shows |
| Services | Openings on joints, access panels off the stone | Cutting a finished face to chase a cable |
| Lighting | Relief chosen against the luminaire, tested at night | Texture reads as dirt under a downlight |
| color and batching | Sealed sample, vein-matched batch, phase order plan | Pier seven does not match pier one |
Frequently Asked Questions
Can stone veneer be used on an interior column?
Yes, on a sound rigid core with compatible preparation and full-coverage bond. The controlling decisions are the four arrises, the head and base details and the plumb of the existing section, not the stone itself.
How do you stop a clad pier showing four vertical joints?
Specify pre-formed corner units and alternate long-leg and short-leg set so the vertical joint breaks at every turn. Field-butt joints or site-cut miters are what produce the four straight lines.
Column kit or built-on-site wrap: which should I choose?
Choose the kit where the measured section matches a manufactured size and squareness has to be guaranteed. Choose a field-built wrap where the core is tapered, irregular or out of plumb, or where the kit cannot reach the element.
Is interior stone work easier than exterior work?
Different rather than easier. Freeze-thaw and driven rain leave the list, and geometry, contact damage, service coordination, artificial lighting and dead load on beams arrive on it.
What is the biggest interior detail mistake with stone piers?
Carrying a facade relief product indoors unchanged. Raking artificial light turns deep texture into visible grime, so the relief has to be chosen against the luminaire and tested at night.
Conclusion
An interior stone column is a component, not a small wall: four corners, a head, a base, services in the middle and a lamp aimed at it. Resolve the corner with pre-formed units, land the base and the head deliberately, choose the kit or the wrap from a measured core rather than a hope, keep the relief honest under artificial light, and put the beam’s dead load in front of a structural check. Do that and a pier reads as built masonry from a meter away, which is the only test that matters indoors.
- Specify the corner before the color; four straight arrises ruin any palette.
- Measure the core at three heights before committing to a kit section.
- Give the base impact protection and the head a cap or a shadow gap.
- Judge relief and color under the real luminaire, at night, on a mock-up.
- Send beam and soffit loads to the engineer before the material is chosen.
Cladding piers, bulkheads or a beam run and needing the corner units, cap profile and batch plan settled before order? Send the elevations and the measured sections to the Top Stone Panels team and we will tell you which of our kits and thin faces suits the element.