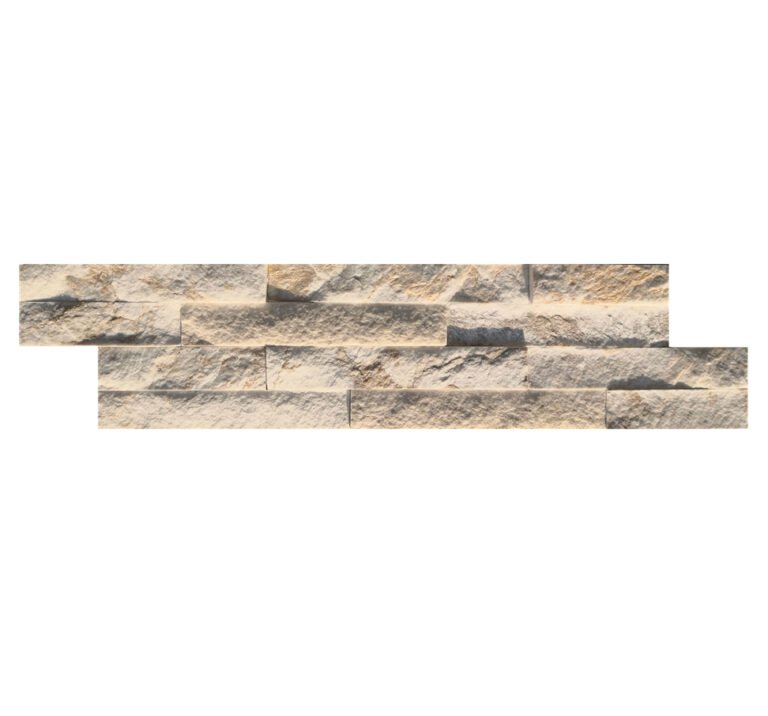
Pre-mixed adhesive changes the rhythm of a stone veneer job. No mixer, no mortar boxes, no batch-to-batch consistency questions, no sludge between courses. Open a pail, comb the adhesive onto the wall, and bed the panel. For a crew running linear feet of thin veneer, that rhythm is the difference between a good day and a long one.
This guide covers when pre-mixed adhesive is the right call, the substrate rules that come first, trowel and coverage basics, the open-time trap that ruins adhesive work, and the installation sequence that keeps the bond honest. It is written for contractors and distributors who need the method straight: what works, what fails, and why.
Top Stone Panels supplies the natural stone half of that system, slate and quartzite veneer cut on infrared saws at our Yixian County factory. The adhesive conversation is part of every order because the panel thickness, backing, and environment decide which setting method the manufacturer will approve.
- Pre-mixed adhesive suits thin veneer panels on sound, flat substrates; heavy field stone and wet exterior zones belong to a rated mortar or exterior adhesive system.
- The substrate is 80% of the job: sound, clean, flat, and profiled correctly for adhesive-bonded veneer.
- Coverage wins over trowel size; pull a panel early and confirm the transfer pattern covers the full back surface.
- Open time is the silent killer; go back and test a corner before the adhesive skins over.
- Cold weather extends cure time and can require a cold-rated adhesive, never a shortcut.
1. What Pre-Mixed Adhesive Changes
The practical shift with pre-mixed adhesive is removal of the mixing stage. Mortar requires water, a mixer, batch time, and experience to judge consistency; an acrylic adhesive arrives at working consistency and stays there as long as the pail is closed. That removes a measurable error source: the batch that was mixed too wet or too dry, which then bedded panels inconsistently across a shift.
The installation speed gain is real on panel systems. A panel of thin stone veneer, back-buttered or combed with adhesive, beds in seconds instead of the minutes a mortar bed needs to be pitched and set. Crews covering large flat walls report the workday spans more square meters, and the fatigue curve flattens because there is no shoveling and no clean-up at every course.
Pre-mixed adhesive is not a universal fix. It bonds thin veneer, factory-cut panels, and mesh-backed mats within its published weight and exposure limits. Heavy random field stone, slabs with deep bedding needs, and anything that will see continuous standing water still belong to a mortar system or an adhesive specifically rated for that exposure. The wrong call is usually not the material; it is hanging a heaver stone than the adhesive was designed to hold.
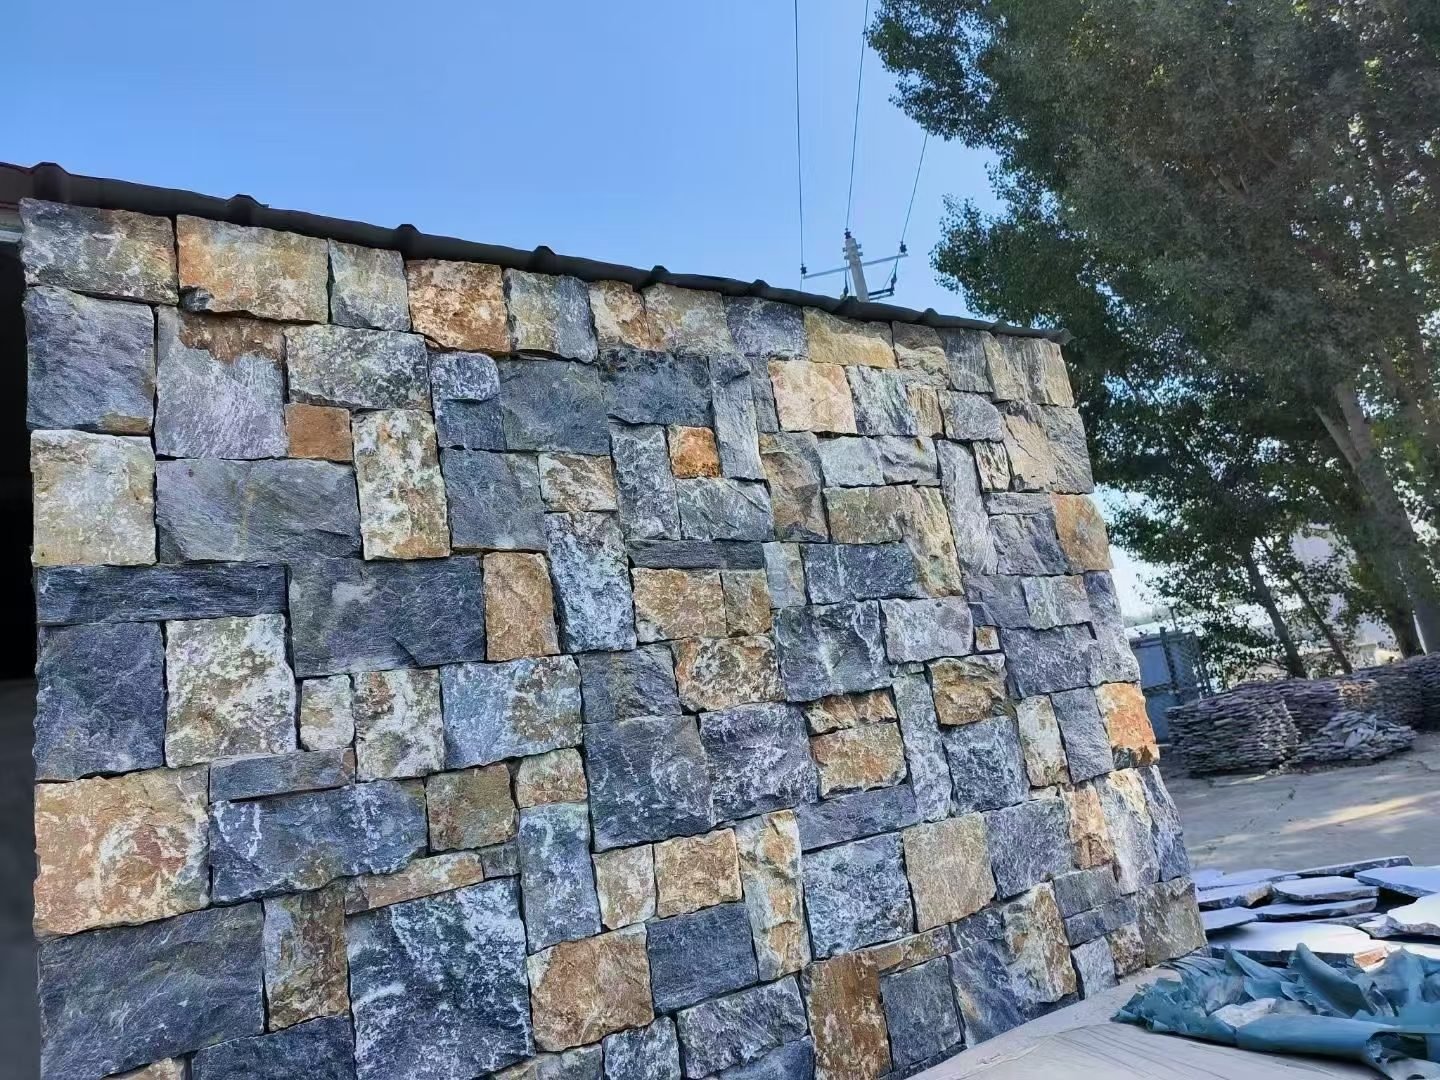
2. Adhesive Versus Mortar Bed by Job
Choosing between a pre-mixed adhesive and a mortar bed comes down to four questions: stone weight, substrate, exposure, and schedule. Panel formats with tight thickness tolerance are the natural adhesive candidates because a flat panel against a flat adhesive film produces full contact; irregular full-bed stone needs a bedding material thick enough to absorb the variation.
| Job condition | Pre-mixed adhesive | Mortar bed |
|---|---|---|
| Thin panels, flat substrate | Fast, clean, recommended | Works but slower |
| Irregular cleavage-face field stone | Only with full back-buttering and rating check | Preferred for heavy random pieces |
| Interior dry areas | Standard choice | Fine |
| Wet and freeze-thaw exteriors | Only if rated exterior and cold-rated | Reference system for exposure |
| Schedule-driven large flat walls | Fastest clean method | Holds schedule with more crew |
The honest rule: adhesive is a method, mortar is a system. When the stone is a thin stone veneer panel with a consistent manufactured back, and the exposure is dry or standard exterior, a rated pre-mixed adhesive delivers a faster, cleaner bond. When the job runs into heavy stone, standing water, or extreme freeze-thaw, put the adhesive data sheet next to the job spec and let the published ratings decide.
3. Substrate Rules to Check First
Pre-mixed adhesive bonds to the substrate, not to the air between panel and wall. Every square inch of missing contact is a future hollow sound and a possible pop-off, so the substrate quality decides the outcome before the first pail opens. The checklist is short and non-negotiable.
- Sound. No loose paint, no dust, no efflorescence, no failing gypsum; tap the surface and fix the hollow areas first.
- Flat. Adhesive film thickness cannot absorb a bowed wall; a long straightedge should show gaps measured in millimeters, not centimeters.
- Correct surface. Compatible backer board, cured plaster, or prepared masonry reads differently to adhesive; follow the adhesive manufacturer’s approved substrate list.
- Dry and frost-free. Wet or frozen surfaces stop the acrylic film from grabbing, and the failure shows up months later as a detached panel.
Veneer installation mistakes usually begin here, not at the trowel. Contractors who rush the substrate to keep a schedule end up blaming the adhesive for a bond that never had a surface to grab. The full substrate treatment, including plywood, cement board, and metal lath options, is covered separately; for adhesive work the rule compresses to sound, clean, flat, dry.
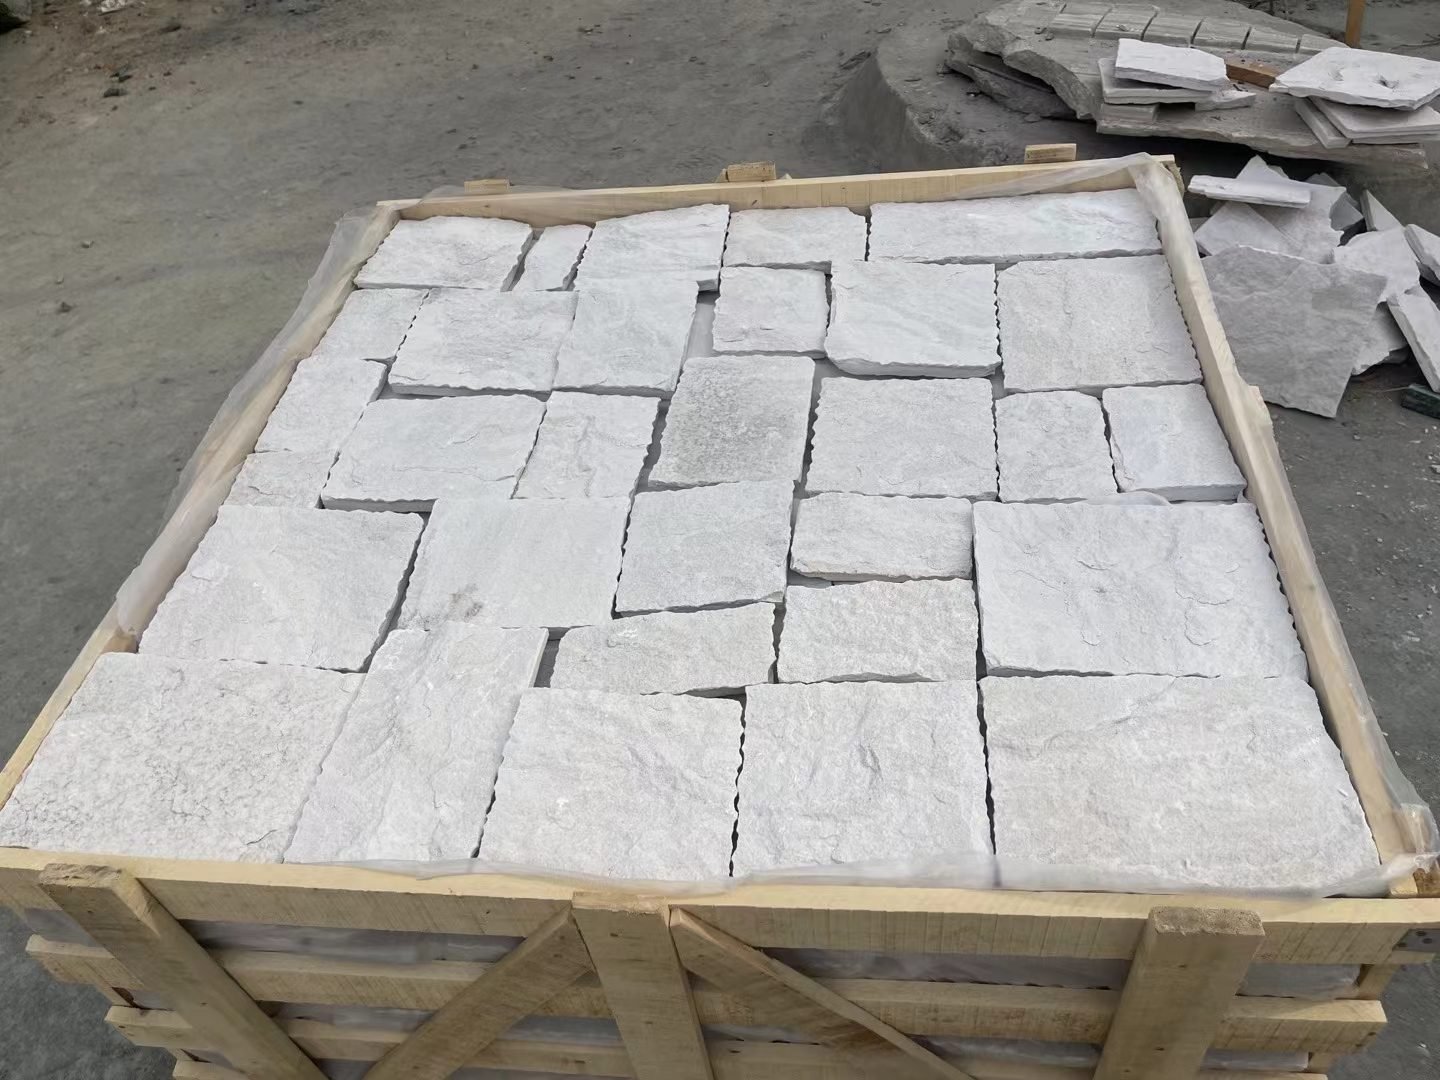
4. Trowel Size and Coverage Basics
The notched trowel determines how much adhesive lands on the wall, which determines how much panel surface actually bonds. Start from the adhesive manufacturer’s recommendation, commonly a 1/4-inch to 3/8-inch square-notch trowel for panels in this weight class, then verify the coverage with your own materials and wall.
| Trowel notch | Typical ridge height | Use with |
|---|---|---|
| 1/4-inch square | ~6mm | Light mesh-backed and mini-panels |
| 3/8-inch square | ~10mm | Standard ledger panels and thicker veneer |
| 1/2-inch square | ~12mm | Heavier stone with full back-buttering |
Coverage is the number that matters. Bed the first panel, pull it off immediately, and look at the back: the adhesive transfer should cover the full surface with ridges flattened by the press-in. Low coverage reads as stripes of bare panel, and it is the primary cause of hollow-sounding or later-detaching veneer. If the first pull shows stripes, change trowel or change pressure before committing to the wall. Setting-material test methods and classifications are defined by standards administered by the Tile Council of North America, which also publishes the accepted installation handbook that adhesive data sheets point back to.
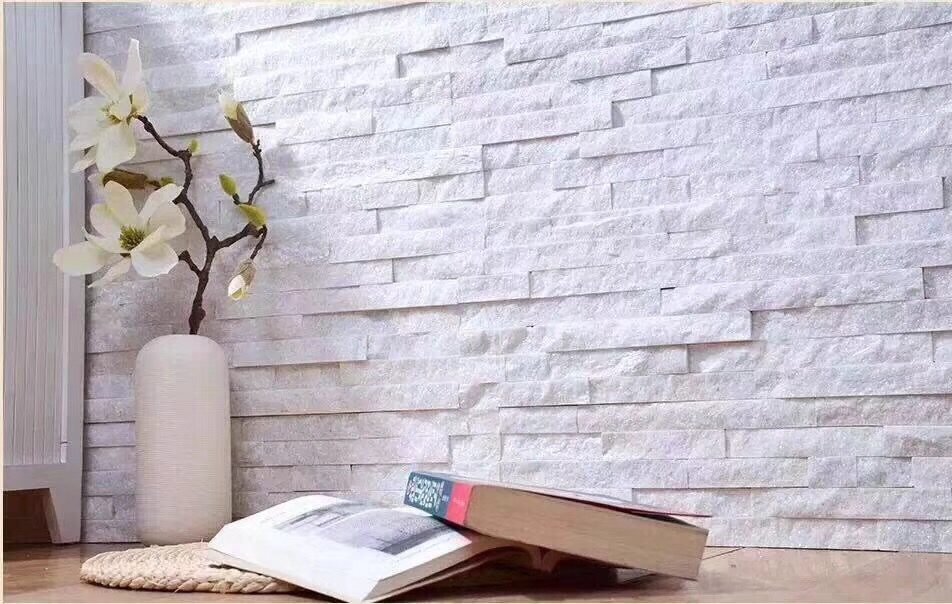
5. Open Time, Working Time, and Cure
Open time is the window between combing adhesive onto the wall and the film skinning over so it will no longer wet the panel back. Pre-mixed acrylics are generous at normal temperature and punishing when hot, windy, or direct-sunned. A wall combed in the morning and left while the crew breaks can read fine to the eye and still fail to transfer; the ridge tops skin over and the panel beds onto a film that no longer grabs.
Working time is the limit at the pail, and cure time is the limit before the wall takes load. The three numbers are not the same:
- Open time: measure from combing to panel placement, typically 15-30 minutes in normal conditions, less in heat and wind.
- Working time: keep the pail closed between portions; skim at the pail side is a signal to use fresh adhesive, not to stir the skin in.
- Cure time: usually 24-48 hours before grouting, jointing, or loading the wall; the data sheet governs, and cold weather extends it.
Discipline on open time is the whole game. Comb only as much wall as the crew can panel before the window closes, and go back to test a corner panel if there is any doubt. A panel that rocks or sounds hollow after placement should come off, the adhesive should be re-combed with fresh material, and the panel should go back before the film sets.
6. The Installation Sequence
The sequence looks familiar to anyone who has set tile, with two stone-specific changes: the panels are heavier than tile and the joints are usually designed rather than gridded. Follow the order and the bond stays consistent.
- Verify the substrate is sound, flat, dry, and frost-free; mark the layout lines for the band and corner returns.
- Mix or open the pre-mixed adhesive per the data sheet; keep the pail closed between batches.
- Comb adhesive on a workable section with the approved notch, holding the trowel angle steady so ridge height stays even.
- Set each panel into the adhesive with a slight twist and full press, checking the face against the layout line.
- Pull every tenth panel early in the job to confirm full coverage transfer, then adjust technique, not hope.
- Keep joints consistent with spacers or a joint rule, working from the bottom course upward.
- Let the wall cure for the full documented time before grouting or pointing; do not walk the wall early.
- Re-check the first section for hollow sounds before handing the wall over; fix weak panels while the adhesive still works.
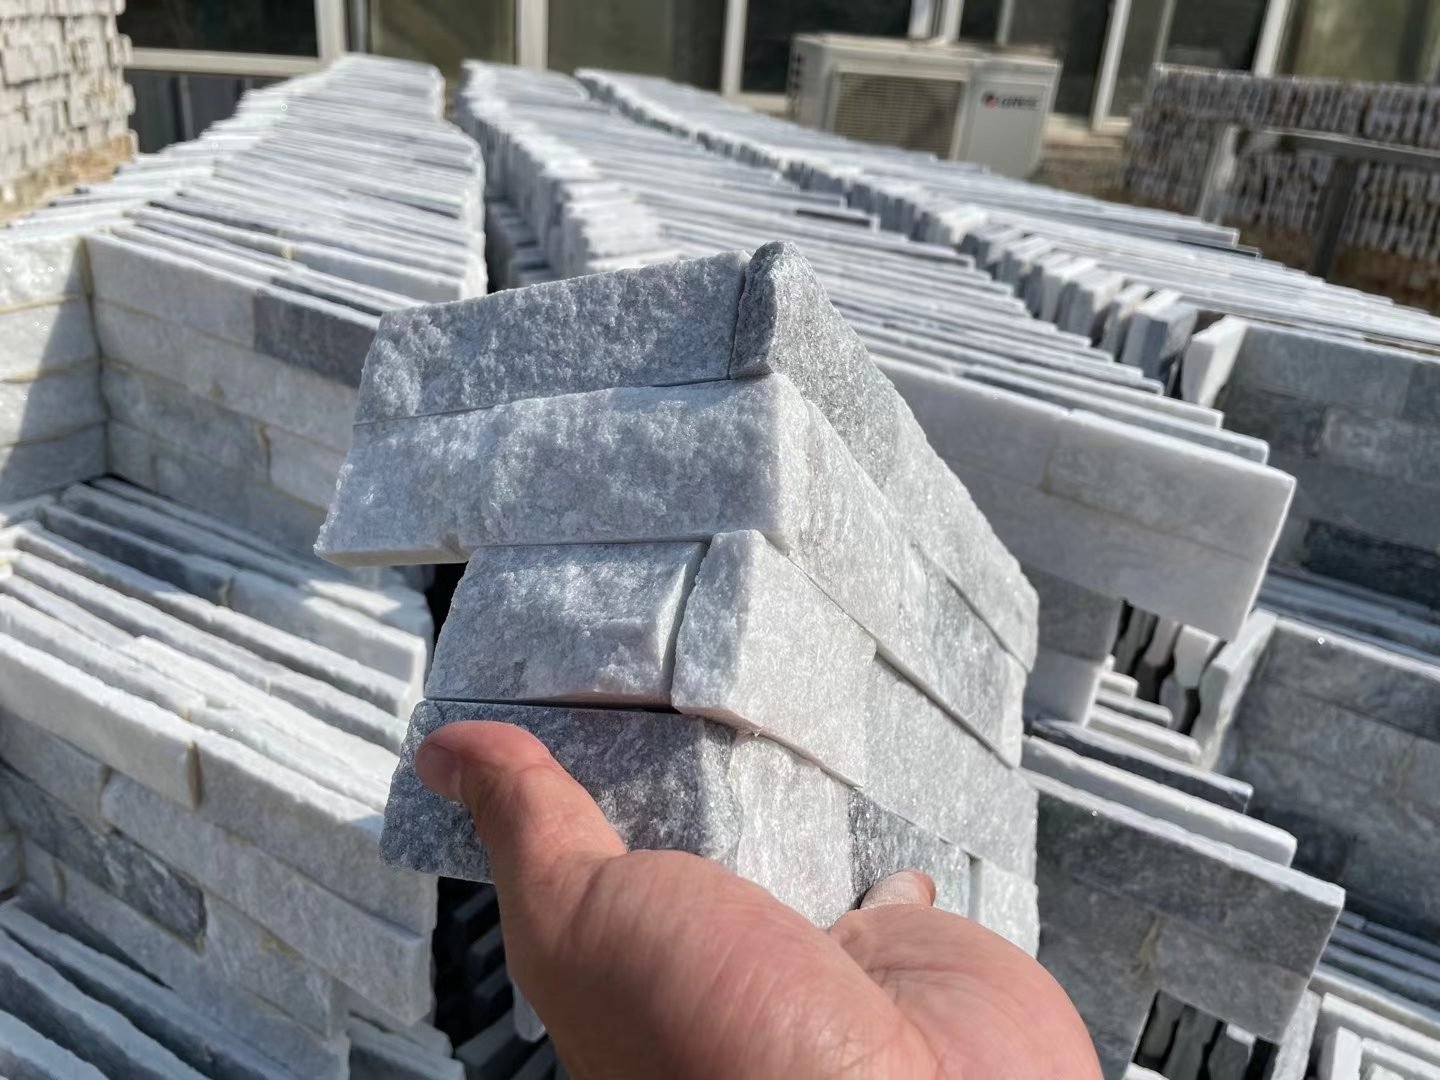
Corners deserve their own step in the sequence. Prefabricated L-corner pieces set into the same adhesive film and mechanically lock the corner return; field-cut corners add a joint that the adhesive has to span, so count the corner pieces when you order rather than cutting them on site.
7. Joints, Corners, and Grout Lines
The same adhesive film that holds the panel controls the joint look. Full contact at the panel edge keeps the joint tight and straight, which matters more in a panel system than it does in loose stone, because the panel edge is a factory line and any gap reads as a visible flaw. Space the panels consistently, keep the run level, and let the courses breathe from the layout line rather than re-adjusting by eye.
To point or not to point is a design decision, not a structural one. Flush recessed joints suit modern elevations and hide the substrate moisture story less; grouted joints give a traditional stacked-stone face. Whichever the spec calls for, the adhesive cure has to finish before grouting, or the grout water and tool pressure can disturb the panels while the film is still soft.
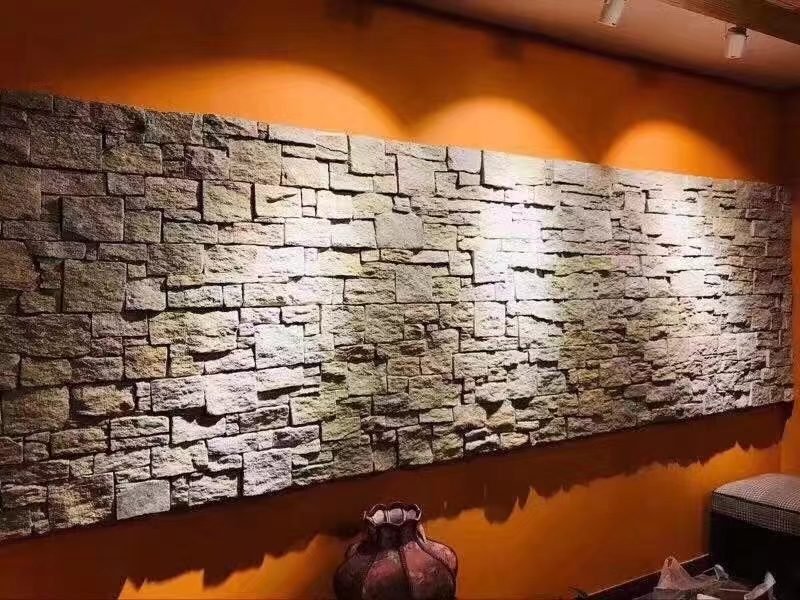
Movement joints follow the same rules as any veneer system: the adhesive transfers loads, it does not absorb structural movement, so plan control joints where the building moves and never run a grouted band across a movement joint. A crack that appears later usually traces back to a missing movement joint, not to the stone.
8. Cold Weather and Wet Exposure Limits
Pre-mixed acrylic adhesives carry temperature floors like every wet material: below the published minimum application temperature, the film slows, skins unpredictably, and can lose its bond before it cures. The cold-weather rules for adhesive work mirror the mortar rules, plus one extra caution: pre-mixed acrylics can be more temperature-sensitive to storage than bagged mortar, because the water in the pail freezes in the same way mortar water does.
For wet and freeze-thaw exposures, the adhesive data sheet is the binding document. Products rated for exterior, moisture-resistant use exist; products not rated for it should not be quietly substituted because the schedule is tight. When the wall faces standing water or constant wetting, most manufacturers steer the installer to a mortar system or a specialty adhesive built for the exposure. The stone itself, dense slate and quartzite rated for -30°C to +50°C cycling, carries the climate side; the adhesive has to carry the bond side at that same temperature. Model building codes published by the International Code Council define the construction class and attachment expectations for veneer on occupied buildings, so the final method has to satisfy both the product rating and the local code.
Ordering for climate means specifying early. The winter installation guide covers the cold-work plan in detail; the short version is that a cold-rated adhesive, warm storage, and an enclosure beat any amount of heroic weekend speed.
FAQ
Can you install stone veneer with pre-mixed adhesive?
Yes, when the stone is thin veneer, the substrate is sound and flat, and the adhesive is rated by its manufacturer for the panel weight and the exposure.
What trowel size is used for stone veneer adhesive?
Start with the manufacturer’s recommendation, commonly a 1/4-inch to 3/8-inch square-notch trowel, then verify coverage by pulling a panel and checking the transfer pattern.
Is pre-mixed adhesive as strong as mortar?
Coverage for coverage, a rated adhesive meets its published bond values, but mortar stays the reference for heavy field stone and steep or standing-water exposures.
How long does pre-mixed adhesive take to cure?
Cure time depends on the product and temperature, typically 24-48 hours before grouting or loading, and cold weather extends the clock and may require a cold-rated adhesive.
Can pre-mixed adhesive be used on wet exterior walls?
Only when the product is rated exterior and the exposure stays inside the manufacturer’s published wet-use limits; standing water and severe freeze-thaw usually call for a mortar system.
Why is my stone veneer sounding hollow after adhesive setting?
Hollow sound usually means low coverage: the combed adhesive did not transfer to the full panel back. Pull a panel, check the ridges, and re-comb with fresh adhesive before the film skins.
Conclusion
Pre-mixed adhesive is the method of choice for thin veneer panels when the substrate is sound and flat and the exposure fits the product rating. The speed comes from removing the mixing stage; the quality comes from coverage and open-time discipline, not from luck. Verify the substrate, set the trowel, pull test panels, watch the clock, and cure the wall before you load it. That sequence separates an adhesive install that lasts from one that reopens next season.
Key Takeaways
- Adhesive suits thin veneer panels; mortar stays the reference for heavy stone and wet exposures.
- Substrate soundness, flatness, and dryness decide the bond before the trowel does.
- Full coverage beats trowel size; pull a panel and check the transfer early.
- Open time and cure time are deadlines, and cold weather moves both.
When you buy the stone half of the system from Top Stone Panels, you get the panel data sheet, thickness tolerance verified at three QC points, and corners that set into the same adhesive film. Samples ship in 1-3 days and production runs 20-25 working days, so the adhesive method you validate on samples is the method you run on the container.