
Cut the panel around the box, extend the box forward, bond, trim, seal. That five-line sequence is the whole job, and every failure I inspect comes back to skipping one of the lines — usually the box extension. This guide walks the installation in the order it should happen, with the measurements that keep a stacked stone wall looking clean at every outlet, switch, and fixture.
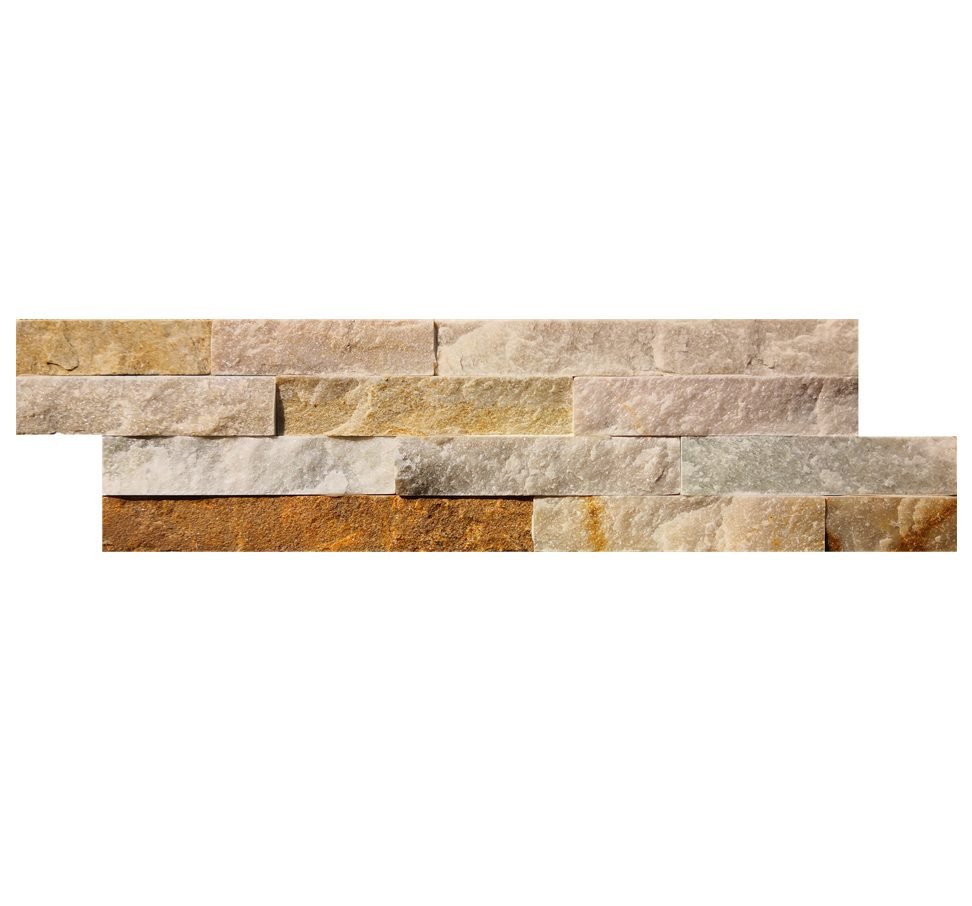
Top Stone Panels ships natural slate and quartzite stacked panels in 15x60cm and 15x55cm formats for walls and fireplaces. The same rules apply whether you are wrapping a new build or a retrofit. Panel layout, box cutouts, and fixture trim are the details that separate an install that passes inspection from one that begs for a redo.
- Measure and mark the box position before cutting; a pencil line costs nothing, a miscut panel costs $30-plus.
- Extend every electrical box so its face lands on the finished stone surface, per code.
- Cut with a diamond blade or wet saw, and open the hole 3-6mm larger than the box for a clean joint.
- Bond with the same mortar as the wall, then caulk the fixture gap so moisture cannot track behind the stone.
- Factory L-corner kits and CNC-trimmed panels handle right-angle edges around boxes and wall corners.
Plan Around the Boxes Before Anything Else
Boxes set the geometry of a stone veneer wall. A feature wall looks wrong when an outlet lands half off a panel joint or crowds a corner. Once the panels are bonded, moving a box is a demolition job, so the dry-layout step comes first, not as an option.
Dry-fit the panels across the wall plane before mixing mortar. Mark every box, switch, and fixture location on the face of the panels. Shift the panel layout slightly if it makes a cleaner cutout, and keep full panels on the corners. Factory L-corner kits wrap outside edges, which is why corner panels arrive pre-formed rather than cut on-site.
If you are new to the panel install itself, the full stacked stone veneer installation guide covers substrate prep and bonding in detail before you add outlets to the mix.
Safety First: Power Off and Code Rules
Turn off the breaker for the circuits near the wall and confirm it with a contact voltage tester before cutting, drilling, or bonding. Water, mortar, and wet blades travel near the boxes all job long; there is no version of this work where leaving the circuit live saves time.
Code work is about the box, not the stone. Local electrical codes, built on the National Electrical Code maintained by the National Fire Protection Association, require the box face to reach the finished wall surface. Here, that finished surface is the outer face of the stone panels. An outlet recessed behind the veneer is a code failure and a fire hazard. The fix is a listed box extender, which you install after the panels are bonded.
The cutting, bonding, and sealing work is masonry. The wiring connections stay with a licensed electrician in most jurisdictions. Coordinate that handoff before you seal a wall shut.
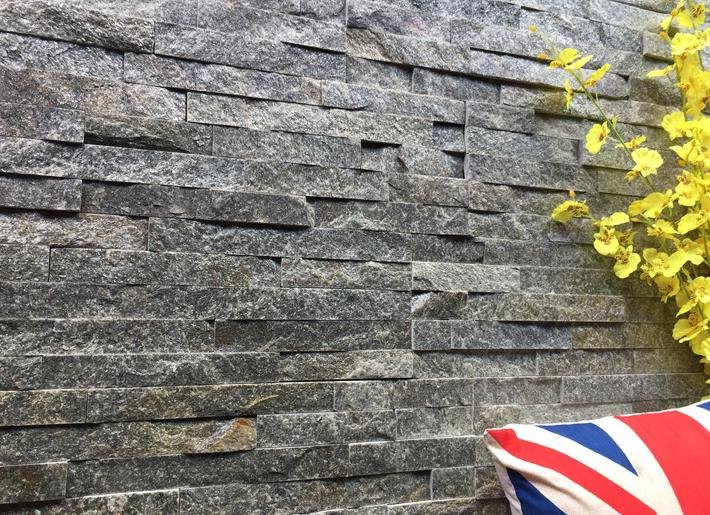
Tools and Materials for a Clean Cutout
Most of the tool list is standard masonry kit. The cutout-specific pieces are the angle grinder or wet saw, a diamond blade rated for stone, and a masonry drill if fixtures need their own holes after bonding.
| Tool or Material | Role in the Job |
|---|---|
| Tape measure, pencil, level | Mark and transfer box positions |
| Angle grinder or wet saw | Cut the panel openings |
| Diamond blade for stone | Clean cuts without chip-out |
| Thinset or type-S mortar | Bond panels to substrate |
| Box extenders | Reach the finished stone plane |
| Outdoor-rated sealant | Seal the fixture gap at the face |
| N95 mask, eye wear, gloves | Silica and chip protection |
Step 1: Measure and Mark the Cutout
Hold the panel in its final position and trace the box outline onto the face with a pencil. Mark the top and one side of the box plus the screw locations; those two marks tell you orientation when the face is up on the bench. Transfer the same marks to the back of the panel if you cut from the back to reduce edge chip-out.
Add 3-6mm of clearance around the box outlines. The gap disappears under the fixture plate and gives you room to slide the panel into position without fighting masonry dust against a tight edge.
Mark every fixture before you get comfortable with the first one. Outlet boxes, switches, thermostats, and low-voltage plates all get the same treatment in the dry layout pass.
Step 2: Cut the Panel Around the Box
Cut from the back face with a diamond blade on an angle grinder or wet saw. Score the outline in short passes, then deepen each pass rather than forcing a single deep cut; stone wants patience over pressure. For rectangular openings, cut relief notches into the corners so the waste piece falls free without cracking the panel.
Dust control matters. Stacked stone cut dry creates silica dust, so run a wet blade outdoors when possible and keep a spray bottle on the bench. Wear an N95 mask even for a single cutout. The full stone veneer cutting guide covers blades, speeds, and chip-out avoidance in depth.
Factory CNC trimming already settles the panel’s outer dimensions, so on-site work is only the openings. That is the difference between the ~20% waste you see on field-cut floors and the straight edges delivered from the factory.
Step 3: Extend the Box to the New Plane
After the panel is bonded and cured, the box sits recessed by the panel thickness. Listed box extenders screw onto the existing box in standard depths, bringing the device face flush with the stone. Order the extender depth after you know the applied panel thickness, which runs roughly 1.5-3cm for thin veneer.
Electricians make the wiring connections at this stage. Schedule the box extension before the final trim so the electrician can mount devices flush against the stone without fumbling around a caulk line.
On fireplace walls the same rule applies to recessed lighting and speaker plates. Every opening in the fire-rated assembly gets its listed box and extender, and the stone itself carries an A-class fire rating that does not change the box requirements.
Step 4: Bond the Panel and Dress the Joint
Butter the cut panel with the same thinset or type-S mortar used for the rest of the wall, then set it into place. Keep the face in plane with its neighbors. A straightedge across the joint confirms the panel did not rock on a high spot beside the cutout.
Tool the joints with the wall pattern. Flush or recessed joints both work around fixtures; what fails is a joint that runs into the box at an angle and leaves a crescent gap. The mortar application technique guide details mix consistency and bedding for panels in the stacked format.
Keep mortar out of the box interior while bedding. Mask the opening with tape before you set the panel; pulling dried mortar out of a device box voids the clean finish you are working toward.
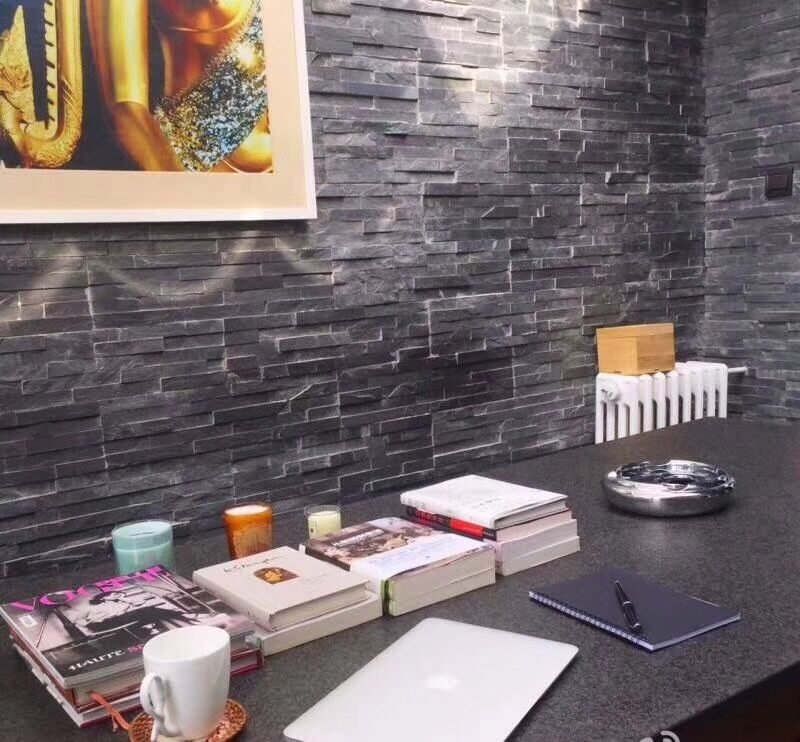
Step 5: Trim and Seal the Fixture Penetration
Mount the device and its plate, then close the small gap between plate and stone with a color-matched sealant or flexible caulk. That bead is the waterproofing local to the fixture; without it, splash water and condensation run straight into the box cavity.
Exterior fixtures get outdoor-rated sealant and a check that the plate’s gasket seats against the stone. Interior fixtures can take paintable caulk in the joint color. Either way, tool the bead smooth and wipe the stone face before the sealant skins.
The same sealing logic applies at window and door returns; the veneer around windows and doors guide shows the trim and joint patterns for other penetrations on the wall.
Switches, Lights, and Fixtures Beyond Outlets
Receptacles are the easy case. The same workflow covers switches, dimmer plates, thermostats, exterior wall lights, hose bibbs, and low-voltage camera mounts, with two adjustments.
Switches and dimmers sit low and get handled by every human in the building, so keep their cutouts perfectly plumb. Exterior lights and hose bibbs need the outlet-rated sealant and a gasketed plate, because they live in the weather-penetration zone. Thermostats and low-voltage plates add a data box, commonly a low-voltage ring, that the electrician terms separately.
When fixtures cluster — a row of outdoor sconces, a bank of switches — cut the openings in a dry-layout pass across the whole run. Individual panels with one opening each are fine; panels with two openings ask for a careful match to the box spacing.
Common Mistakes That Fail Inspections
- Recessed boxes. The box face buried behind the veneer fails code and leaves devices proud of the stone. Fix with listed box extenders before the electrician arrives.
- Undersized cutouts. Cutting the opening tight to the box crushes stone during panel set. Open 3-6mm and hide the gap under the plate.
- Cutting from the face. Cutting from the front creates a ragged chipped edge at the opening. Cut from the back for clean edges, or score both sides.
- Skipping the sealant. A proud gap around an exterior fixture is a water channel into the wall. Caulk every penetration.
- Wrong blade. A masonry blade for brick tears thin slate edges. Use a diamond blade rated for stone and let the tool spin up to speed before contact.

Waterproofing Behind Exterior Fixtures
On exterior walls the weather-resistive barrier behind the stone continues behind the boxes. Cut the barrier to fit the box, flash the opening, and lap the barrier over the top edge so water sheds past rather than behind it. Caulking the fixture plate is the last defense, not the first.
The barrier sequence matters more in freezing climates, where condensation and meltwater become ice pressure behind the panels. Our waterproofing behind exterior veneer guide walks the drainage plane and flashing order that keeps fixture penetrations dry all winter.
Ordering panels for an install with boxes?
Plan the layout with real panel dimensions and factory L-corner kits. Samples ship in 1-3 days; production runs 20-25 working days at a one 20GP container minimum.
15x60cm panels | L-corner kits | CNC-trimmed edges | FOB Xingang terms
Frequently Asked Questions
Do outlets need box extenders with stone veneer?
Yes in most cases. The panel thickness sets the box back, and code requires the box face to reach the finished surface. Listed box extenders close that gap.
How do you cut stacked stone for an outlet?
Mark the box on the panel, add 3-6mm clearance, and cut from the back with a diamond blade on an angle grinder or wet saw. Relief notches at corners free the waste piece cleanly.
Should you caulk around outlets on a stone wall?
Yes. A color-matched sealant between the fixture plate and the stone closes the gap that would otherwise channel water and dust into the box.
Can stacked stone cover an existing wall with outlets?
Yes. Retrofit the thickness and box extensions correctly, and the same cutout workflow works over existing drywall, brick, or concrete before bonding.
Is stacked stone safe around fireplace outlets?
Natural slate and quartzite carry an A-class fire rating, and listed metal boxes handle the fixture wiring. Follow the box and clearance rules that apply to the fireplace installation.
Conclusion
Outlets and fixtures are the detail test on a stacked stone wall. The sequence is short, and each step protects the next. Plan and mark before bonding, cut clean from the back, extend the box to the stone plane, bond in plane, and seal the gap at the plate.
- Dry-layout the whole wall and mark every box before mixing mortar.
- Extend boxes flush with the finished surface; recessed boxes fail code and inspection.
- Cut from the back with a diamond blade, 3-6mm of clearance, and relief notches.
- Caulk every fixture penetration, and use outdoor-rated sealant on exterior plates.
Order a sample panel, cut a practice outlet in it, and confirm your blade and mortar behavior before the container lands. The practice piece costs an hour and saves the wall.



