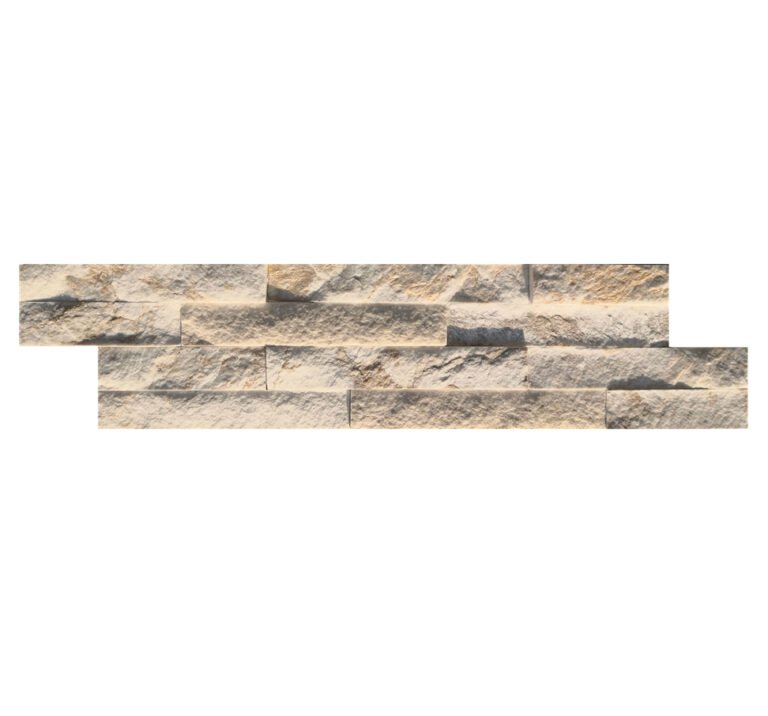
Rain drove sideways against the wall for three days before the crew opened the first box. The exterior wall design asked for natural stone veneer over a ventilated rainscreen, which sounded simple on the drawing: stone on the outside, a gap behind it, air and water doing their jobs. On site the sequence decides everything. The gap only drains if nothing blocks it, the top only vents if someone leaves it open, and the adhesive only bonds if the substrate is a panel designed for exterior exposure.
A ventilated rainscreen is a wall system with four jobs: drain water that gets past the facade, vent vapor so the cavity dries, and stop thermal bridging through the air layer. It also gives the weather barrier a second chance. Stone veneer performs beautifully on that system when it is installed as part of the wall, not on top of it. This guide walks the sequence in order, so the cavity stays a cavity from first furring strip to last vent.
- A ventilated rainscreen keeps a 19-25 mm (3/4 to 1 in) drainage and ventilation cavity between the stone veneer and the weather-resistive barrier.
- Build the wall in order: structure, weather barrier, furring, substrate, flashing, then veneer, and keep the cavity open at top and bottom.
- Adhesive-set veneer goes on an exterior-grade substrate; mechanically fixed interlocking panels can span the cavity space.
- Every penetration, window head, and base needs flashing, and mortar must never fall into the cavity.
- Model codes require an air space for anchored masonry veneer, and adhered veneer practice follows standards such as ASTM C1780 with the manufacturer’s assembly.
- 1. Why Install Stone Veneer on a Rainscreen
- 2. Know the Layers Before You Start
- 3. Furring, the Drainage Gap, and Ventilation
- 4. Substrate and Adhesive System
- 5. Laying the Veneer: First Course to Top Vent
- 6. Corners, Joints, and Flashing Details
- 7. Mistakes That Kill a Rainscreen Wall
- 8. Installation Checklist
- FAQ
- Conclusion
1. Why Install Stone Veneer on a Rainscreen
Veneer solves the look of mass masonry without the weight and the structure. Rainscreen solves the failure mode of that lighter wall: moisture that crosses the veneer face, or condenses behind it, needs a place to go. Put the two together and the facade drains, dries, and ventilates instead of holding water against the sheathing.
The primary function is drainage. Water that works past a cracked sealant joint or a flashing edge falls down the cavity face and exits at the base, where it can weep out. The secondary function is ventilation. When the cavity is open at the bottom and the top, warm air rises and pulls moisture vapor out of the assembly. That matters in humid coastal climates and in cold climates, where vapor drive reverses by season. Air movement also keeps the cavity pressure closer to outside, so wind-driven rain has less pressure to push it inward.
For the climate cases in the winter installation guide and in coastal conditions, the drained cavity is what makes natural stone behave predictably. The stone itself is dense and stable; the wall behind it is where long-term performance is won or lost.
2. Know the Layers Before You Start
A rainscreen wall with stone veneer has six layers in order from inside to outside. Each one earns its place, and skipping or reordering one changes how the whole assembly breathes.
| Layer | Material | Job |
|---|---|---|
| 1. Structure | Framing or concrete | Carries the load; furring attaches here |
| 2. Weather-resistive barrier | WRB membrane or fluid-applied WRB | Keeps the structure dry if water crosses the cavity |
| 3. Furring / standoff | Vertical furring strips or rainscreen rails | Creates the 19-25 mm ventilation and drainage segment |
| 4. Substrate | Exterior-grade fiber-cement panels or equivalent | Clean, rigid bed for the adhesive |
| 5. Flashing and vents | Metal flashings, insect mesh, vent strips | Keeps water out and air moving |
| 6. Veneer | Thin natural stone: panels, loose veneer, or Z-panels | The finish face and weather surface |
Two common shortcuts explain most failed rainscreen walls. The first is applying the stone directly to the WRB or to untreated sheathing, which leaves no cavity at all. The second is furring the wall but then filling the gap with mortar that drips from above, which turns a ventilated cavity into a wet sponge. The rainscreen construction guide explains the system architecture; here the focus is the sequence on the scaffold.
3. Furring, the Drainage Gap, and Ventilation
Install the weather-resistive barrier first, lapped shingle-style so the upper layer sheds onto the lower one. Then attach the furring. Vertical furring strips are the minimum for drainage-only cavities; a truly ventilated wall keeps the cavity open at the bottom and the top so air can move straight through. The common spec lands between 19 and 25 mm (3/4 to 1 inch), which is deep enough to drain and vent without turning the assembly into a pressure box.
Use corrosion-resistant fasteners sized to the structure, not to the sheathing. Furring screws must reach the framing or the concrete anchors, because the stone load transfers through the substrate into the furring. On steel-frame walls, use self-tapping screws through furring into the steel; on foam-backed walls, follow the rigid insulation installation steps so the fasteners carry the veneer through the insulation and reach the studs.
Terminate the cavity with vents. Add insect mesh at the base weep openings so airflow and drainage continue while pests stay out, and leave the top vented with a flashing cap that kicks water outward. Blocking either end converts the rainscreen into a closed cavity, which can accumulate pressure and moisture in the wrong seasons. The cavity wall principle is the same one used in conventional masonry, scaled for thin veneer.
4. Substrate and Adhesive System
Adhesive-set stone veneer bonds to a rigid exterior-grade substrate, not to furring strips. Install fiber-cement panels over the furring with screws at the specified spacing, keep joints aligned with the furring, and leave the intended small joint gap between boards so the substrate can move without cracking the adhesive bed.
Prime and clean the substrate per the adhesive manufacturer’s instructions. Most exterior-rated adhesives for stone need a clean surface, some require a cement-based primer, and interior gypsum panels do not qualify in a rainscreen wall. Seal joints and penetrations in the substrate before any stone goes up, because once the veneer is in place, the back of the wall is unreachable.
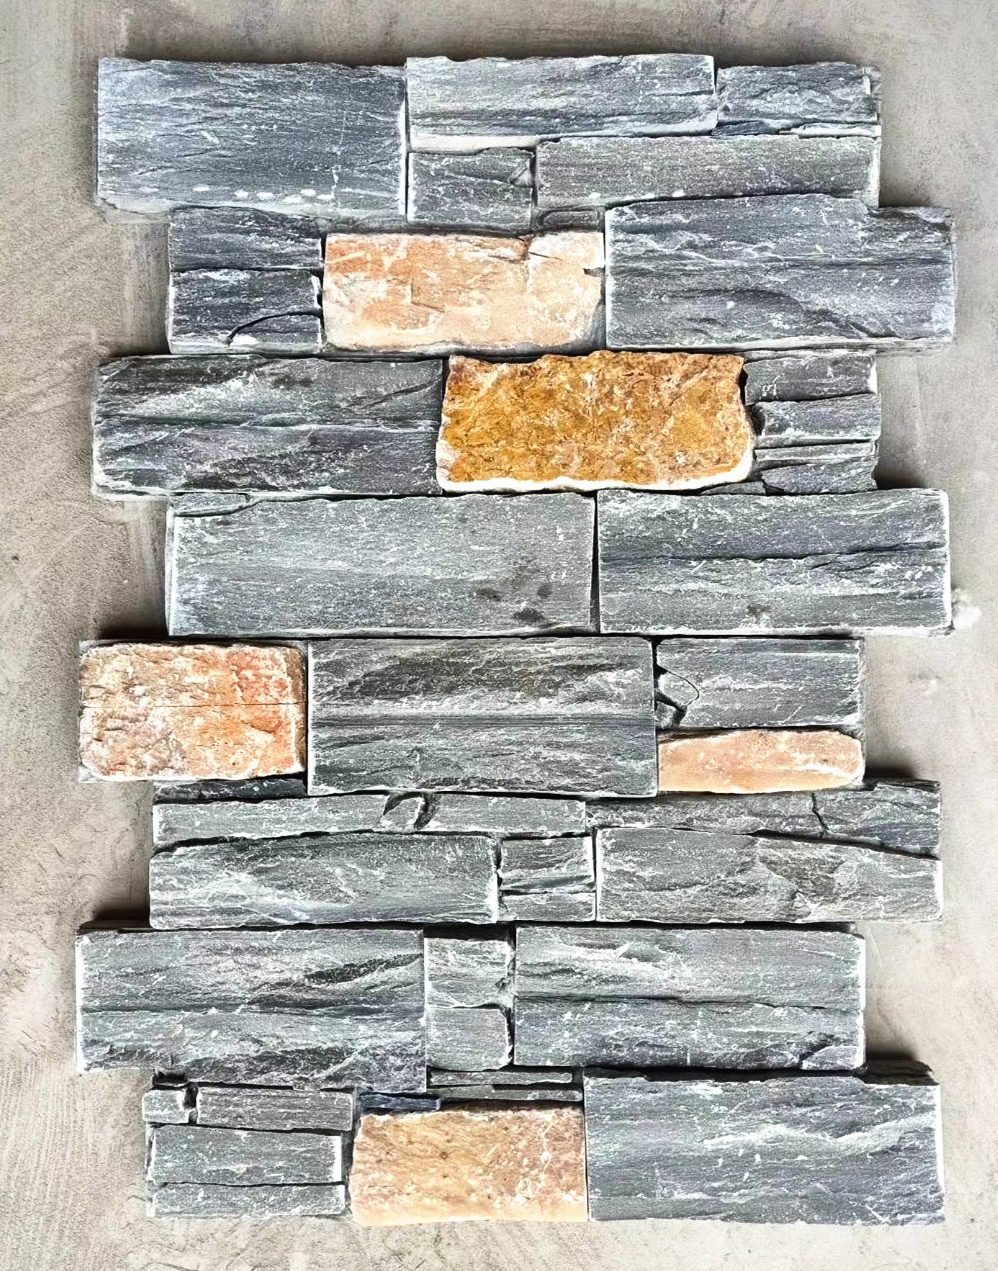
For panels that can span a standoff directly, the interlocking systems do the mechanical work. The cement-backed Z-panels in 20x55cm and 15.2x61cm formats carry their own male-female connection, so they fasten to the structure or rails rather than relying on a full adhesive bed. The backing system guide compares cement-backed and mesh-backed choices for exactly this decision.
5. Laying the Veneer: First Course to Top Vent
Start at the bottom on a straight reference. A temporary ledger angle or a straight screed board carries the first course and defines the level line, then each course checks both level and plane. Mixing panels from several boxes keeps the color and texture variation even across the wall, and the joints stay uniform with spacers or a story pole.
Back-butter each piece. Combed adhesive on the substrate plus a full butter coat on the stone back gives the contact area the bond needs. The goal is full coverage on the back of every unit, not a few dabs at the center. Press each piece into the bed with a slight twist to collapse the ridges, and pull a bead of adhesive up behind each piece so the joint mortar has something to grab.
Keep the cavity clean as you go. Mortar or adhesive that oozes past the substrate and falls into the gap must be scooped out, not left to harden into a bridge. Some crews run a temporary board at the base of the cavity to catch droppings; that simple habit protects the drainage path better than any repair later. For heavier pieces, add mechanical fasteners per the system spec, and for large format panels follow the joint and weatherproofing steps so the finish line is part of the water plan, not an afterthought.
6. Corners, Joints, and Flashing Details
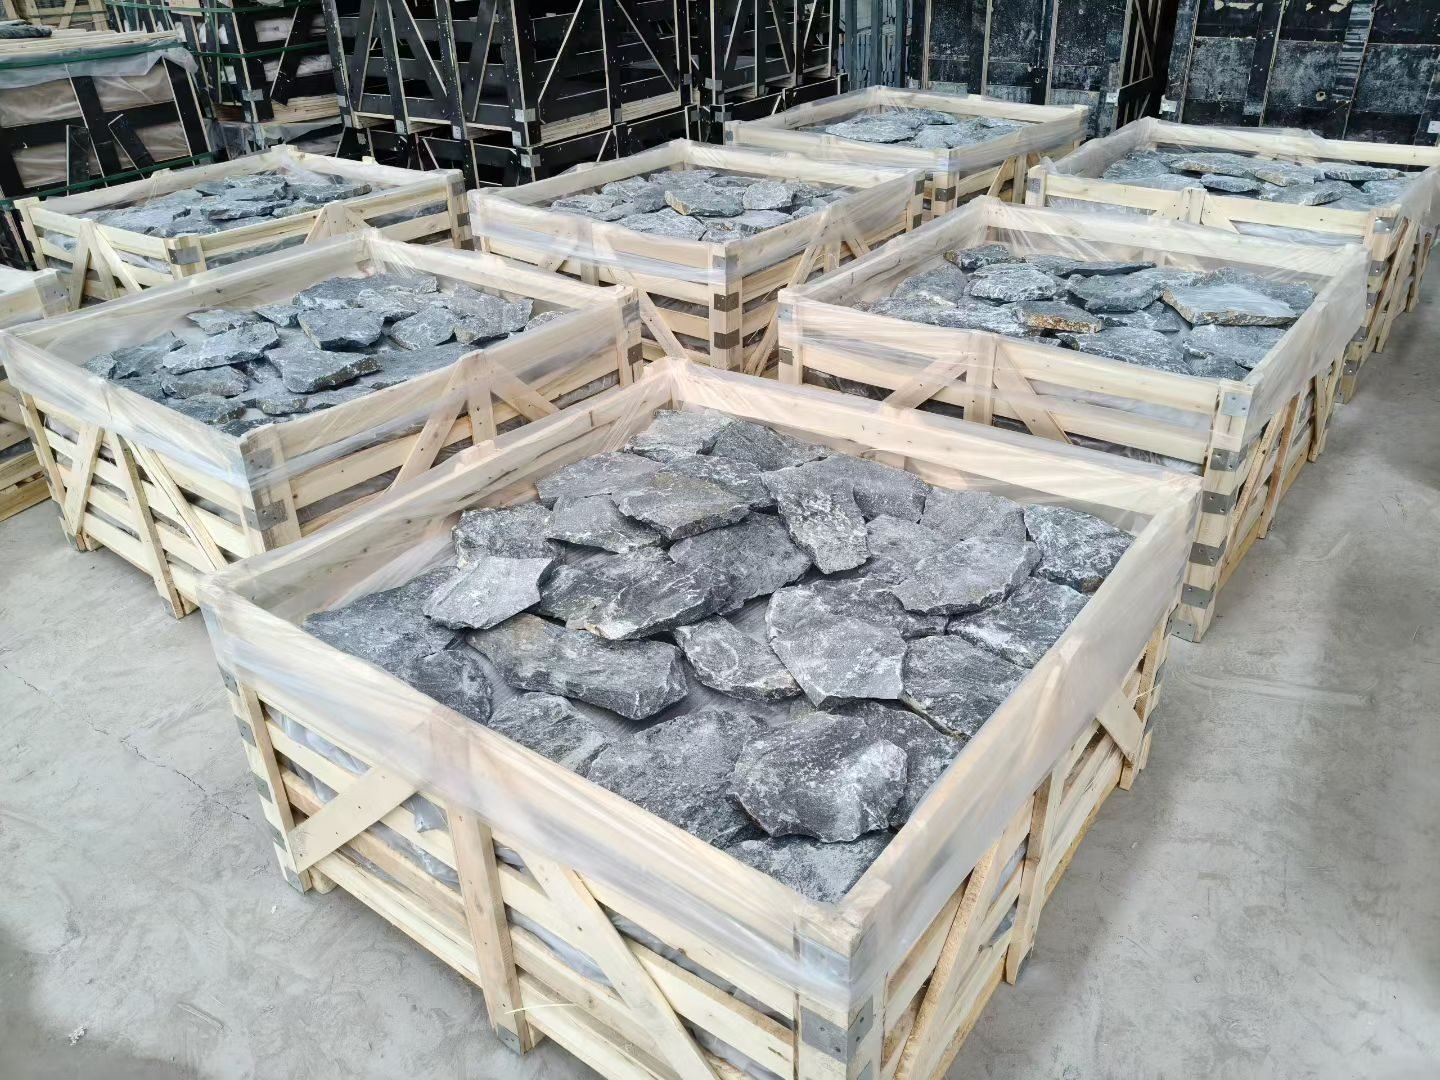
Corners decide how weatherproof the wall looks and how far water travels. Pre-made corner units and L-pieces keep miter cuts out of the wall, which avoids the exposed cut edges that absorb water. On open rainscreen assemblies, use the corner format that matches the panel system so the cavity stays continuous around the turn.
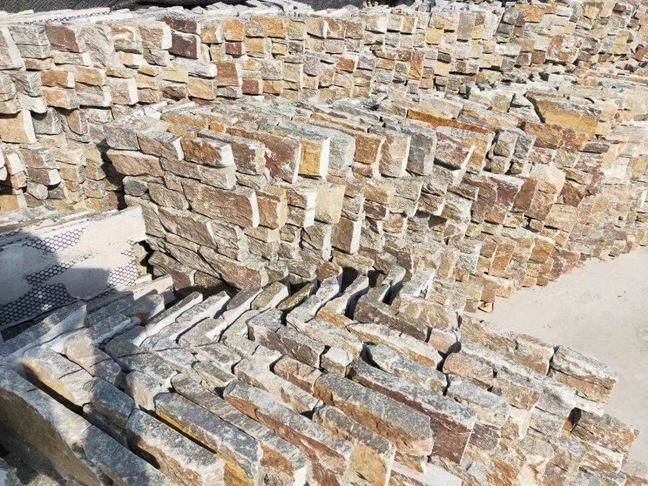
Install flashings above every opening and at horizontal breaks: window heads, door heads, shelf angles, and the base of the veneer. The flashing slope sheds water onto the veneer face, and at the base the veneer terminates with a drip detail so water clears the wall below. Sealant goes at flexible transitions, movement joints, and penetrations, never at locations where the assembly needs to drain.
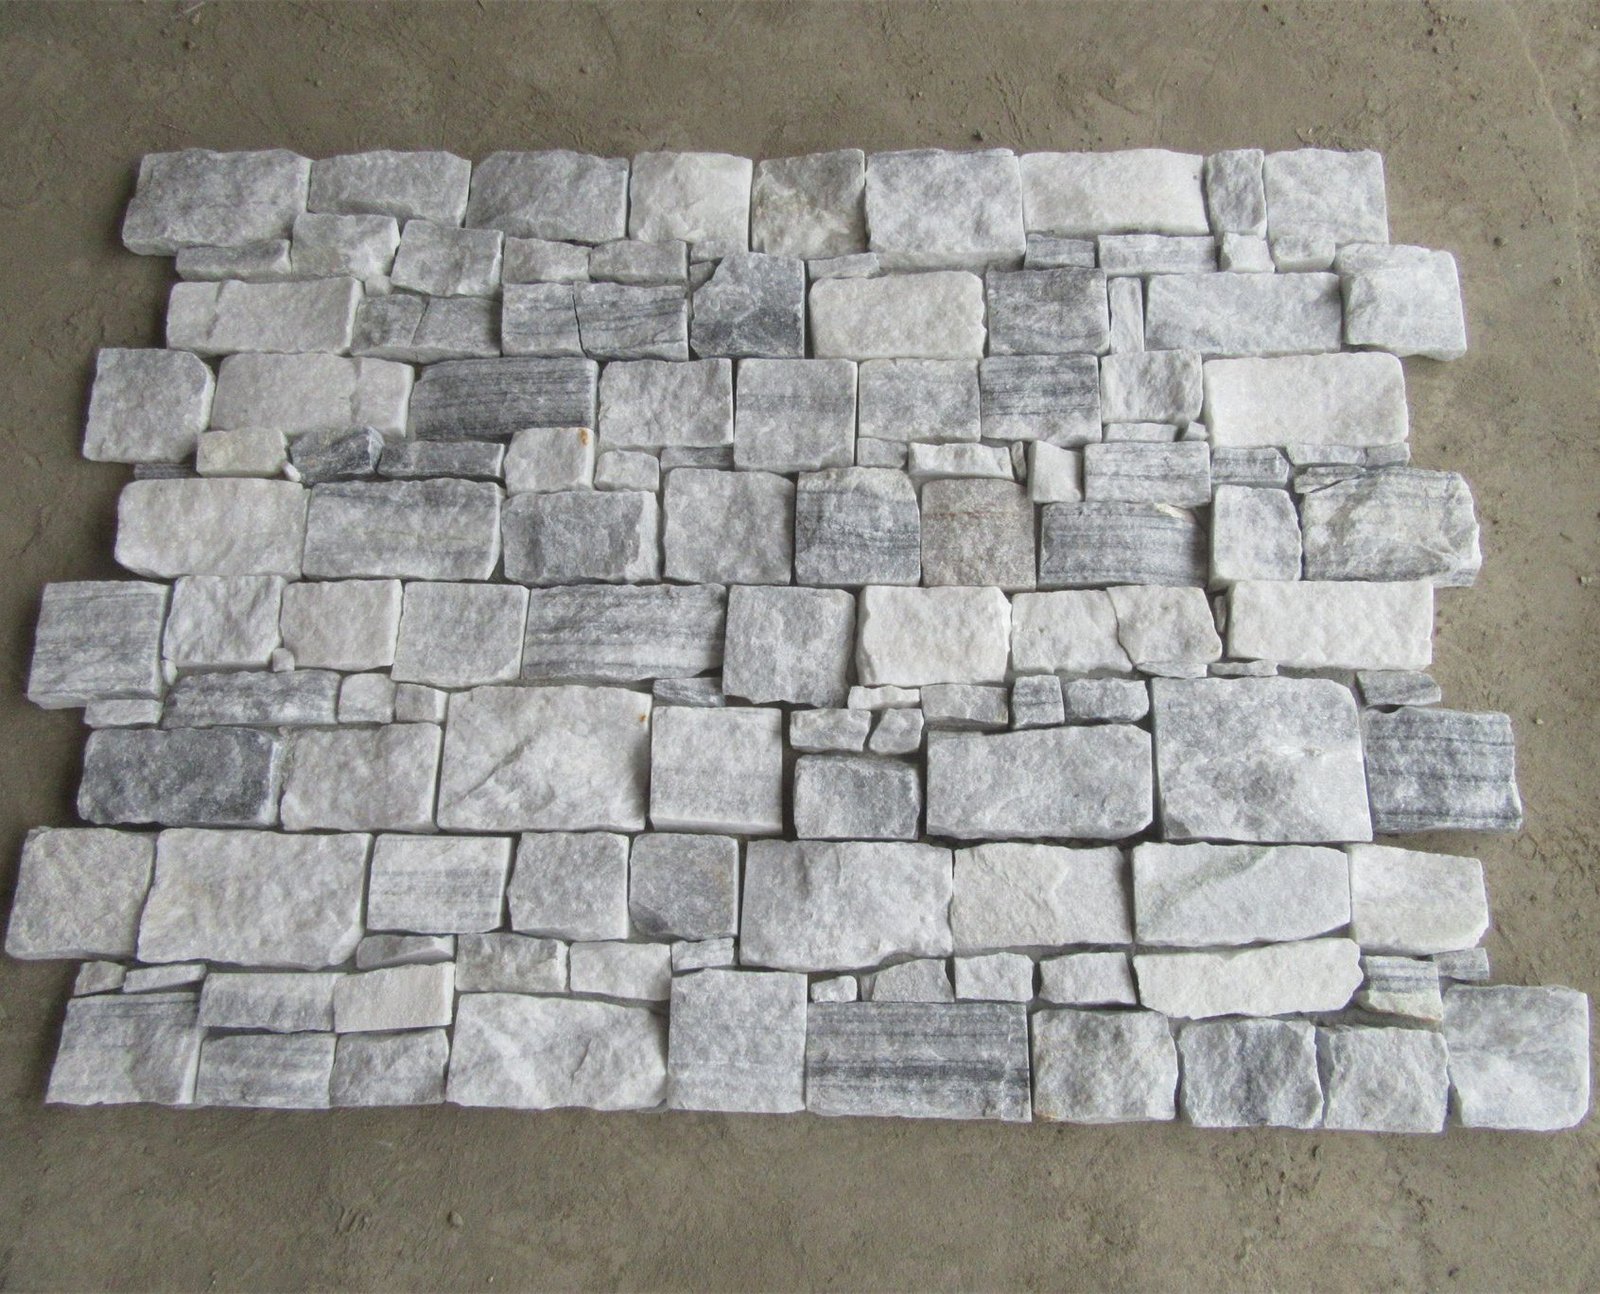
Joint widths follow the product. Split-face stone commonly uses joints in the 12 to 20 mm range so the mortar can be deeply struck and shed water; Z-panel systems run tighter and rely on the mechanical connection. Whatever the width, tool the joints once they set enough to hold, and never leave raked-out joints that create ledges for water. Details on joint geometry live in the veneer, cladding, and rainscreen comparison.
7. Mistakes That Kill a Rainscreen Wall
- Filling the cavity with mortar. Droppings harden into bridges that trap moisture; protect the gap while you install.
- No top vent. A bottom-only cavity puddles at the top and stops drying; vent both ends.
- Interior substrate indoors. Gypsum and interior cement board fail in a wet cavity; use exterior-grade panels.
- Skipping flashing. A wall with a perfect cavity and no window head flashing still leaks; flashing is the actual weather layer.
- Adhesive in dabs. Spot bonding leaves voids and weak points; full back-buttering plus combed substrate is the bond.
- Ignoring code and standard references. The IRC and IBC define air-space rules for anchored masonry veneer, and adhered veneer follows standards such as ICC model codes and ASTM C1780 with the manufacturer’s assembly.
8. Installation Checklist
- Confirm the assembly: WRB, furring, 19-25 mm vented cavity, exterior substrate, flashing, and insect mesh at vents.
- Install WRB with lapped shingle-style joints; then furring with corrosion-resistant fasteners into the structure.
- Attach exterior-grade substrate over the furring; seal joints and penetrations.
- Set a straight reference at the base; mix boxes; back-butter every piece into a combed full bed.
- Keep the cavity free of mortar; stabilize heavy pieces with mechanical fasteners.
- Flash every opening head and base, vent the top of the cavity, and tool all joints.
FAQ
What gap do you need behind stone veneer on a rainscreen?
A ventilated cavity of about 19 to 25 mm (3/4 to 1 inch) between the veneer and the weather barrier, open at top and bottom so air can move.
Can stone veneer go directly on furring strips?
Adhesive-set veneer needs a rigid exterior-grade substrate on the furring; mechanically fixed interlocking Z-panels can span the cavity with their own connection.
Is a rainscreen required for stone veneer?
Model codes require an air space for anchored masonry veneer; for adhered veneer, follow the installation standard and the manufacturer’s approved assembly, and a drained cavity is the safer spec.
Can mesh-backed stone veneer be used on a rainscreen?
Yes, over an approved substrate, as long as the cavity stays unobstructed and no mortar fills the drainage gap.
What happens if you block the drainage gap?
Moisture gets trapped behind the veneer, which leads to efflorescence, condensation, and freeze-thaw damage in cold climates.
Conclusion
Stone veneer on a ventilated rainscreen is a wall assembly, not a face applied in isolation. Build the six layers in order, keep the cavity open at both ends, bond every piece into a full adhesive bed, and flash every change of plane. The drainage gap you protect during installation is the dry wall your client still has in ten winters.
Key Takeaways
- Keep a 19-25 mm vented cavity, insect mesh at vents, and a clear path for water to the base weep.
- Adhesive-set veneer needs an exterior-grade substrate; mechanically fixed Z-panels can span the cavity.
- Flash every opening and base; keep mortar out of the gap; tool joints after the bed sets.
- Anchor the spec in model codes and standards such as ASTM C1780 and the manufacturer’s assembly.
Planning a ventilated facade? Top Stone Panels supplies stacked stone, thin stone veneer, and interlocking Z-panels for rainscreen projects, with samples in 1-3 days and container-level MOQ. Send the wall section drawing for a product and quantity recommendation.