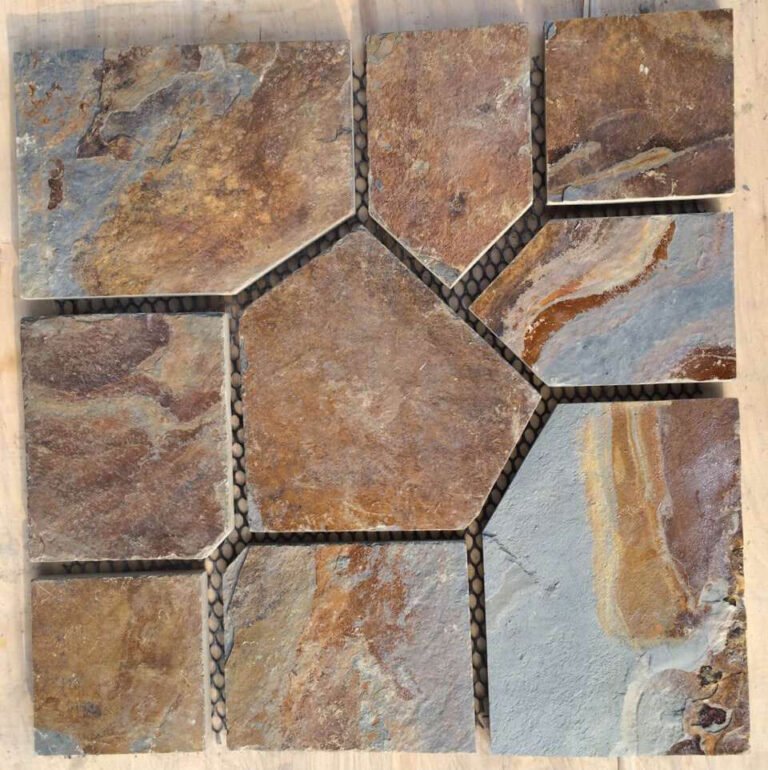
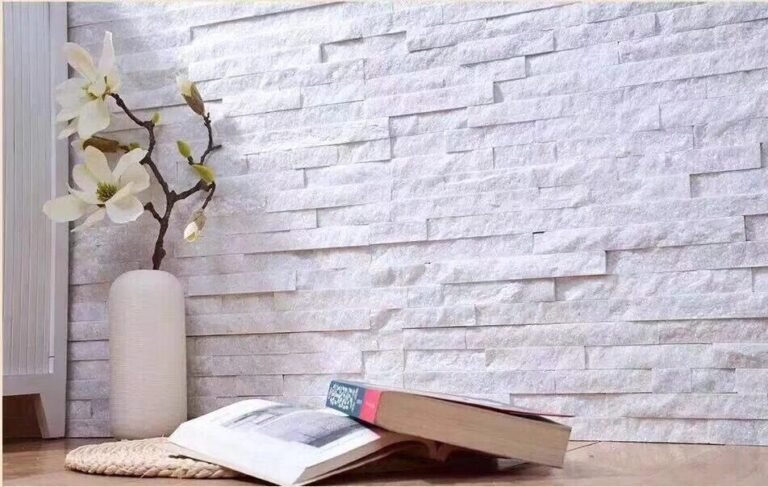
The complaint that starts every garden renovation: the bed edges melted. Plastic edging heaves out of the soil after one frost, the grass creeps over the gravel, and the planter that looked crisp in the catalog is leaning by midsummer. Natural stone does not melt, heave, or fade. A 100-150 mm stone edge set in a crushed-stone base holds its line for decades, and a low stone wall turns a flat bed into the layered, rooted look that sells a house. This article walks five edging and planter designs with natural stone — each with the build logic, the material to order, and the detail that makes it stay put.
The material family matters as much as the design. Flagstone and slate carry a tactile, natural surface that photographs well and ages better, and dense quartzite adds a lighter tone for modern gardens. All three tolerate -30°C to +50°C swings, UV rays that fade composites, and salt from winter walkways. A garden that sees real seasons needs stone that shrugs them off; that is the street-level reason natural stone keeps winning this segment.
- Set edging in a 100-150 mm trench on crushed stone; the buried third stops frost heave and keeps lines straight.
- Dry-stack gravity walls work to about 600-900 mm; taller walls need mortar, a core, or engineering.
- Raised planter walls 300-600 mm high add root depth, drainage, and a seat — and natural stone faces never fade.
- Flagstone caps shed water and double as seating or a planting shelf on any garden wall.
- Glass, plastic, and composite edges fail in frost; dense slate and quartzite hold their line.
- Wholesale stone for beds, walls, and planters ships from one 20GP container with 20-25 working days production.
Design 1: Cut Flagstone Raised-Bed Edging
A straight row of cut flagstone strips between bed and lawn is the workhorse. Strips 50-100 mm thick and 300-600 mm long form a crisp edge that holds mulch, stops grass, and reads as intentional from a distance. The clean lines suit modern front yards and formal gardens, where the geometry of the bed is the design.
Build it in a trench. Dig 100-150 mm down, lay a compacted crushed-stone base, set the strips with 30-50% of their height below grade, and backfill with the same crushed stone. That buried third is what survives frost: the base drains, the stone has no soil suction against it, and the line stays true. Cap the run with the same stone as the path beside it, and the bed edge becomes a rail the eye follows. The flagstone product line has cut-to-size pieces for this exact pattern.
Dry joints work fine for edging; water passes through and the base does the holding. If a bed sits on a slope, step the strips or specify a modest batter so the edge tracks the grade instead of fighting it. The one-installer trap is the invisible one: set the tops off a string line, not by eye, or the ribbon of stone dips and rises every few meters. A 5-mm sag reads as a wobble on a crisp run. The flagstone types and sizes guide covers the thickness families, from edging strips to pavers, that a distributor stocks for these runs.
Design 2: Dry-Stack Loose Stone Border Wall
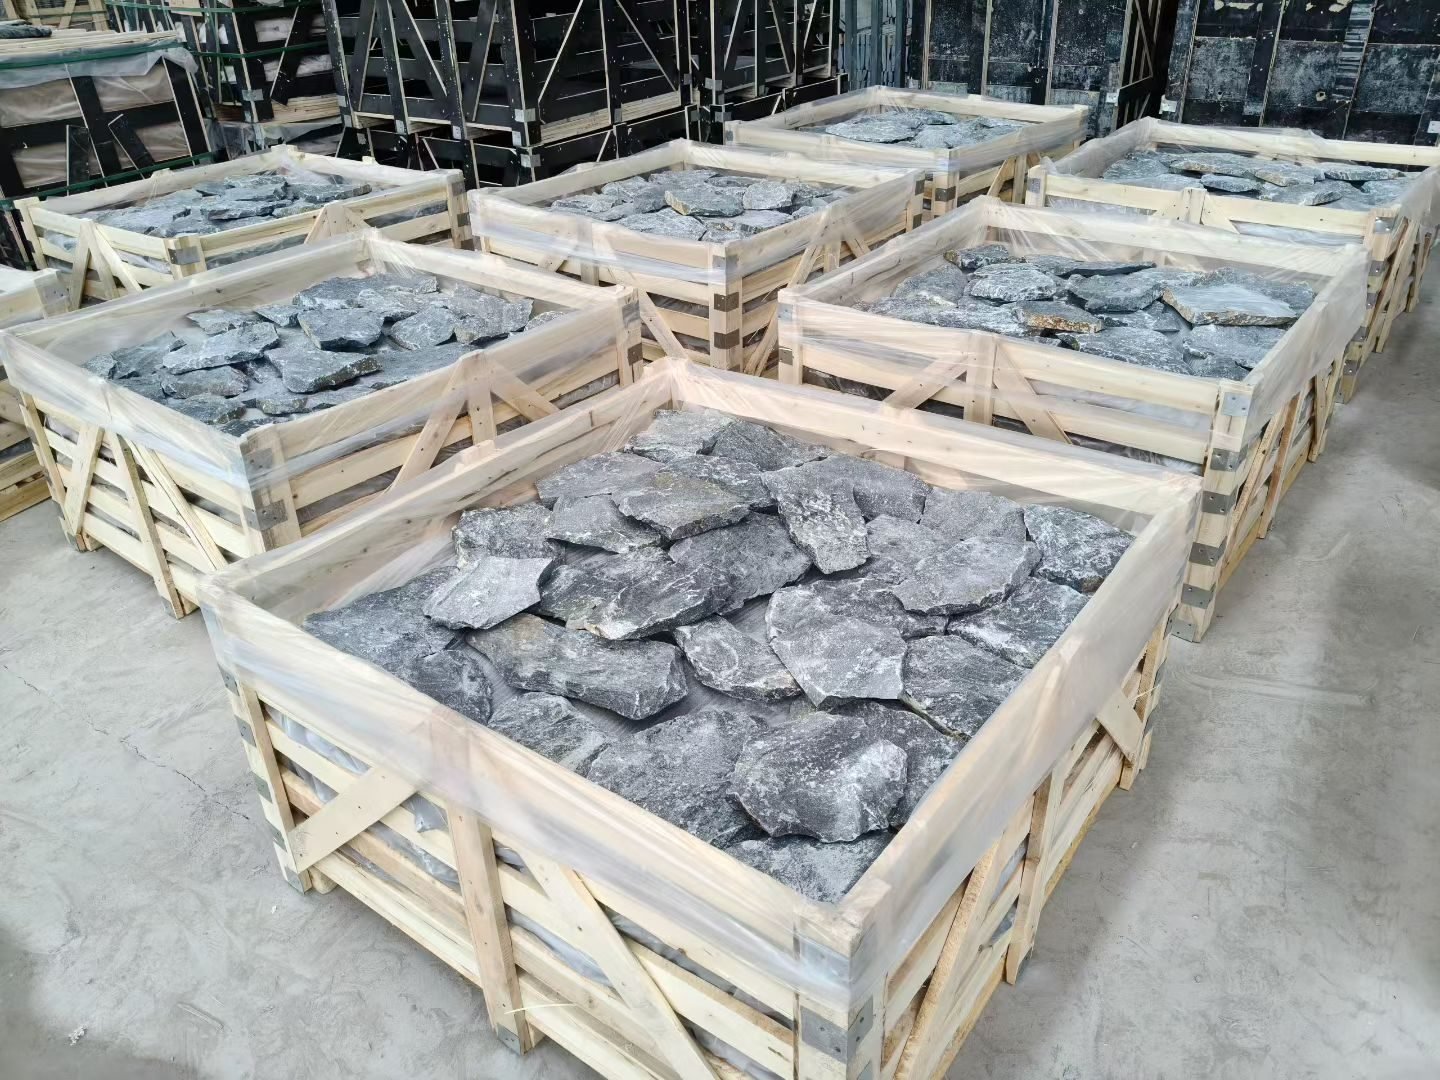
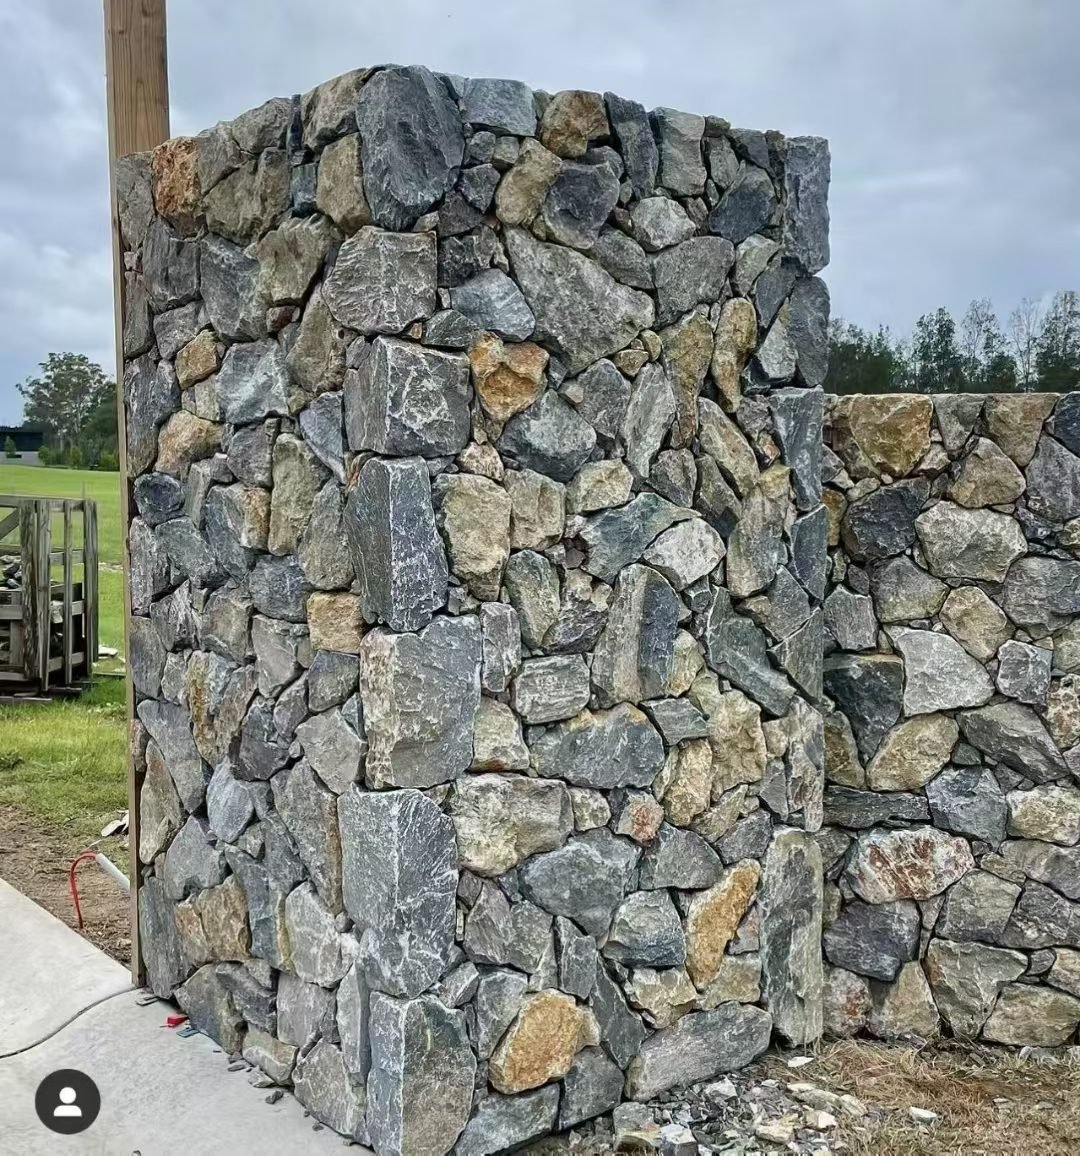
For rustic beds and cottage gardens, a dry-stack wall of loose stone reads like it grew there. Random-sized slate or fieldstone pieces stack without mortar, and the open texture lets air reach the roots while the visual weight holds the soil line. A 300-600 mm wall using this method works as a gravity structure on a level, compacted base: wider at the base, slightly narrower at the top, with the largest stones on the bottom course.
The physics rule is simple: keep the wall under about 600-900 mm, step it or run a second course if you need more height, and put the weight where it belongs. Loose stone resists frost because the joints stay open and water drains through rather than freezing inside. The biophilic design article explains why the open, textured surface is the effect interior and garden clients keep asking for. Gravity-wall practice as summarized in the retaining wall reference puts the same rule in engineering terms: no mortar, no reinforcement, but the mass and base carry the load.
Dry-stack borders forgive irregular lots and curve around trees without cutting. If the client wants seating somewhere in the run, cap a low section flat and call it a bench — the same stones keep working. The dry-stack veneer guide shows how installers carry the same no-mortar logic onto building walls.
Design 3: Stone Veneer Planter Wall
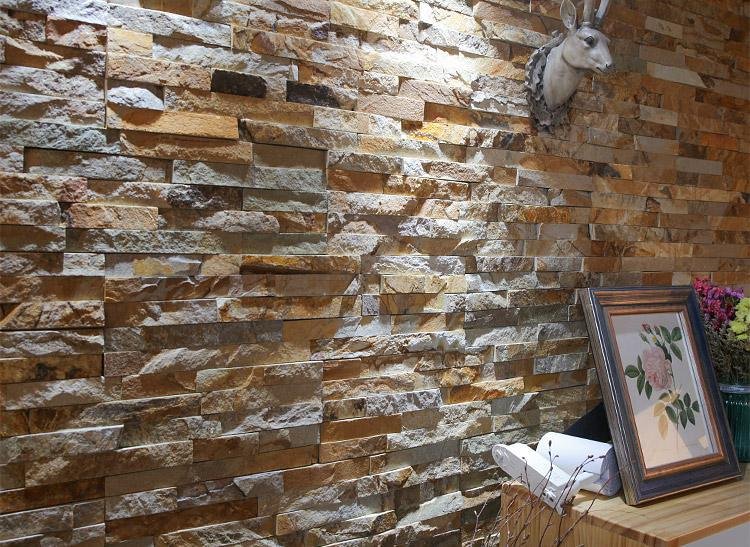
The planter that does double duty: a raised bed with a stone face that matches the house facade. Face a concrete block or masonry core with stone veneer panels and you get a 300-600 mm planter that reads as permanent, with the flat top serving as a seat, a plant shelf, or a retaining lip for mulch. The veneer keeps the wall light, fast to build, and consistent in color — the same panels the facade uses.
Core first, face second. The block core carries the soil load and lets you run a proper drainage outlet; the veneer is the finish. Panels from the stacked stone product line or the loose stone veneer format both work, with L-corners turning the ends cleanly. Moisture is the one enemy: line the soil side with a barrier, cap the top with a flat stone, and slope the cap 2-3% so rain sheds clear of the face — the same detail that keeps sills and copings dry indoors.
The heights matter. Under 300 mm the planter reads as edging; over 600 mm the soil pressure demands a structural design, not a facing decision. Between those, a veneer-faced planter is the fastest way to tie garden architecture to the house. Cut a drainage outlet through the block core at the low corner, and line the soil side before the first shovel of dirt — an outlet added after planting costs a replant and a mess. The commercial feature wall guide shows how the same panels carry building-scale installs, so the planter wall sets the precedent for the whole property.
Design 4: Crazy Paving Path Edging
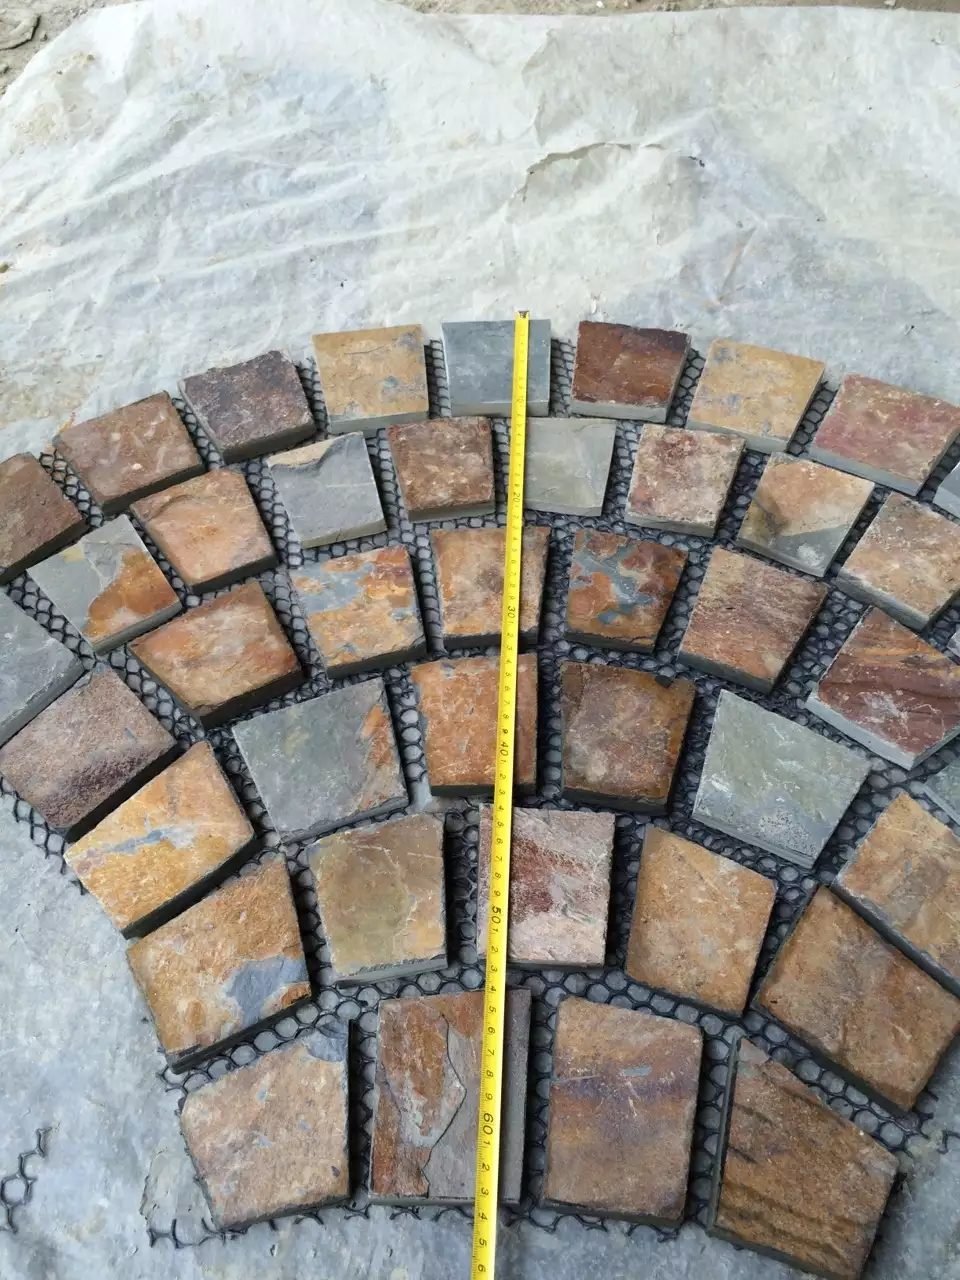
Curved paths do not want straight strips, and that is where crazy paving earns its place. Irregular flagstone pieces — 30-50 mm thick, random geometry — set along a path edge or around a water feature follow any radius without cutting, and the mixed sizes hide settling so the edge looks intentional even years later. It is the same stone that surfaces the path, which keeps the whole garden bed in one material language.
Bed each piece in a compacted base or a 25-50 mm mortar bed, butt the larger faces to the path, and keep the running edge within a 25-mm tolerance so the border reads as a line rather than a scatter. Crazy paving shines in the looser zones of a garden, where the bed meets a woodland border or the water line of a pond. The crazy paving vs flagstone comparison shows when to reach for random pieces and when to hold the line with cut stone.
Grow the bed back over the edge over time, and the edging disappears into the garden like a natural outcrop. That is the look clients pay for: the stone that looks older than the house. The flagstone walkway ideas guide pairs the same material with path layouts for the full garden circulation plan.
Design 5: Flagstone-Capped Retaining Terrace
A sloped garden loses nothing to death by a thousand water channels when the slope becomes terraces. Stone retaining walls, 400-900 mm per level, hold back the patio and create planting shelves; flagstone caps finish each wall with a seat-width surface that doubles as a sunny ledge. The result is the layered garden that adds usable space instead of a slope to mow.
Terrace walls need drainage more than mortar. Put crushed stone behind the wall, lay a perforated drain pipe at the base, and keep weep openings clear so hydrostatic pressure never builds behind the face. The stone veneer retaining wall installation guide covers the layer-by-layer build. Cap with flagstone 30-50 mm thick, overhanging the face by 15-25 mm so water drips clear of the wall front.
Match the cap stone to the patio surface so the terrace reads as one piece, and the wall stops being a barrier and becomes furniture. On multi-level gardens, step the terrace walls like stairs — same rise and run, even if the steps are planting slots — so the eye travels the grade without a jar. Flagstone caps also share the caps and coping detailing rules used on building walls: slope, overhang, and a tight joint at the top are what keep the wall core dry.
Material and Ordering Guide
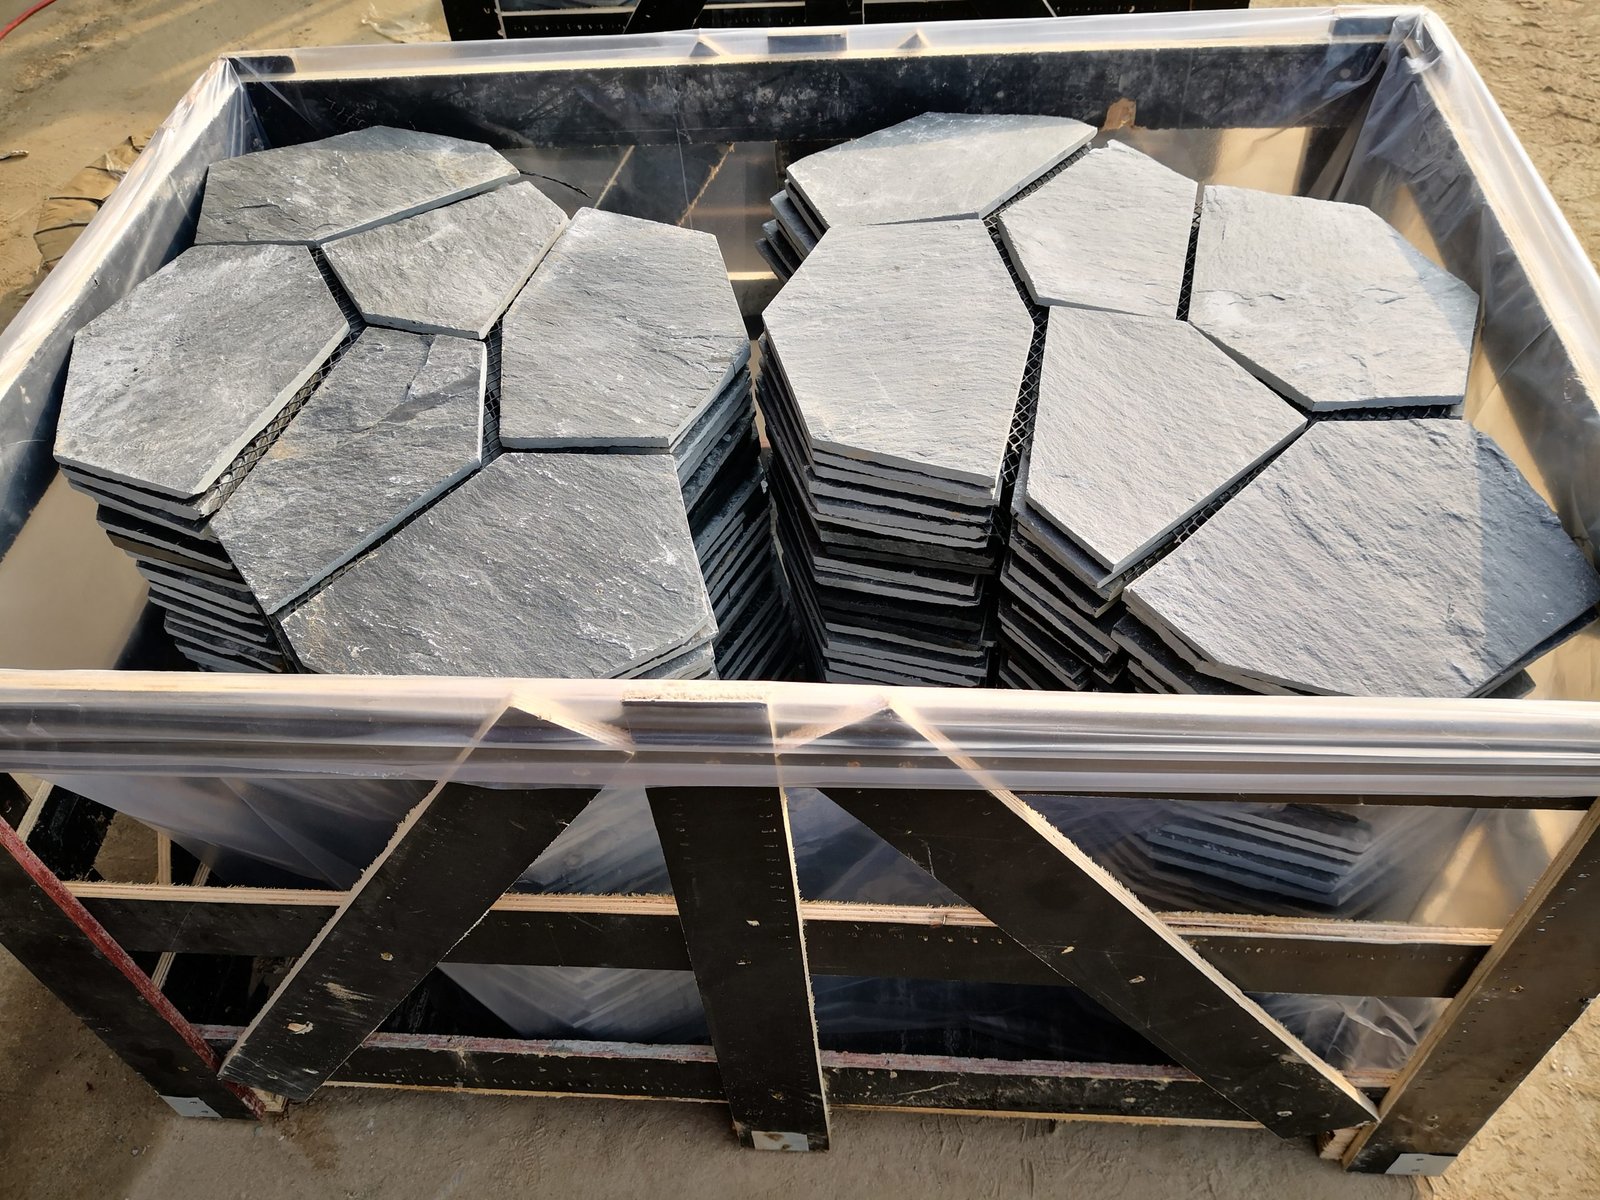
Order the garden program by format, not by design. Edging wants cut-to-size flagstone strips. Border walls want random loose stone or stacked panels. Planters want veneer faces with L-corners. Paths and caps want flagstone or crazy paving. A distributor consolidating all five into one container keeps the quarry vein consistent across the whole job, which is the difference between a garden that reads as one material and one that looks like five purchases. The mixed-container guide covers how to plan that order.
| Garden application | Format to order | Typical thickness | Build rule |
|---|---|---|---|
| Bed edging | Cut flagstone strips | 50-100 mm | Trench 100-150 mm, crushed-stone base |
| Border wall | Random loose stone / stacked panels | 30-60 mm random | Keep under 600-900 mm dry-stack |
| Planter face | Veneer panels with L-corners | 15-25 mm over core | 300-600 mm height, slope the cap |
| Path edge | Crazy paving pieces | 30-50 mm | Butt larger faces to the path line |
| Retaining cap and terrace | Flagstone caps | 30-50 mm | Overhang 15-25 mm, slope 2-3% |
Production fits the job schedule: wholesale stone orders start at one 20GP container, standard production runs 20-25 working days after sample approval, and samples ship in 1-3 days for the color confirm. Factor that lead time into the planting season — order the hardscape before the plants, not after the beds are dug. Hold back one physical sample from the approved batch and label it with the order number; when a later bed extension or a damage replacement needs the same color, that sample is the match reference the supplier works from. The batch color consistency guide explains how quarries lock the vein across repeat orders.
FAQ
What is the best stone for garden edging?
Dense, low-absorption flagstone or slate cut to 50-100 mm strips. It holds the line through frost, resists salt, and does not fade like plastic or composite edging.
How deep should stone edging be set?
Dig a 100-150 mm trench, lay compacted crushed stone, and set the edging with 30-50% of its height below grade. The buried portion resists frost heave.
Can I build a planter from stone veneer?
Yes. Face a concrete block core with veneer panels for planters 300-600 mm high. Cap the top with flat stone and slope it 2-3% so rain sheds off the face.
How high can a dry-stack garden wall be?
Up to about 600-900 mm as a gravity wall on a level, compacted base. Taller walls need mortar, a structural core, or engineered design with drainage behind.
Why does my stone edging keep heaving?
It is not bedded deep enough or the base is silt, not crushed stone. Re-set it in a 100-150 mm trench on compacted aggregate and the heave stops.
Conclusion
Garden edging and planters fail in predictable ways, and natural stone fails the opposite way: it does not. Set the edge deep on crushed stone, keep dry-stack walls under 600-900 mm, face planter cores with veneer, cap everything with flagstone, and let the curves follow crazy paving where cut stone would waste material. Five designs, one material family, and a garden that looks older every year.
Key takeaways:
- Cut flagstone strips on a crushed-stone base give crisp, frost-proof bed edges.
- Dry-stack loose stone builds rustic borders up to 600-900 mm; go engineered above that.
- Veneer-faced planters tie garden architecture to the house facade at 300-600 mm height.
- Crazy paving follows curves without cutting waste on paths and pond edges.
- Flagstone caps finish terrace walls with a dry top and a seat.
Pick the design that fits the property’s slope and style, then order the stone before the plants. For edging strips, veneer panels, crazy paving, or flagstone caps with batch-matched color, contact Top Stone Panels, or start with the flagstone product line and the thin stone veneer line to line up formats for the full garden program.