A curved wall does not fail because the stone is wrong. It fails because somebody specified a flat, factory-made panel for a surface that is not flat, and the geometry refused to cooperate. The panel is a straight line trying to sit on an arc, and the arc always wins.
The fix is not exotic. It is arithmetic, then substrate, then material choice, then setting technique. Get the first two right and a radius wall clads as predictably as a flat one, with joints that stay even from the base to the cap.
- A 550mm panel on a 1.5m radius sits about 25mm off the arc at mid-edge; on a 3m radius it is roughly 13mm, and on 6m about 6mm.
- Treat around 2m radius as the break point where rigid rectangular panels stop being the right product.
- Loose random stone in 150mm widths deviates only about 3mm even on a 1m radius, which is why tight curves are a loose-stone job.
- Fur the curve with closely spaced studs or sleepers so the substrate is truly radius, not a faceted approximation.
- Radial coursing matters: every 100mm of depth adds about 628mm of arc, so wedges must be cut to the centre, not stacked horizontally.
- Order loose stone by vein batch, in 1-3 day samples and 20-25 working days production, with spare overage for cut loss on curves.
- Run the Radius Math Before You Order
- Choose the Material for the Curve
- Build a Substrate That Is Actually Curved
- Lap the Lath and Scratch Coat a True Plane
- Set Out Radial Courses, Not Level Lines
- Set Loose Stone on a Radius
- Corners, Ends, and Top Details
- Five Failures Unique to Curved Work
- Ordering a Curved Job From the Factory
- FAQ
- Conclusion
Run the Radius Math Before You Order
A flat panel against a curved wall forms a chord, and the distance between the chord’s mid-point and the arc is the sagitta. It grows fast as the panel gets longer or the radius gets tighter, and it tells you exactly how much the joint has to swallow. Work it for the formats actually shipped: stacked stone at 15x60cm and 15x55cm, thin ledgestone mosaic at 36x10cm, Z-panel cladding at 20x55cm and 15.2x61cm.
| Wall radius | 600mm panel | 550mm panel | 360mm panel | 150mm piece |
|---|---|---|---|---|
| 1.0 m | 46 mm | 39 mm | 16 mm | 2.8 mm |
| 1.5 m | 30 mm | 25 mm | 11 mm | 1.9 mm |
| 2.0 m | 23 mm | 19 mm | 8 mm | 1.4 mm |
| 3.0 m | 15 mm | 13 mm | 5 mm | 0.9 mm |
| 6.0 m | 8 mm | 6 mm | 3 mm | 0.5 mm |
Read that against what a joint can honestly absorb. A tooled mortar joint looks wrong past roughly 15-20mm of variation and a dry-stacked lock joint tolerates none of it, so a 600mm panel on a 1.5m radius is not an awkward detail but a 30mm gap, visible at every vertical joint up the wall.
The practical rule that falls out of the arithmetic: below about a 2m radius, stop specifying rigid rectangular panels. Above roughly 6m, panels behave and the curve reads as flat to the eye. Between those two sits the argument, and mesh-backed panels usually settle it.
Two clarifications save a specification argument. First, which way the curve faces changes the failure. On a convex, outside radius the panel touches along its middle and its ends stand off the wall, so the joints open at the ends and neighbours no longer close. On a concave, inside radius the panel contacts at its two ends and bridges the middle, leaving a void behind the field that no amount of pressing closes. Inside curves therefore demand shorter units and more dry-fitting. Second, the break point is set by unit length rather than by backing, so it can be calculated: solve the same formula for the longest chord that stays inside a 15mm joint.
| Wall radius | Longest unit that stays under 15mm of deviation |
|---|---|
| 1.0 m | 345 mm |
| 1.5 m | 423 mm |
| 2.0 m | 489 mm |
| 3.0 m | 599 mm |
| 6.0 m | 848 mm |
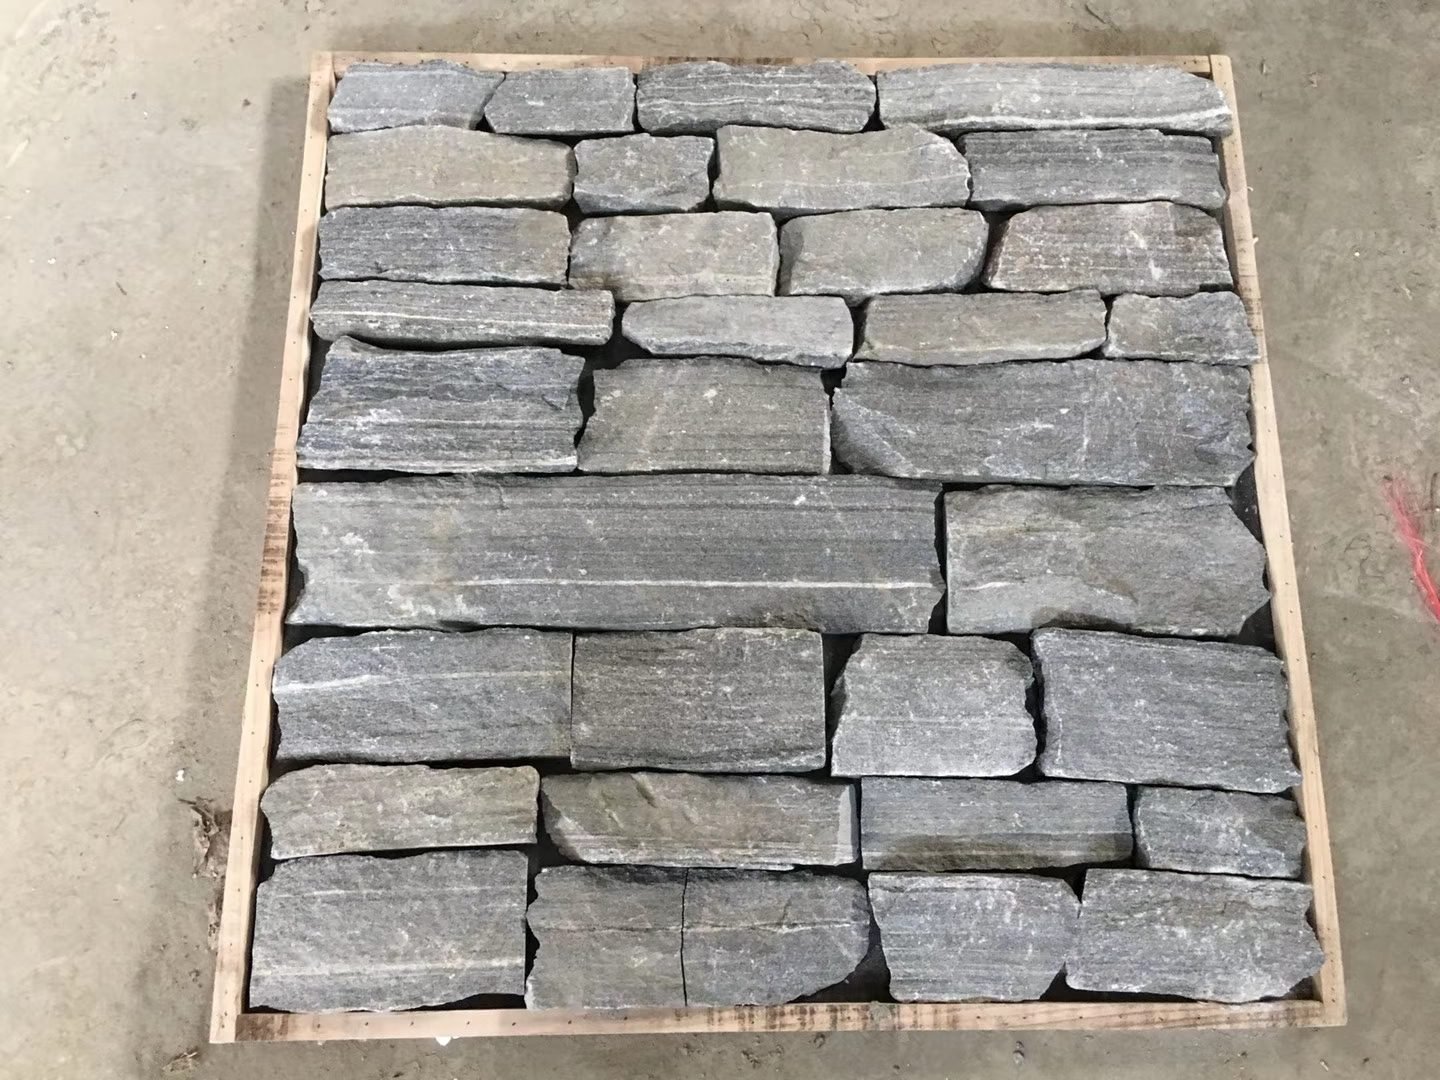
The same math explains why small pieces win. A 150mm-wide stone on a 1m radius deviates under 3mm. Random loose stone is not a fallback for bad detailing; it is the geometry-correct answer, and it is why the split-face veneer line is sold as naturally split random pieces with same-vein colour batching rather than only as fixed-format panels. See the veneer thickness guide covering 15mm ultra-thin upward before choosing a format for a curve.
Choose the Material for the Curve
Three product families cover radius work, and they divide on the number you just calculated rather than on taste.
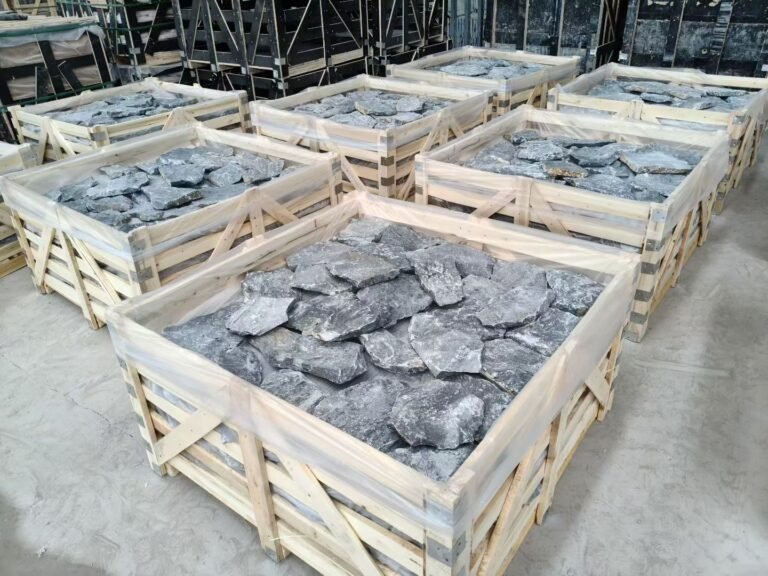
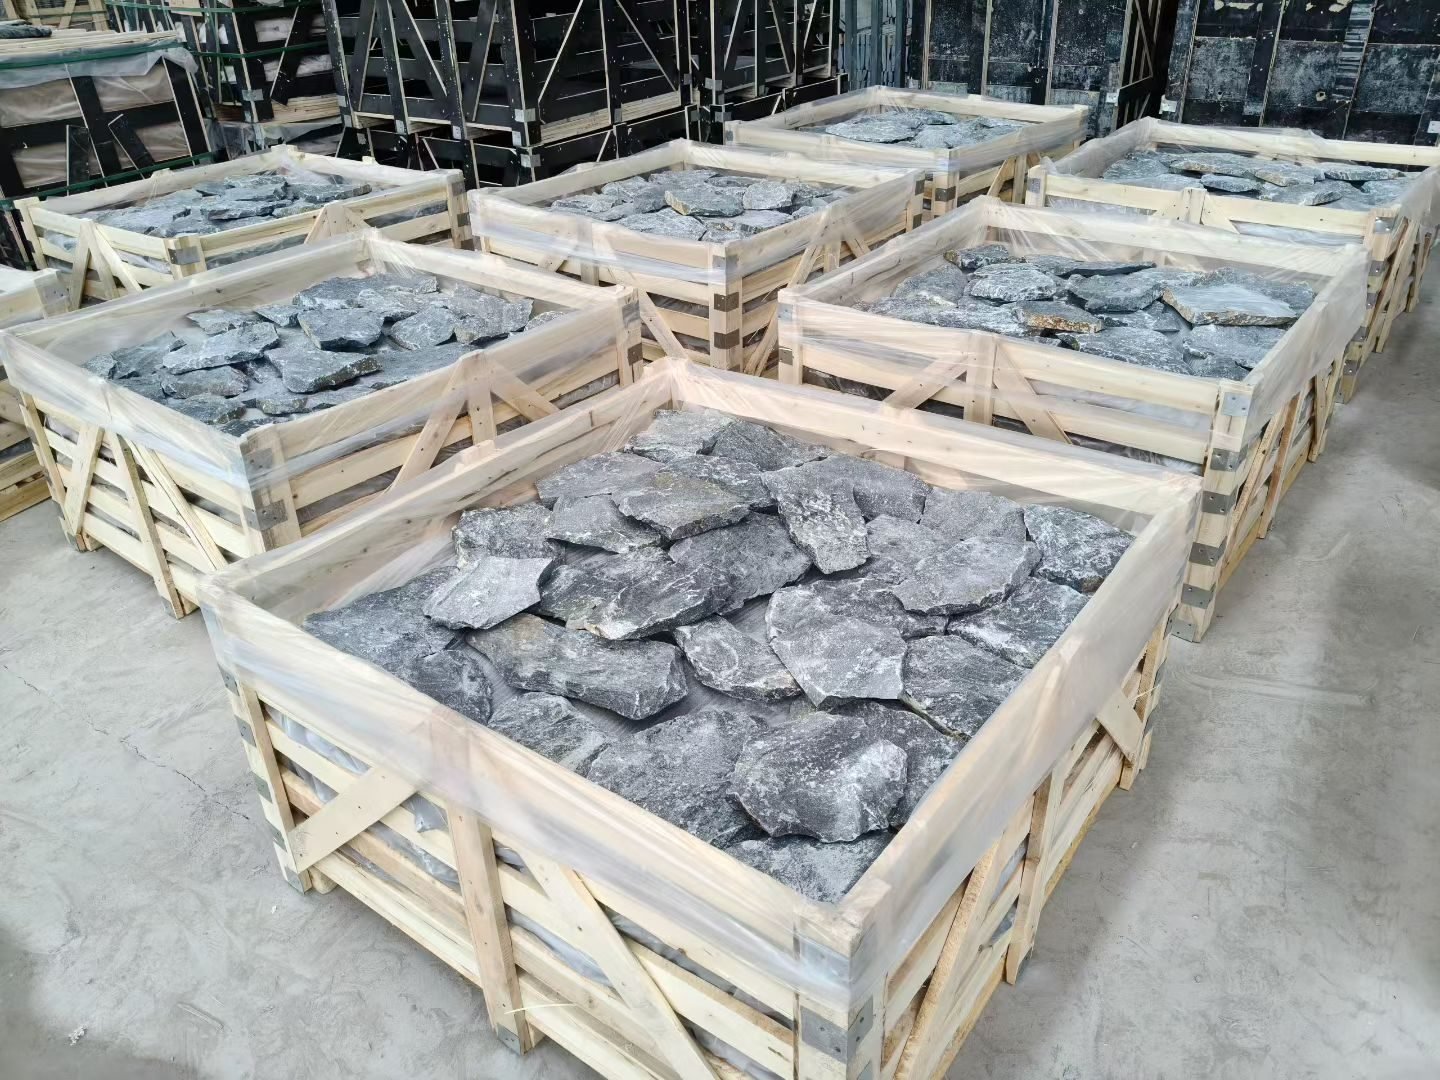
- Loose split-face stone. Random lengths, individual pieces, set by hand. Works on any radius, including the tight ones, because each unit is short enough that the chord error disappears into the joint. Slowest to set and most dependent on the setter’s eye.
- Mesh-backed panels. Stone fixed to a flexible fibreglass mesh skin. The backing bends, so the panel conforms to a gentle radius while keeping panel-format speed. The limit is the face, not the mesh: a 360mm ledgestone unit stays inside 15mm of deviation down to roughly a 1.1m radius, and below that the courses stop reading as level even when the backing conforms.
- Cement-backed and interlocking panels. Rigid. Correct on flat planes and on large radii above roughly 6m where the deviation stops being visible. On anything tighter they bridge the arc, and a forced interlocking edge simply will not seat.
The backing choice is the one most specifications get wrong twice: first by treating all backed panels as equivalent, then by assuming the adhesive bond is what holds the curve. The comparison of cement, mesh, and epoxy backing behaviour covers the rigidity and thermal side of that decision in detail.
Build a Substrate That Is Actually Curved
A radius wall is usually built as a polygon and then complained about as a curve. If studs sit at 600mm centres and the wall turns 2m radius, the surface between two studs is flat and the deviation shows up exactly where the panel joint was supposed to hide it. Close the spacing.
- Frame tight. Stud or sleeper spacing of 150-200mm keeps each flat facet’s chord error under about 3mm on a 2m radius. Cheap framing beats expensive mortar.
- Fur to the arc. On masonry or concrete, fix timber or galvanised steel sleepers radially and pack their faces to the setting-out line. Check with a baton swept from the centre point, never a straightedge laid on the wall.
- Sheet it. Cement board is the practical base inside and out, over a weather-resistive barrier on exterior sheathing. Boards bend to moderate radii, but never force sheet goods tighter than the manufacturer’s published minimum bend radius.
- Close the base before anything goes up. Weep holes, flashings and the drain outlet sit at the bottom of the radius and follow it around, so confirm them while the substrate is visible. On a curve they are easier to set correctly and far harder to retrofit.
- Plan the build-up before the stone. Exterior cladding sits on a drained assembly; waterproofing behind stone veneer on exterior walls applies to a curve unchanged, with fewer penetrations to work around.
Lap the Lath and Scratch Coat a True Plane
Metal lath is the component that turns a faceted, furled substrate into a continuous surface to receive stone. It works on curves for a specific reason: the sheets are cut so their ribs can lie in the direction of the turn.
- Cut relief into the lath at the curve so the sheet can wrap without oil-canning. Slitting the ribs across the direction of the bend lets the sheet conform.
- Lap and wire the sheet seams so no substrate shows through, taking the lap dimension and fastener spacing from the lath manufacturer’s published fixing schedule rather than from memory, and keep every lap off a corner or an arris.
- Fasten through to the furring at the schedule spacing rather than at field spacing, because a loose sheet behind a curved face telegraphs as a hollow band that no amount of stone hides.
- Support the sheet close enough that it cannot bridge the curve. A lath sheet spanning 600mm stud centres on a 2m radius bridges a 23mm facet step; at 200mm centres that step is 2.5mm, which the sheet itself conforms to. Fasten to the furring often enough that nothing drums.
- Scratch coat the radius in one pass, deep enough to bury the lath and leave a key, then let it cure before any layout line is snapped.
Three published references cover this stage better than any contractor’s memory: ASTM C1063, the specification for installing lathing and furring to receive interior and exterior portland cement-based plaster; ASTM C926, which governs how the plaster coats themselves go on; and ASTM C1780, the practice for installing cement-based adhered masonry veneer. C1780 states plainly that it complements rather than replaces the manufacturer’s own written instructions, and its unit specifications cover manufactured stone and dry-cast concrete units rather than natural thin stone veneer. Read that as the practical answer for a radius wall: the assembly logic is standardised, and the lap dimension, fastener schedule and coat depth you actually use come from the installation manual of the stone system you bought. Take those three numbers from the manual onto the job paperwork before the lath is cut, because they are the items a curved wall cannot improvise.
For the full sequence on preparing a base for adhered veneer, including board and lath options and their limits, see the guide to substrate preparation for stone veneer. On a curve that article matters more than usual, because substrate errors cannot be corrected at the stone layer.
Set Out Radial Courses, Not Level Lines
The fact that separates a curved wall that reads right from one that reads like a mistake: arc length grows with radius at a constant rate. Move 100mm out from a curve’s centre and every course ring gains about 628mm, because that figure is 2 x pi x 0.1 and it does not care whether your radius is 1m or 10m.
Consequences for setting-out:
| Curve detail | What the geometry forces | How to set it |
|---|---|---|
| Wall curving in plan | Face turns continuously; joints stay near-constant if courses follow the arc | Snap a base line on the arc, not a chord; step coursing lines off the centre point |
| Arch or curved head | Inner and outer arcs differ by roughly 628mm per 100mm of ring depth | Cut stones on radial joints converging to the centre, never stacked level |
| Ring cut into 15 stones | About 42mm of wedge per stone across the ring depth | Mark each voussoir cut from the centre; check the swing, not the level |
| Column or pier wrap | Four facets on a small plan; deviation concentrates at the arrises | Use loose stone or a pre-made corner at the returns |
Sometimes the centre point sits outside the building or under a finished floor, and nobody can strike to it. Work from offsets instead: transfer the design radius to fixed control points on the substrate, sweep the arc in short runs with a baton cut to the radius, and check each sweep against the drawing rather than trusting one swing. A plywood template cut to the curve and dry-fitted at three heights beats any string line.
Dry-fit the first three courses loose on the deck before anything touches the wall. On a radius, a dry-fit shows where the taper is being pushed to, and a taper that lands at a reveal or a corner is the defect that ends a job. Plan for the taper to land in the middle of a field where a joint can be evened across several units. For the cutting techniques behind those wedge and relief cuts, cutting stone veneer panels with the right tools covers the wet-saw and angle-grinder setups and where each leaves a chipped arris.
Curved jobs need loose stone, not more panels
Top Stone Panels splits thin stone veneer from the same vein as its panel lines, so radius work and flat work on one project match in colour. Random loose stone and L-corner sets ship from one 20GP container, with samples in 1-3 days and 20-25 working days production.
Review the thin stone veneer range | Natural slate and quartzite | Batch vein colour control | -30C to +50C rated
Set Loose Stone on a Radius
Setting technique on a curve differs from flat work in one respect: the wall is self-checking in the horizontal direction, so the eye goes to joints rather than to a spirit level.
- Bed, press, then twist. Comb adhesive onto the scratch coat and back-butter each piece. Press and rock it onto plane; the rocking motion is what seats a short chord on an arc without a void behind the edge.
- Work up in short arcs. Ring the whole radius rather than running one strip high. A closed ring locks the setting-out; a drifting strip has nothing to be checked against.
- Mix sizes deliberately. Random loose stone is your taper adjustment. If joints open at one end, the fix is a shorter piece two courses down, not a thicker joint.
- Keep the reveal consistent, not the course height. Constant joint width reads as intentional; wandering joints with level courses read as sloppy.
- Check with a swept baton every few courses. Lippage shows as a rocking baton long before it shows in a photograph.
Where a project mixes a gentle radius with flat runs, mesh-backed panels carry the flat planes at panel speed and loose stone takes the curve. Detail the transition where the change of plane happens, and keep it off a corner. On walls where a mortar bed rather than adhesive is the setting medium, bed depth and open-time discipline decide whether the curve stays where you set it.
Corners, Ends, and Top Details
A curved wall still has straight ends, and the ends are where the job is judged. Three details carry most of the weight.
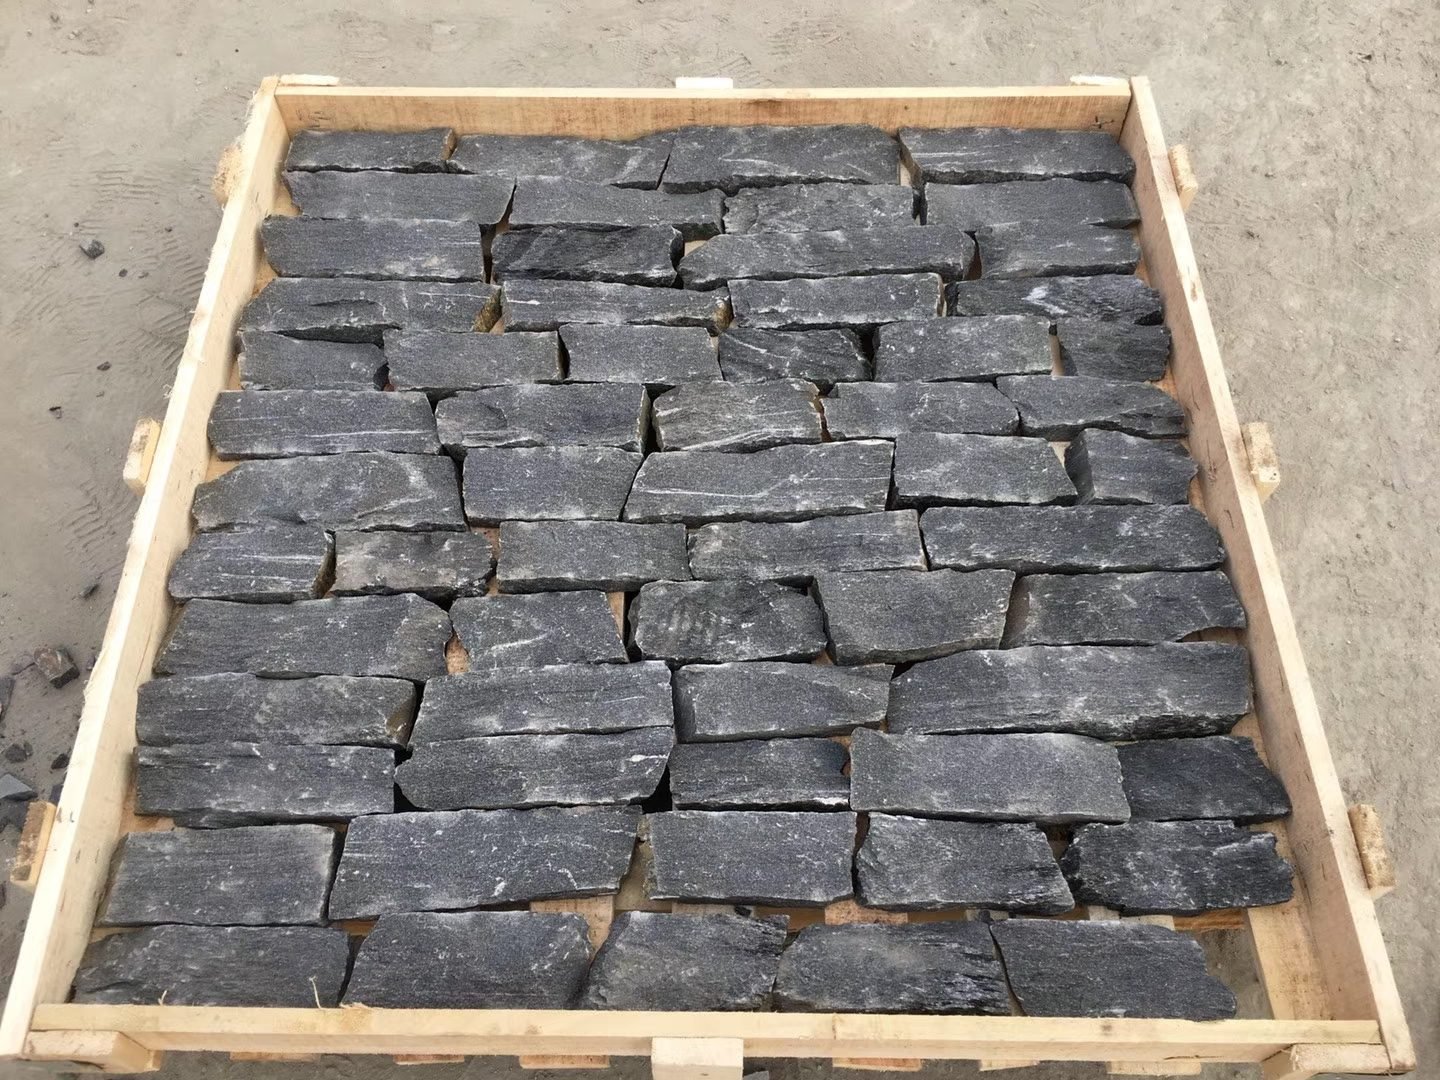
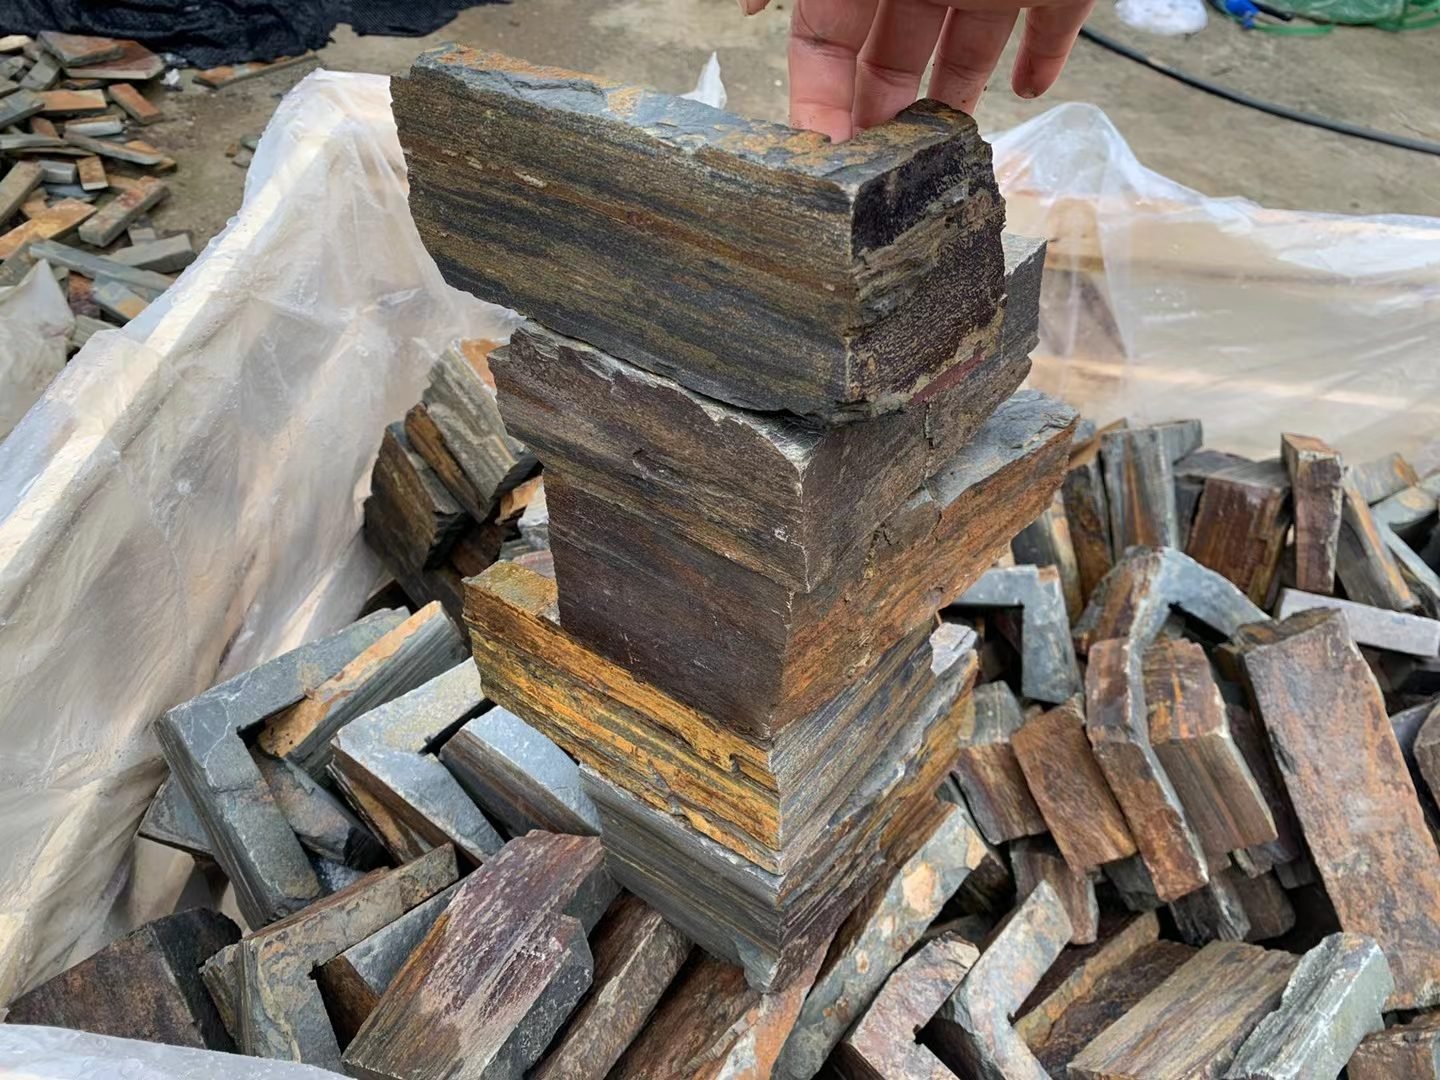
- Arrises and returns. Loose stone corners exist for this: individually split L-shaped pieces that turn the return without a mitre. On a radius, they also stop the field joint from running out at the edge.
- Reveals at openings. Where a curved wall meets a window or door, the reveal is short and the tolerance budget is small. Pre-made corner units handle the straight jambs; keep the curve out of the reveal line.
- Cap or backwrap at the top. An exposed crown needs a cap that sheds water, or a backwrapped edge that closes the substrate. Cut the cap from individual flagstone pieces set on joints that run back to the centre point, the same radial rule as the field courses, and keep the allowable taper on each cap unit inside the 15mm of joint you have already accepted in the field. A single straight-cut cap strip across a radius is the detail that gives the curve away.
Cutting and fitting corner pieces is the skill that separates a finished radius wall from a temporary one, and the same discipline applies to the panel-to-loose-stone transition: fitting stacked stone corner pieces covers the 90-degree case in detail, and cap units come from the flagstone and crazy paving line rather than from field panels.
Five Failures Unique to Curved Work
These are the calls that get made on curved veneer, and all five are preventable at the specification stage rather than at the wall.
- Joints opening into wedges. Cause: rigid panels under about 2m radius. Symptom: 6mm at the base of a panel, 20mm at the top. Fix: switch to loose stone, or accept the taper and tool it uniformly.
- Faceted arc. Cause: studs too wide or block stacked to fake a curve. Symptom: a polygon under raking light. Fix: re-fur at 150-200mm centres before lath goes up.
- Drumming at the lap. Cause: an unlaped seam or a sheet bridging the curve. Symptom: a hollow band following the lap. Fix: relief-cut the lath so it lies on the arc.
- Slumped bed. Cause: correcting facets in one thick mortar pass. Symptom: stone that drifted overnight. Fix: build the plane in the furring, not in the bed.
- Colour break at the turn. Cause: curve stone pulled from a different batch. Symptom: a tone shift where the wall starts to turn. Fix: order loose stone and panels from one vein batch.
The fifth failure is the one a distributor can prevent and a contractor cannot fix on site. Batching by vein and controlling thickness through the factory’s three-step inspection, with infrared CNC cutting credited for roughly 20 percent less on-site trim, is what keeps the taper honest where every off-cut is a candidate wedge.
Ordering a Curved Job From the Factory
Curved work changes the order, not just the install. Five questions settle it.
- What is the tightest radius on the drawings? Answer in meters, and let the sagitta table decide the product. This is the specification input most often left blank.
- How much loose stone versus panel? Price the curve as loose stone and the runs as panels, then confirm one vein batch covers both.
- What cut allowance? Wedge cuts reuse less often than flat-wall courses, so order overage against developed length, not box coverage.
- Are corner units in the order? Loose stone L-corners for arrises plus caps for crowns, ordered with the field material, not chased later.
- What does the sample prove? Samples ship in 1-3 days: stack them against a baton of the job radius before the container is committed.
Minimum order sits at one 20GP container across the veneer lines, standard production runs 20-25 working days after approval, and first orders with custom cartons take roughly 25-30 days. Freight leaves through Xingang on FOB, EXW, CIF, or DDP terms, with payment structured as 30 percent deposit and the 70 percent balance released against loading video and a layout photograph of the pallets.
Frequently Asked Questions
What radius is too tight for stone veneer panels?
Around 2m is the practical limit for rigid rectangular panels. At that radius a 550mm panel already sits 19mm off the arc, rising to 25mm at 1.5m and 38mm at 1m, which no joint absorbs invisibly, so use mesh-backed panels or loose stone.
Can flexible stone panels replace loose stone on curves?
Mesh-backed natural stone panels follow gentle radii well, but the face pattern still wants to stay roughly level. On a tight curve or an arch head, individual pieces remain the reliable answer.
Do you use a level or a plumb line to course a curved wall?
Neither, for the horizontal lines. Strike coursing lines from the centre point of the radius so each course follows the arc. A level line across a curve fights the geometry from the first row.
How much extra stone should a curved job order?
Order against the drawing’s developed arc length, then add cut allowance, because wedge cuts produce fewer reusable off-cuts than flat-wall courses do. Confirm the number with a dry-fit of the first three courses.
Which stone colours work best on a curved wall?
Split-face tones with natural variation hide taper better than a uniform linear colour, because joint irregularity reads as part of the mix. Batch the curve and the flat runs from the same vein so the turn does not show a tone break.
Conclusion
Curved veneer work is a sequencing problem with a mathematical first step. Calculate the deviation the panel will show on the radius, choose loose stone below roughly 2m and mesh-backed panels above it, fur the substrate to a true arc, and course from the centre point instead of a level line. Each of those four steps removes a defect that cannot be fixed later.
Key takeaways:
- Sagitta decides the product: 25mm on a 1.5m radius for a 550mm panel is not a joint detail, it is a material change.
- Frame and fur the curve at 150-200mm spacing so the substrate beats the mortar bed to being flat.
- Relief-cut and lap the lath, then scratch coat a continuous plane before any layout line is snapped.
- Course on radial lines, dry-fit three courses, and land the taper in the field where joints can be evened.
- Order curve stone and panel stone from one vein batch, with cut allowance against developed arc length.
Top Stone Panels splits random loose stone, L-corner units, and mesh-backed panels from the same slate and quartzite veins as its panel lines, which is what keeps a radius and its flat runs in one colour. Send the drawing’s tightest radius and get samples and a vein batch match before the container is committed.