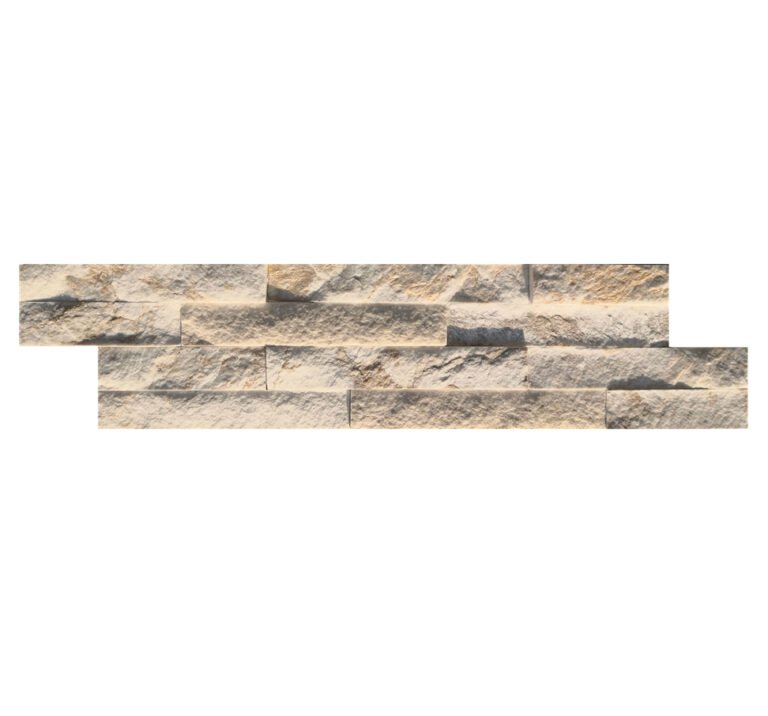
The gap between your deck and the ground is the first thing visitors see and the last thing most builders design. Stone veneer deck skirting turns that open crawl space into a finished wall that matches the house, keeps animals out, and survives freeze-thaw winters because the stone itself is rated for the temperature swing. The installation is a standard thin-veneer job with one twist: the wall is horizontal surface, shorter than shoulder height, and every mistake shows at eye level.
This guide walks the sequence a contractor should run — substrate, drainage, layout, mortar, corners, sealing — with the thresholds that matter and the first-party product numbers from Top Stone Panels, a slate and quartzite exporter in Yixian County, Hebei. Read the whole sequence before you mix the first bag of mortar, because two of the steps sit in an order that feels wrong the first time.
- Stone veneer deck skirting is a shallow exterior wall; it needs the same substrate and moisture rules as a full-height facade, not siding shortcuts.
- Keep a drainage gap between finished grade and the stone, and detail weep points so trapped groundwater has an exit — the term “skirting” does not mean airtight.
- Panels at 15×60 cm stacked stone or 20×55 cm Z-panels reduce cutting around posts; pre-made L-corners save hours at the ends of the run.
- For mortar-set veneer, plan a metal lath and scratch coat over the framed area; reference your product’s backing type (epoxy-bonded or cement/mesh) before choosing adhesive.
- Seal the finished wall and keep the bottom row above snow line where possible; -30°C to +50°C material survives weather that kills concrete-imitator products.
- Why Stone Veneer Works Under a Deck
- Measure the Area and Order the Right Format
- Tools and Materials Checklist
- Step 1: Substrate, Drainage, and Flashing
- Step 2: Backer Board and Scratch Coat
- Step 3: Dry Layout and Cutting
- Step 4: Mortar and Setting
- Step 5: Corners and Edges
- Step 6: Grout, Caulk, and Seal
- Winter, Moisture, and Ventilation Warnings
- FAQ
- Conclusion
Why Stone Veneer Works Under a Deck
Under-deck skirting has three jobs: it visually closes the house, it keeps animals and debris out of the crawl space, and it stops wind from driving cold under the floor. Stone veneer does all three better than lattice because it is heavy, sealed to the structure, and permanent — a raccoon does not claw through mortar-bonded panels the way it might through plastic grating.
The material argument for natural stone is the same one that carries in facades. Slate and quartzite handle the -30°C to +50°C range a deck skirt lives in, they are ultraviolet-stable so the color does not fade on the south side, and their weight — roughly 40-50 kg per square meter in the thin formats — holds against wind uplift better than hollow panels. The cold-climate exterior guide covers the performance logic in detail.
There is a second, quieter reason contractors choose stone skirting on spec homes: it photographs like a finished detail rather than a leftover. A stone-wrapped deck base raises the perceived quality of the whole house, and the installed cost is smaller than the same stone inside because the wall is short. That asymmetry is why skirting shows up in listing photos and not in the construction budget line items people argue about.

Measure the Area and Order the Right Format
Measure the linear run under the deck and the height from the bottom of the deck joist to the ground line, then add a 5-10 cm clearance gap at the bottom if local practice allows. Multiply length by height for square meters, then add roughly 10% for waste and cuts around posts. For a typical 6 x 1 m section you need about 6.6 m² net after waste — a number small enough that errors are cheap, so measure twice before ordering.
Your panel format choice decides how much cutting you do around posts and stairs. The Top Stone Panels lines relevant to skirting:
| Format | Typical size | Why it suits skirting |
|---|---|---|
| Stacked stone panels | 15×60 / 15×55 cm | Long ledger rows cover runs fast; L-corners included |
| Interlocking Z-panels | 20×55 / 15.2×61 cm | Male-female edges minimize vertical joint alignment |
| Thin stone veneer (loose) | Random split-face strips | Irregular pieces feel custom but need more planning |
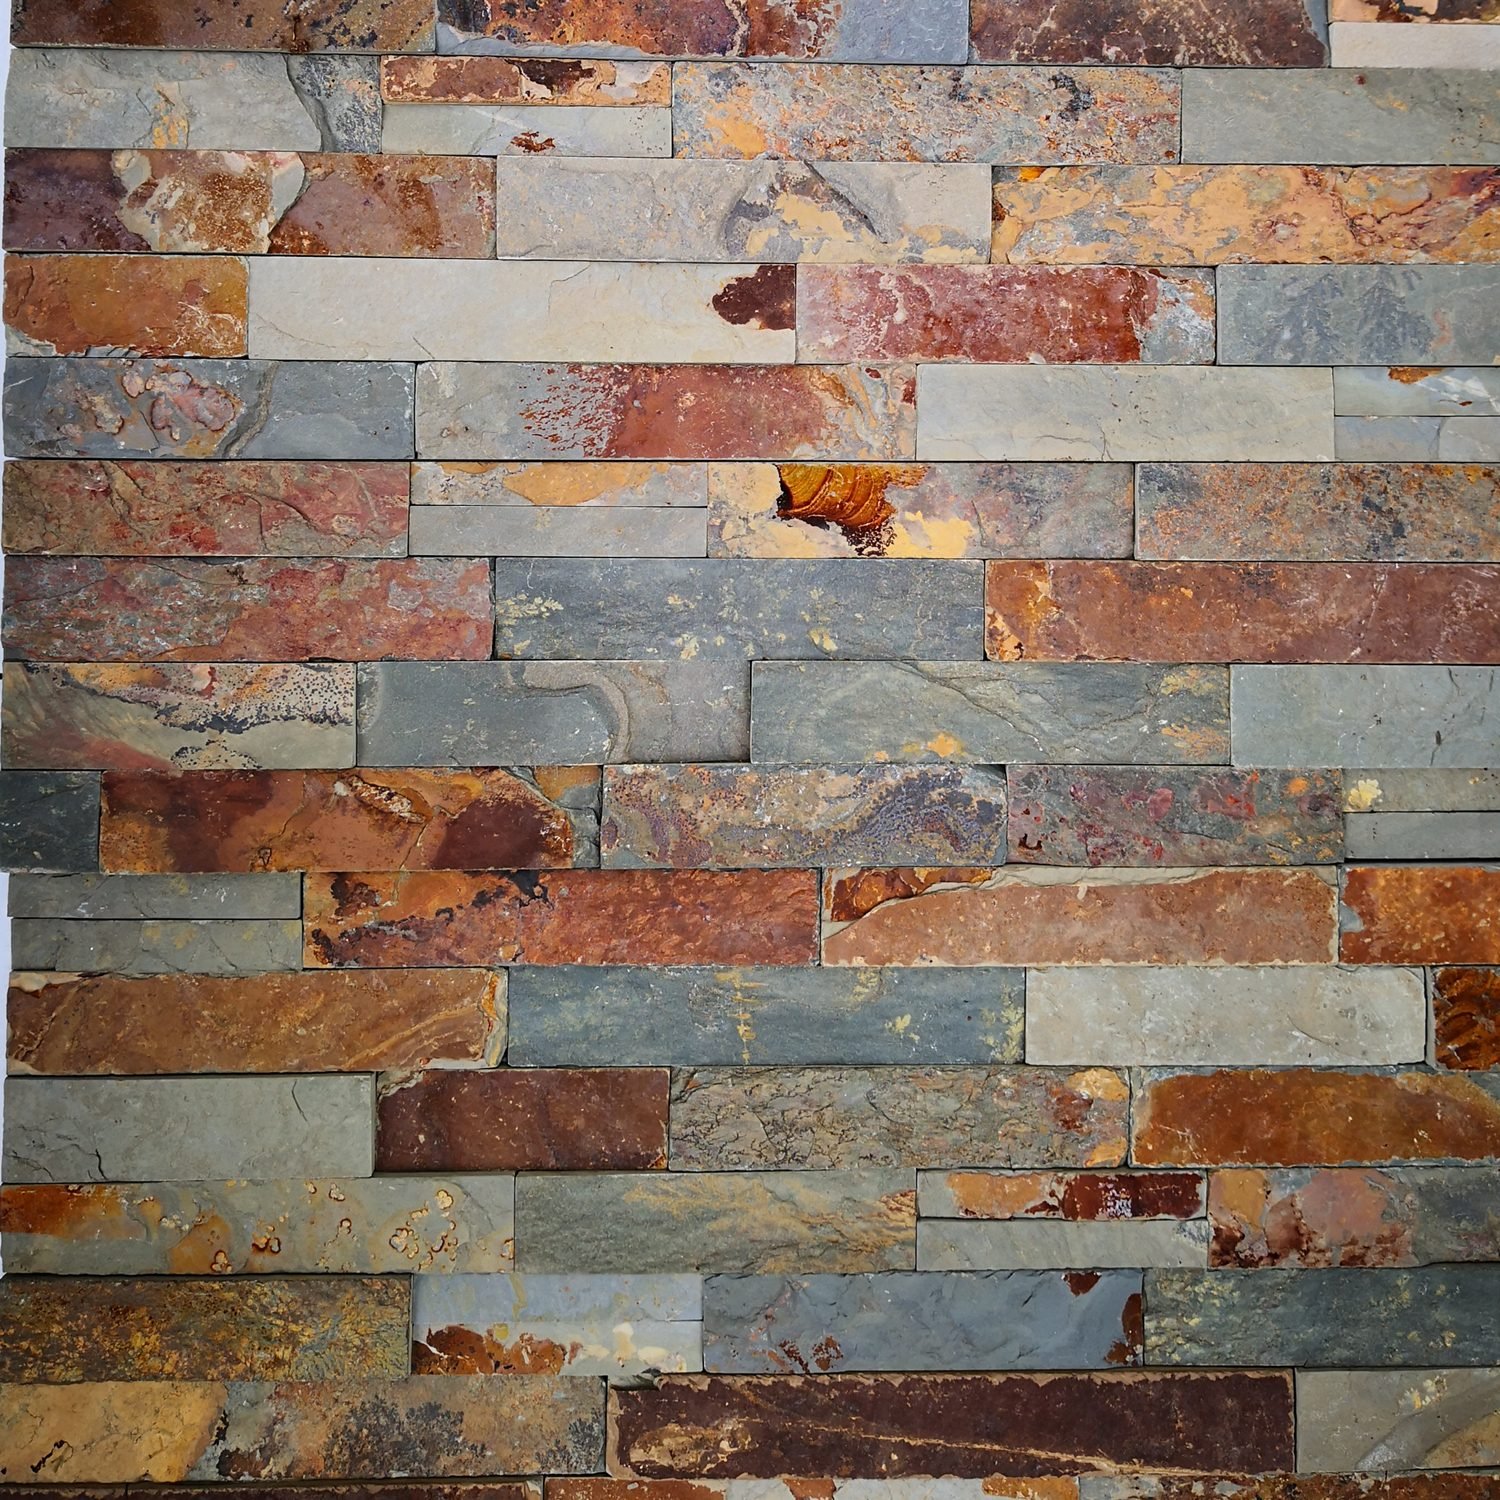
Order with the MOQ in mind: Top Stone Panels quotes one 20GP container as the baseline across product lines, with 20-25 working-day production and 1-3 day physical samples before you commit. A single-house skirt is small, so align it with a distributor stocking order or a multi-porch project. The stone quantity calculator runs the full arithmetic.
Tools and Materials Checklist
Lay out the kit before the crew arrives. Skirting is a small wall, so nothing exotic — but each missing item stops the job for a trip.
| Category | Items |
|---|---|
| Substrate | Cement board or plywood+, metal lath, fiberglass mesh, screws rated for the frame |
| Moisture | Flashing tape, drainage mat or gravel strip, weep mesh, silicone caulk |
| Mortar | Type S or N mortar or thin-set adhesive, scratch-coat mix, buckets, margin trowel |
| Cutting | Wet saw or 4.5-inch angle grinder with diamond blade, dust mask, ear protection |
| Finishing | Grout bag or joint tool, penetrating sealer, stiff brush |
Mortar choice matters more than brand. For a well-prepared framed area, Type S or N mortar with a scratch coat bonds thin stone reliably; for Z-panels with cement backing, follow the manufacturer’s adhesive guidance — both apply to the mortar application guide already published. The cutting tools are the same ones documented in the panel cutting guide; you will make smaller, more numerous cuts than on a facade.
Step 1: Substrate, Drainage, and Flashing
The framed skirt area gets the same treatment as an exterior wall. Screw cement board or exterior plywood to the frame, tape the seams, and run flashing at any transition — deck ledger, decking surface, or house wall — so water sheds outward instead of seeping behind the stone.
Before you fasten anything, set the bottom clearance. The stone should end at least 2-5 cm above average grade, and stronger if your region gets heavy rain. Trapped groundwater is the number one skirting killer: it wicks up the back of panels and pushes out efflorescence. A gravel strip or drainage mat at the bottom plus weep gaps at intervals gives that water an exit. The waterproofing behind exterior veneer guide details the membrane sequence.
Ventilation is the part people forget because it feels wrong. A deck crawl space needs airflow or moisture condenses under the deck boards year-round. Stop the stone below the deck joist line, or leave screened weep vents in the run; do not seal the cavity airtight. Stone skirting improves the look and protects the space, but it is not the vapor barrier.
Step 2: Backer Board and Scratch Coat
If you are setting with mortar, the lath-and-scratch step is what gives the stone something to bite. Fasten metal lath to the board (galvanized, min 2.5 cm mesh), then trowel on a scratch coat of mortar to near-full thickness, and comb it horizontally with a margin trowel. Let it cure until it is firm enough to score but not fully hard. When the framing allows, cement board is the moisture-stable substrate of choice; the cement board overview explains why it holds up in exterior and wet applications where gypsum board does not.
On a skirting-height wall the scratch coat is a 45-minute step, yet it converts a brittle facing into an anchored assembly. Panels set directly on bare board with thin-set can survive a mild season and fail the first winter; the mechanical key of the scratch coat spreads the load across the whole wall. The substrate preparation guide has the full plywood-vs-cement-board decision.
Some manufactures allow adhesive directly to backer board for certain products. Check what your panel’s backing actually is — epoxy-bonded, cement-backed, or mesh-backed — because the interface changes. Thin stone veneer from Top Stone Panels is supplied in formats for both mortar and adhesive bases; the wrong interface is the difference between a ten-year wall and a three-year one.
Step 3: Dry Layout and Cutting
Dry-lay the first row on the ground in front of the wall. Skirting runs are short, so the eye compares every panel to its neighbor; a minute spent arranging stones on grade saves an hour of resetting them on the wall.
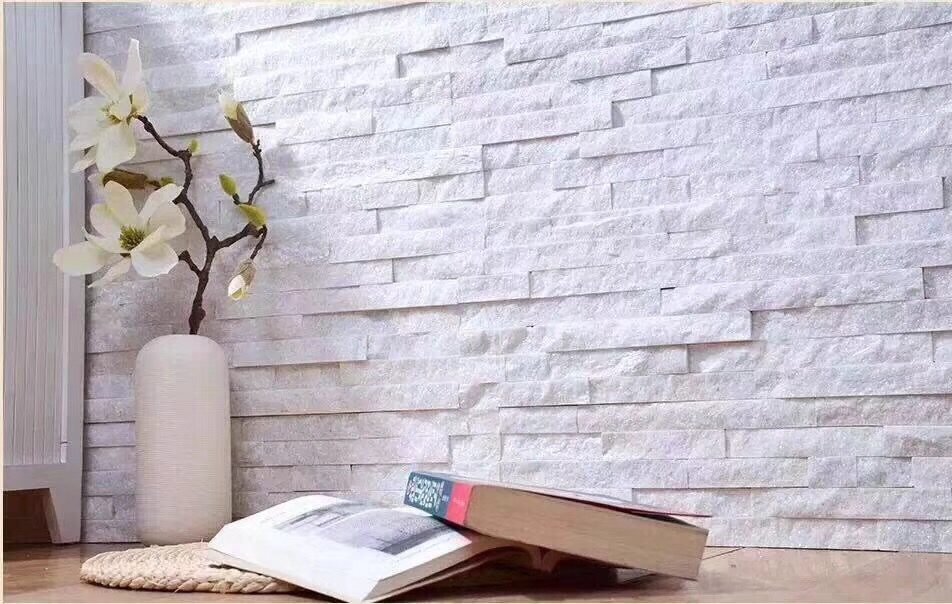
Stagger vertical joints — no two seams stacked. On stacked panels the row height is fixed, so your planning is about where breaks fall: avoid a cut narrower than a third of a panel where possible, and push the inevitable small piece to the end of the run where it reads as a return. For Z-panels the interlocking edge does the staggering for you, but measure where posts interrupt the run before you set anything.
Cut with a wet saw for clean edges and a grinder for notches around posts and pipes. Mark the back, cut, and dry-fit the piece in place — a skirt shows every hairline gap because nothing else on that surface competes for the eye. If you are new to stone cutting, the cutting guide covers the tools and the dust rules first.
Step 4: Mortar and Setting
Mix mortar to a firm peanut-butter consistency — it should stick to a vertical trowel without slumping. Butter the back of each panel with a full bed, pressing it into the scratch coat with a slight wiggle to seat it. A full bed, not a spot bed, is the rule: gaps behind stone collect water that freezes and pops the face.
Set from a straight, level reference at the top of the skirt and work down, or set bottom-to-top with shims holding the first row. For a skirting wall under a deck, the visible reference is the deck’s own underside; set a string line parallel to it and check level every few panels with a two-foot level.
Work in manageable sections — roughly 1-2 m² before the mortar skins over. Clean squeeze-out from panel faces with a damp sponge before it cures. The rhythm is set, clean, set, clean; if you try to catch up with a wire brush after the mortar hardens, you will scratch the split face and dull the surface you just paid for.
Step 5: Corners and Edges
Corners decide whether a skirting job looks custom or improvised. Pre-made L-corners from the same batch as the panels give you a clean 90-degree return without miter cuts. For stacked stone panels, the L-corner kit is part of the product line; order it with the panels rather than sourcing a mismatched profile later.
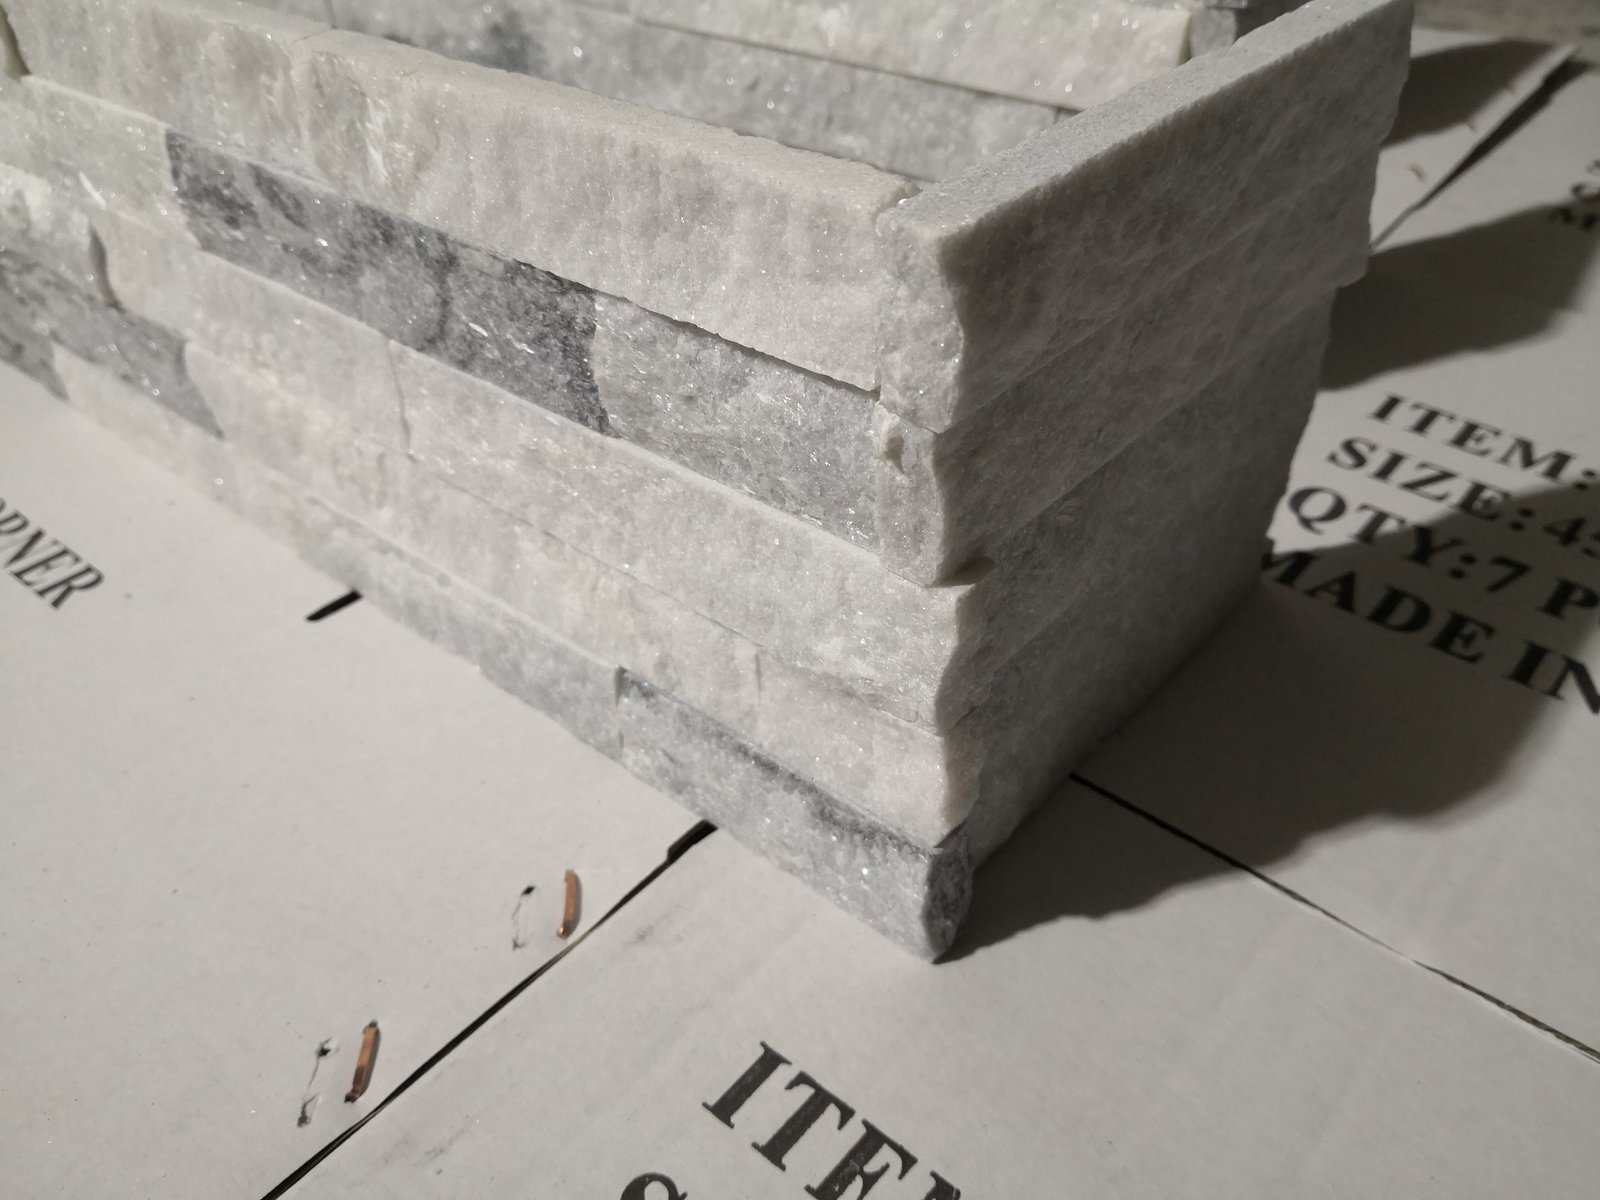
At deck posts, cut panels to wrap the post or end the run at the post with a manufactured edge. A panel ending in mid-air with a raw cut edge reads as a mistake, so plan post intersections in the dry layout. The L-corner installation guide shows the corner sequence with the same panels.
If the skirt meets a house wall at the side, stop the stone at a defined edge — a wood trim board, a stucco reveal, or another material transition — rather than letting it run ragged. Skirting is a shallow wall, so definition reads from across the yard.
Step 6: Grout, Caulk, and Seal
After panels set (typically 24 hours for mortar), fill joints to the depth you want — flush for a tight look, recessed for a rustic one. Use a grout bag for control on the small joints, or a pointing tool for deeper seams. Scrape off excess before it hardens; a dry-brushed joint works for a worn look but once you commit, the whole wall must match.
Caulk flexible transitions — where stone meets deck lumber, posts, and the ground. Stone moves with temperature, wood moves with humidity, and a rigid joint cracks; a polyurethane caulk absorbs both. Then seal the wall with a penetrating sealer, especially the bottom 30 cm where rain splash hits hardest. The sealing guide covers sealer types and renewal cycles.
Let the sealer cure before the client photographs the wall. Wet-look sealing darkens the stone by 10-15%, so if you want the dry color, use a matte penetrating sealer and tell the owner it will lighten as it sheds. Photograph the finished wall on the same day for two reasons: it is the record of a clean install, and it is what the next prospective buyer will be shown.
Ordering stone for a deck skirting job?
Get the 15×60 cm stacked ruling with L-corners or the interlocking Z-panel line for fast, clean runs. Top Stone Panels supplies panels and corners from the same batch and ships samples in 1-3 days.
Winter, Moisture, and Ventilation Warnings
Three failures end skirting prematurely, and all three are preventable. The first is water trapped behind the stone: keep the bottom gap, weep points, and the drainage strip, and never grout the bottom joint shut against grade. The second is an airtight cavity: the crawl space must breathe, or condensation appears on the back of panels through winter. The third is impact at grade — snow shovels, mowers, and dogs love a stone skirt’s bottom edge, so keep it above the working line or install a sacrificial base course.
Material selection removes half the risk. Slate and quartzite are frost-resistant and ultraviolet-stable, and the -30°C to +50°C rating covers the climate in which most deck houses sit. The wet-area waterproofing guide and the freeze-thaw resistance guide apply the same rules to the transition zones of an exterior wall.
Finally, set the expectation on maintenance. A sealed stone skirt needs an annual check and possibly a sealer touch-up every 3-5 years in heavy rain; client owners who hear this before installation do not resent it after. Write the maintenance line into your scope, and you convert a potential complaint into a service upsell.
FAQ
Can I install stone veneer under a wood deck?
Yes. Frame the skirt area with the deck structure, attach backer board or plywood, and follow the standard substrate and mortar sequence. Keep the crawl space ventilated and the bottom row above grade.
Do I need a scratch coat for deck skirting?
For mortar-set thin stone, yes — a metal lath and scratch coat give the mortar a mechanical key and prevent winter delamination. Adhesive-set systems on suitable backer board may skip it; check the product’s backing type.
How far should stone skirting be from the ground?
Set the bottom of the stone at least 2-5 cm above average grade, and keep weep points open. Bottom clearance prevents water wicking and efflorescence, the most common skirting failures.
What is the best stone format for under-deck skirting?
Stacked stone at 15×60 cm with pre-made L-corners covers long runs fast, and interlocking Z-panels reduce joint alignment work around posts. Both run about a 1 x 20GP MOQ with 20-25 working-day production.
Will stone skirting survive freezing winters?
Slate and quartzite are rated for -30°C to +50°C and are frost-resistant by nature. Correct substrate, drainage, and sealing keep them intact through repeated freeze-thaw cycles.
Should I seal stone veneer under a deck?
Yes, especially the lower 30 cm exposed to rain splash. Use a matte penetrating sealer for the dry look and schedule a touch-up every 3-5 years in wet climates.
Conclusion
Stone veneer deck skirting is a small exterior wall with big visibility. Run the substrate and drainage rules properly, keep the crawl space ventilated, set every panel on a full mortar bed, and finish with corners, caulk, and sealer — the result is a deck base that reads as designed instead of leftover.
Key takeaways:
- Measure twice, order panels plus L-corners from the same batch, and plan cuts around posts in the dry layout.
- Keep a bottom clearance and weep points so trapped water has an exit; never grout the base joint shut against grade.
- Use a scratch coat for mortar-set veneer, a full mortar bed per panel, and flexible caulk at material transitions.
- Confirm the MOQ and lead time against your project window: one 20GP container, 20-25 working days, samples in 1-3 days.
For fast runs and clean corners, start with the stacked stone panels line with its L-corner kits, then ask Top Stone Panels for a skirting-specific quote. The exterior thin veneer installation guide is the companion read for the same sequence at full height.