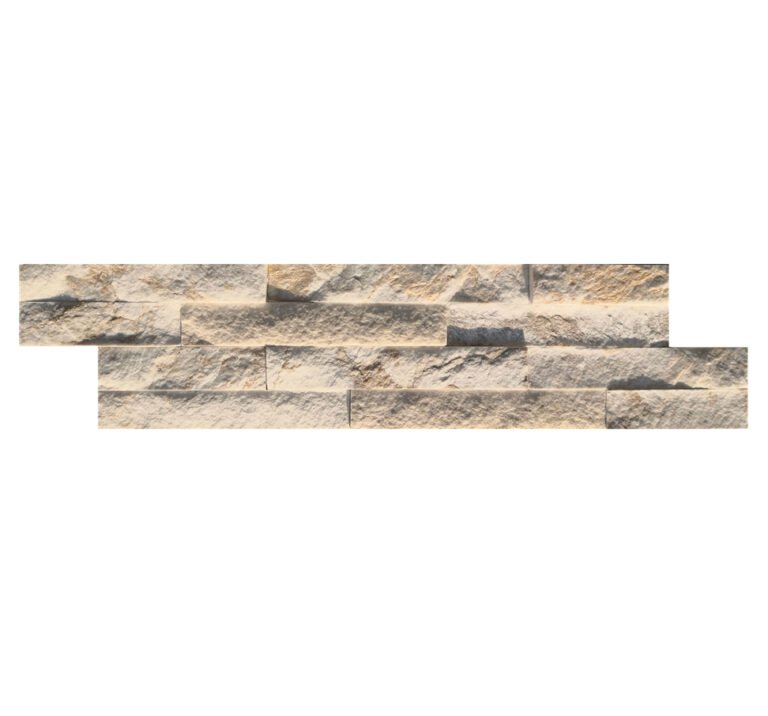
A chipped corner on a stone veneer wall stops a job dead. The installer is hours past the point where the damaged panel can be swapped without work, the owner is staring at a white raw edge against the slate, and the decision is made in the pressure of a punch list: leave it, glue it, or tear out the wall. Most chips do not need a teardown. They need a two-stage repair that bonds the stone back, fills the void, and recreates the face texture so closely that only the crew knows where the damage was.
Top Stone Panels ships stacked stone, thin ledgestone, interlocking Z-panels, and veneer from natural slate and quartzite quarries in Yixian County, Hebei, at more than 220 containers a year. Our guarantee cannot protect a corner from every forklift, but the repair workflow in this guide is the one we send to distributors who ask what to do when it happens.
- Small chips on veneer edges repair in place with epoxy and color-matched stone dust; deep corner loss means remove and replace.
- Clean, sound substrate is the condition for every repair: degreased, dust-free, dry stone before the adhesive goes on.
- Two-part stone epoxy beats construction adhesive because it grips dense slate and quartzite and does not shrink in the joint over time.
- Match the repair color with dust from the same stone, tested on scrap before it touches the wall.
- Seal the finished repair in outdoor and freeze-thaw conditions so water cannot open the joint next winter.
- Factory pre-cut corners and CNC-cut panels reduce chipping at the source, cutting callbacks before they start.
- 1. Assess the Chip Before You Repair It
- 2. Materials: Epoxy, Stone Dust, and Color
- 3. Clean the Damage: The Step Nobody Wants to Skip
- 4. Bond and Fill: The Two-Stage Repair
- 5. Re-Profile the Face and Blend Texture
- 6. Seal and Finish the Repair
- 7. When to Replace Instead of Repair
- 8. Chipping Prevention at the Source
- FAQ
- Conclusion
1. Assess the Chip Before You Repair It
Not every chip repairs the same way, and the first decision is which category the damage belongs to. A surface chip, where the face has lost a small corner or edge but the panel is still sound, is a candidate for in-place repair. A structural fracture, where a crack runs through the panel or the corner is completely detached, is not—repaired or not, the panel has lost its integrity and the safe answer is replacement.
Ask the three questions that separate routine callbacks from insurance claims. Is the panel still fully bonded to the substrate, or did the impact also loosen the attachment? Is the damage confined to the edge, or did it crack through to the face? Is the surrounding jointing still sound, or did the same impact break the mortar seal? The answer to the first question matters most: a solidly attached panel with a chipped edge repairs well, while a loose panel with a chipped edge is a replacement in waiting.
Delamination is the other edge case. If the chip exposes the backing of a cement-backed or epoxy-backed panel and the face layer is lifting, the bond between face stone and backing has failed, and sealant over that failure will not hold. Replace the panel. The repair workflow below assumes the panel itself is sound and only the edge needs rebuilding.
2. Materials: Epoxy, Stone Dust, and Color
The material list for an edge repair is short, and the quality of each item decides the result. Two-part epoxy made for stone forms the bond; stone dust from the same material creates the filler color; a mixing surface, spreader, and finishing tools shape the repair. No duct tape, no construction adhesive as a stand-in, no acrylic filler that dries a different shade from the face.
| Material | Job | Selection rule |
|---|---|---|
| Two-part stone epoxy | Bond and fill the void | Clear or tintable; labeled for stone; long working time |
| Stone dust from the same material | Color the filler to match | Dust collected from the same batch or a spare piece |
| Acetone or mineral spirits | Clean the damage zone | Degreases without residue; never soak absorbent stone |
| Mixing tools and spreader | Mix, apply, shape | Small disposable tools; keep a second spreader clean |
Stone dust is the least appreciated item because it does the color work. Grind or file a spare piece of the same stone to dust, mix that dust into the epoxy, and the filler inherits the stone’s natural tone instead of reading as a light or dark patch. The ratio is small—a little dust colors a lot of epoxy—and the exact amount is tested on a scrap surface before the wall sees it.
Buyers holding adhesive types in stock should read the label before grabbing a tube. Thinset and mortar carry no adhesive role for edge repair; they set tiles and panels into their bed. Epoxy is the gap-filling, bonding material for attached pieces. The distinction matters because a repair crew using mortar as glue will watch the patch fall out within a season.
3. Clean the Damage: The Step Nobody Wants to Skip
Every repair failure the industry documents traces back to the same moment: adhesive applied to a chip full of dust and loose fragments. Epoxy bonds to clean stone, and only to clean stone. The fifteen seconds spent cleaning the damage zone remove the difference between a repair that disappears and one that pops out at the next freeze.
Brush out the loose fragments with a stiff brush, then blow out the dust with an air nozzle or a clean dry cloth. Degrease the exposed stone with a small amount of acetone or mineral spirits on a lint-free cloth, and let it flash dry completely. The stone must be dry before epoxy touches it; wet stone in a drying climate is the quiet cause of failed repairs that show up three months later.
Do not soak the panel. Absorbent stone pulls solvent into its pores, and the residue then interferes with the bond. The cleaner is wiped on and wiped away, not poured. This matters more at the bottom edge of a wall, where years of soil splash have built a film that a visible chip exposes for the first time.
4. Bond and Fill: The Two-Stage Repair
Mix the epoxy according to the manufacturer’s ratio and working time, then apply it in two stages that match the physics of the damage. First bond the detached piece back onto the panel if the chip is a single fragment, pressing it firmly into the cleaned seat and holding it with tape or a clamp until the adhesive cures. The bond carries the load; the filler that follows is cosmetic.
Second, fill the remaining void. Mix a small batch of epoxy with stone dust to a paste that matches the stone’s tone, and press the paste into the void with a spreader, slightly overfilling it. Let the filler cure to the point recommended on the can before shaping. Rushing this stage is the most common site error: shaping soft filler pushes it out of the void and leaves a sunken patch.
The two-stage logic also governs how much epoxy to apply. Too much epoxy in the void creates a glossy patch that refuses to take the stone texture; too little leaves a depression that collects water. Work the paste level with the surrounding surface, and leave the final 1-2 mm for the re-profiling step. That last millimeter is where the repair either vanishes into the split face or advertises itself.
5. Re-Profile the Face and Blend Texture
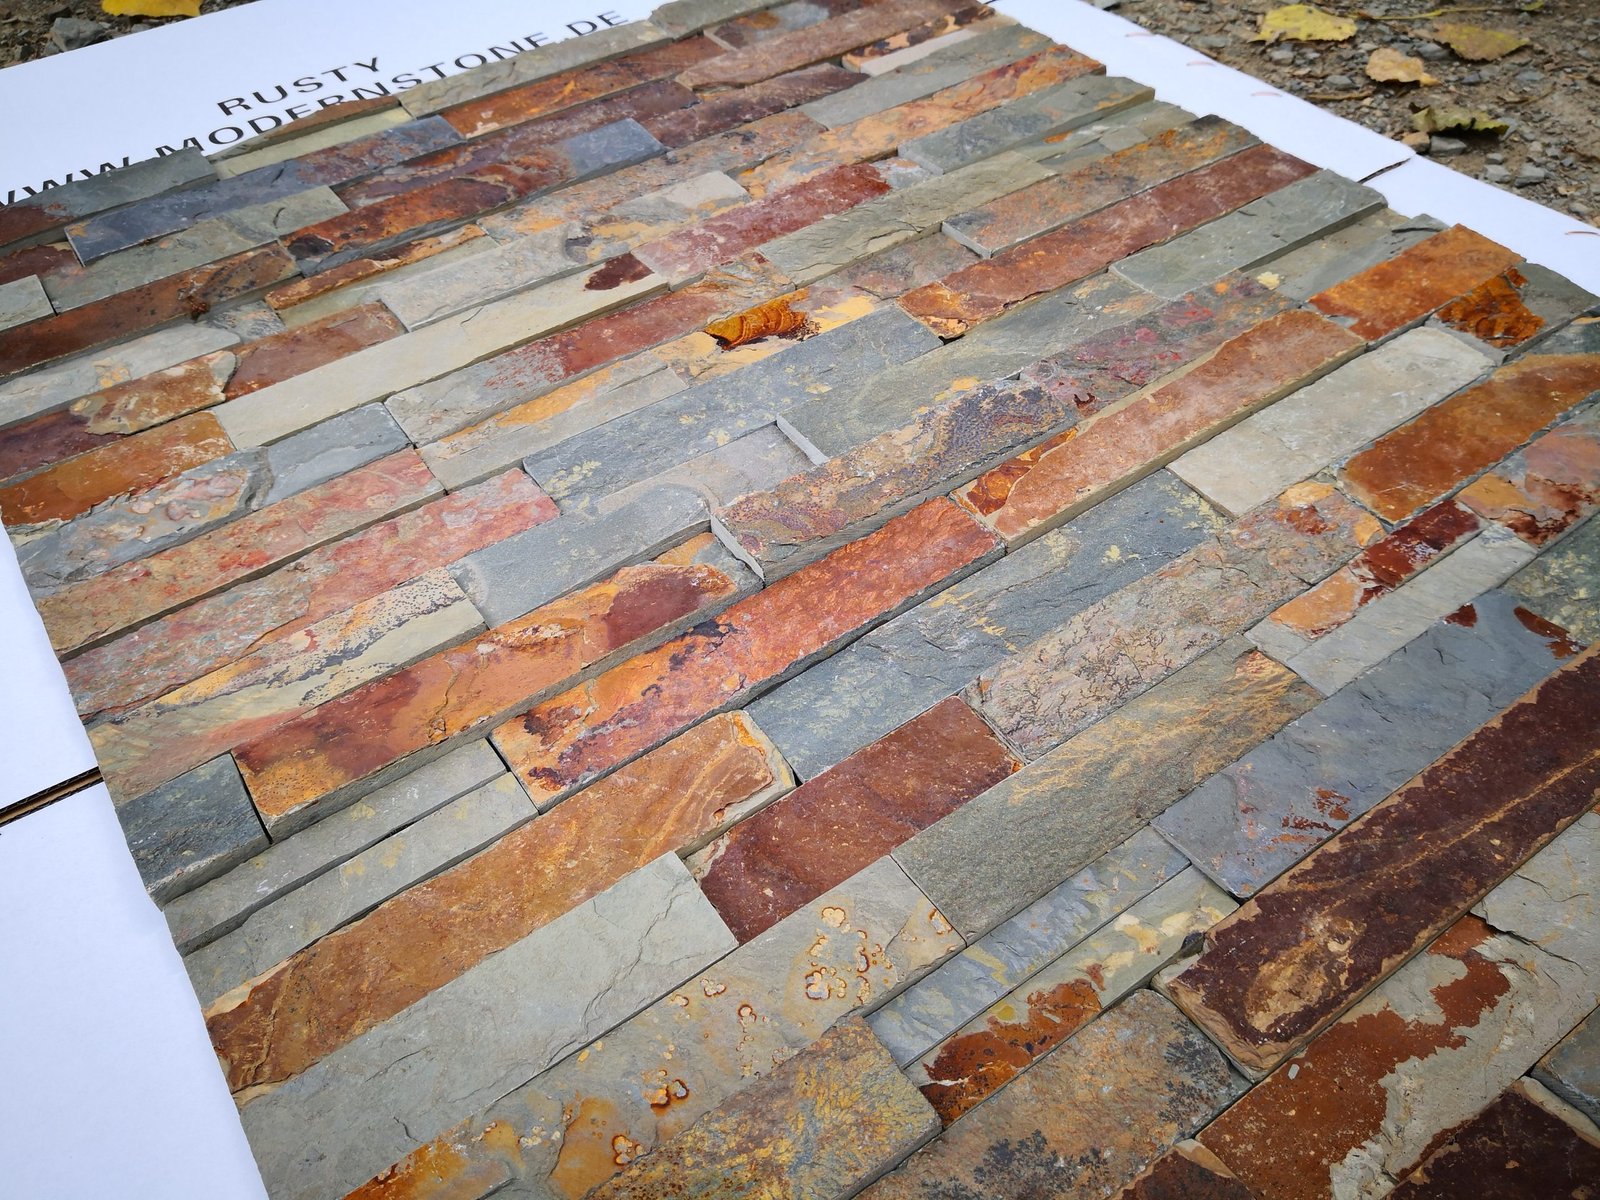
A repaired corner matches the wall when the surface texture matches, not when the color alone is right. Slate and quartzite veneer carry riven, split-face texture; a flat, smooth patch on a riven wall announces itself from across the yard. Re-profiling the filler while it is still slightly soft—or shaping it after cure with a small stone file and abrasive—restores the irregular character of the surrounding face.
Work in small motions that follow the stone’s natural grain. If the adjacent face is split and rough, press texture into the patch with a stiff brush or a piece of the same stone before the filler hardens. If the surrounding face is a cut edge, keep the patch flat and flush. The texture decision is a visual shorthand: read the wall, then copy its pattern for 2-3 cm on either side of the chip.
Sanding dust from this stage is the same material family as the stone dust used for coloring, so collect it. A scrap bag of dust for each color on the project makes later touch-ups instant, and it is the cheapest inventory item on the job. Distributors who sell a color-matched touch-up bag with every pallet cut their warranty callbacks.
6. Seal and Finish the Repair
The repaired edge is sealed for the same reason the original edge was designed the way it was: water finds the seam. In an outdoor, wet-zone, or freeze-thaw climate, the chip is an entry point, and the repair closes it. A penetrating sealer over the finished patch keeps moisture out while leaving the natural look, which is the treatment recommended for most slate and quartzite exterior work.
On sealing natural stone veneer, the timing matters: seal after the repair fully cures, and re-check the joint between patch and stone for gaps before sealing. A patch that looks flush in dim light often carries a hairline crack at the boundary, and that crack is exactly the path the winter wet will take. A fine finishing pass with matching material closes it.
Interior repairs have a shorter cascade: clean, bond, profile, and buff. No sealer is strictly required unless the surface sits in a kitchen or bath splash zone, where the same penetrating treatment prevents soap and water from staining the patch. The standard rule is: exterior and wet zones seal; dry interior walls skip it.
7. When to Replace Instead of Repair
Repair has limits, and the honest crew names them before starting. A corner that is completely detached and missing—no fragment to bond—repairs only if the missing area is small enough for a filled profile; a missing 5 cm corner on a stacked stone piece is a replacement. A crack that runs through the panel face, a delaminated backing, or a chip on a structurally load-bearing edge all push the answer to replacement.
Replacement on a veneer wall is a surgeon’s procedure, not a teardown. The damaged panel is cut out carefully with a multi-tool, the substrate behind it cleaned of old bonding material, and a matching replacement piece set with the same mortar application method used for the original install. Keep at least one spare piece per color from every container order; a project with spares spends minutes on a swap, while a project without spares spends weeks on a reorder.
The spares rule is also a buying rule. When you order veneer, order the replacement stock in the same container, because color is batch-locked at production. Top Stone Panels holds batch-specific vein selection per order, which is why a piece reordered within the same production run matches the wall; a piece reordered months later from a different batch may drift. Spares kill that risk before it appears.
8. Chipping Prevention at the Source
The best repair is the one never needed, and most veneer chipping traces to three sources: impact in transit, impact during install, and cutting on site. The first two are packaging and handling; the third is a material selection decision. Panels that arrive pre-cut and pre-cornered remove most of the angle-grinder work that creates the fractures in the first place.
Top Stone Panels cuts its stacked stone L-corners, ledger pieces, and Z-panel profiles with infrared CNC diamond blades, and factory-processed edges carry the pre-made L-corner approach that eliminates on-site 45-degree mitering. That is the logic behind the published numbers—about 20 percent lower material waste and more than 50 percent lower field labor on corner work. Fewer on-site cuts means fewer impacted edges, and fewer impacted edges means fewer callbacks.
Transit protection is part of the same equation. The Zero-Breakage Packaging Protocol that ships 3-5 layer cartons, pallets, steel strapping, and air bags is designed so the corners of a container land full, not chipped. For the boxes that reach the site, the distributor’s pallet-handling practices decide the rest: no dropping pallet corners, no stacking loads on the vulnerable edge, and the right equipment for moving stone. The factory can pack a perfect container and a forklift can wreck it in seconds.

Related reading: cracked panels move to the next stage in managing cracked stone veneer, and full panel swaps follow the procedure in removing and replacing veneer panels. Maintenance that lengthens the life of repairs is covered in maintaining natural stone veneer.
FAQ
Can I repair a chipped stone veneer edge?
Yes. Clean the chip, bond it with epoxy, fill any void with color-matched stone dust, and reshape the surface to match the surrounding split face.
What adhesive is used to fix chipped stone veneer?
Two-part epoxy made for stone is the standard choice. It bonds to sound stone and fills small gaps without shrinking over time.
How do you match the color of a stone repair?
Use stone dust collected from the same material, mixed into the filler. Test the mix on a scrap piece before it touches the wall.
Do I need a professional to repair chipped veneer?
Small edge chips are a routine fix for site crews. Deep corner loss or delamination is better handled by removing and replacing the panel.
Will a repaired veneer edge last outdoors?
Yes, when the repair is bonded to sound stone and sealed against water. An unsealed edge will fail again in a wet or freeze-thaw climate.
Conclusion
Chipped stone veneer edges repair cleanly when the crew follows the sequence: assess the damage, clean the substrate, bond with stone epoxy, fill with color-matched dust, re-profile the texture, and seal the seam. The same discipline that prevents chipping—factory pre-cut corners, careful handling, spare pieces per batch—reduces how often the repair kit comes out of the truck.
Buyers who carry spares, stock a repair kit, and order from a supplier that batch-locks color remove the two hardest problems: matching the patch and matching the reorder. Top Stone Panels ships pre-cut CNC panels and L-corners with zero-breakage packaging at a one-20GP MOQ, and the 1-3 day sample window is the fastest way to confirm the exact shade of dust your touch-up kit will need.
Key Takeaways
- Assess bonding before repairing; a loose panel with a chip is a replacement.
- Clean to sound, dry stone before applying epoxy, or the repair fails next season.
- Match texture with the surrounding split face, not just color.
- Seal outdoor repairs; keep spares from the same batch for future swaps.