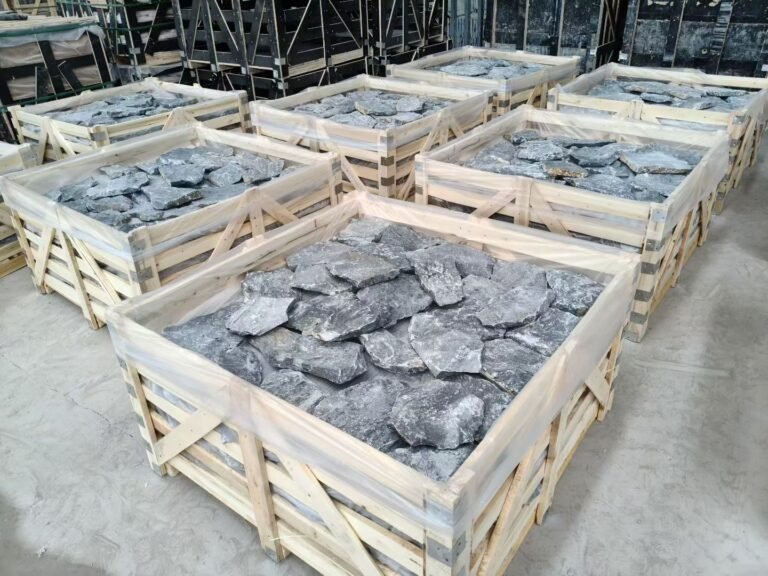
Stone veneer outdoor kitchen projects are where a patio stops being a deck and starts being a room. The island anchors the cooking and the conversation, and the cladding decides whether that anchor reads as a built-in fixture or a rolling cart. Natural stone veneer gives the island a cleft-stone face, the same material logic builders use on high-end facades, at a fraction of the structural weight of full stone.
The six designs below are the layouts that keep coming back in patio projects: a straight grill run, a U-shape cooking station, a corner bar, a peninsula, a full kitchen wall, and a grill-plus-fire combo. Each one changes the cladding math — the corner count, the cap runs, the format that covers the field — and that math is what a contractor orders by.
- Natural slate and quartzite veneer carries A-class fire behavior, a -30°C to +50°C rating, UV stability, and salt-spray resistance — the outdoor-kitchen checklist.
- Island shape drives product choice: Z-panels cover long runs, stacked stone wraps corners, thin veneer adds a hand-set face.
- Pre-made L-corners cut about 50% of corner labor versus on-site mitering, and caps finish every counter and island top.
- Order corners, caps, and trim with the panels; batch-specific vein selection keeps the color story above 95% consistent.
- Flagstone pairs with the wall lines for the patio floor, pool surround, and walkway in the same container program.

Six Ground Rules Before You Build
Every outdoor kitchen design below sits on the same six rules. Ignore them and the cladding — not the grill — becomes the expensive problem.
- Plan the footprint from the appliance. Measure the grill, sink, and fridge before the island walls are framed. The cladding wraps the frame, so the frame has to fit the real equipment.
- Allow working clearance. Keep paths behind the cooking line and comfortable reach over the counter; the island’s shape should not trap the cook between grill and seating.
- Build a weather-tight assembly. Veneer goes over a proper substrate and weather barrier, just like a house wall, with flashing where the island meets the patio slab.
- Match the format to the plane. Long straight faces suit Z-panels, wrapped corners suit stacked stone with L-corners, and small reveals suit ledgestone strips.
- Count corners and caps at order time. Island returns and counter edges are where projects stall; pre-made L-corners cut about 50% of corner labor versus mitering.
- Keep one color story. Order the island, bar, and fire feature from the same quarry vein so the whole patio reads as one program.
The material is the reason this works outdoors. Natural slate and quartzite panels carry a -30°C to +50°C rating, A-class fire behavior, UV stability, and salt-spray resistance — the exact list a grill-exposed, sun-baked, sometimes-coastal patio demands. Grill heat is not a risk material-wise, provided the appliance clearances are respected; the seasonal weather treatment follows the cold-climate guide, and coastal patios get the moisture logic from the salt-spray guide.
Design 1: The Linear Grill Run
The straight island is the workhorse of narrow patios. One long elevation carries the grill and a prep counter, with a shallow tail behind for a fridge or storage. The cladding does one continuous plane, which makes it the fastest and most economical build of the six.
Verdict: pick this when the patio is narrow or the budget favors the grill itself.
- Good for: side yards, balconies, covered porches, projects with a straight house wall to set against.
- Watch out: a long unbroken face shows mortar and level problems; treat the run as one elevation with consistent courses.
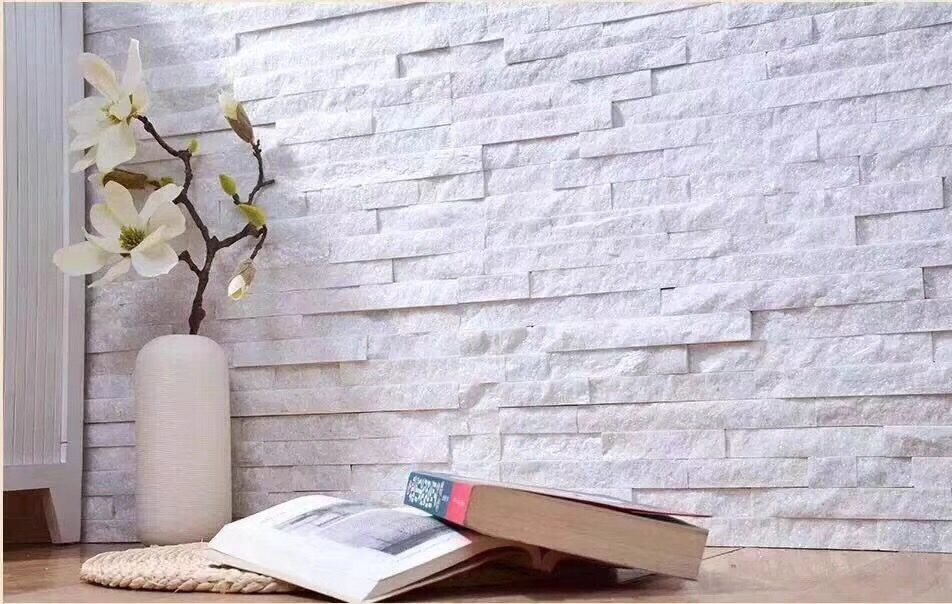
For the material, interlocking Z-panels at 20x55cm or 15.2x61cm cover long counter runs fast, while stacked stone at 15x60cm gives the run a tight ledger rhythm. The stacked stone and Z-panel lines both handle the exterior duty rating of -30°C to +50°C and salt-spray exposure.
Design 2: The U-Shape Cooking Station
The U-shape wraps the cook on three sides: grill on one leg, prep counter and sink on the other, and a crossbar for staging. It produces the most usable counter space per footprint and keeps everything within one or two steps.
Verdict: pick this when the patio is square and the owner cooks serious menus outdoors.
- Good for: dedicated grilling zones, built-in trash and storage, weather protection of the back leg.
- Watch out: three legs mean three times the corner count; wrap each leg with pre-made L-corners instead of cutting miters on site.
Stacked stone is the natural partner for a U-shape because its staggered ledger pattern carries smoothly around the returns. The L-corner guide shows how to count corners for a three-leg island — a U-shape routinely needs more corner pieces than the first estimate suggests.
Inside the U, the two legs take on different jobs. The wet leg carries the sink and prep surface; the dry leg parks the grill and a landing board. Contractors build each leg as its own framed wall, which is why the cladding order should treat the three faces separately, too: the longest leg takes the bulk of the panels, and the crossbar takes the shortest courses and the most trimmed pieces.
Design 3: The Corner Bar Island
The corner bar places the island where two patio edges meet, forming an L that opens the main traffic lane. It works hardest when the patio wraps a house corner or borders a pool deck, giving the cook sight lines down both arms of the space.
Verdict: pick this when the patio has an inside corner that would otherwise sit unused.
- Good for: wrap-around patios, poolside bars, spaces that need a social counter without blocking the route.
- Watch out: the inner corner creates an angular return; cap the top and let the cladding wrap the L with matched corner pieces.
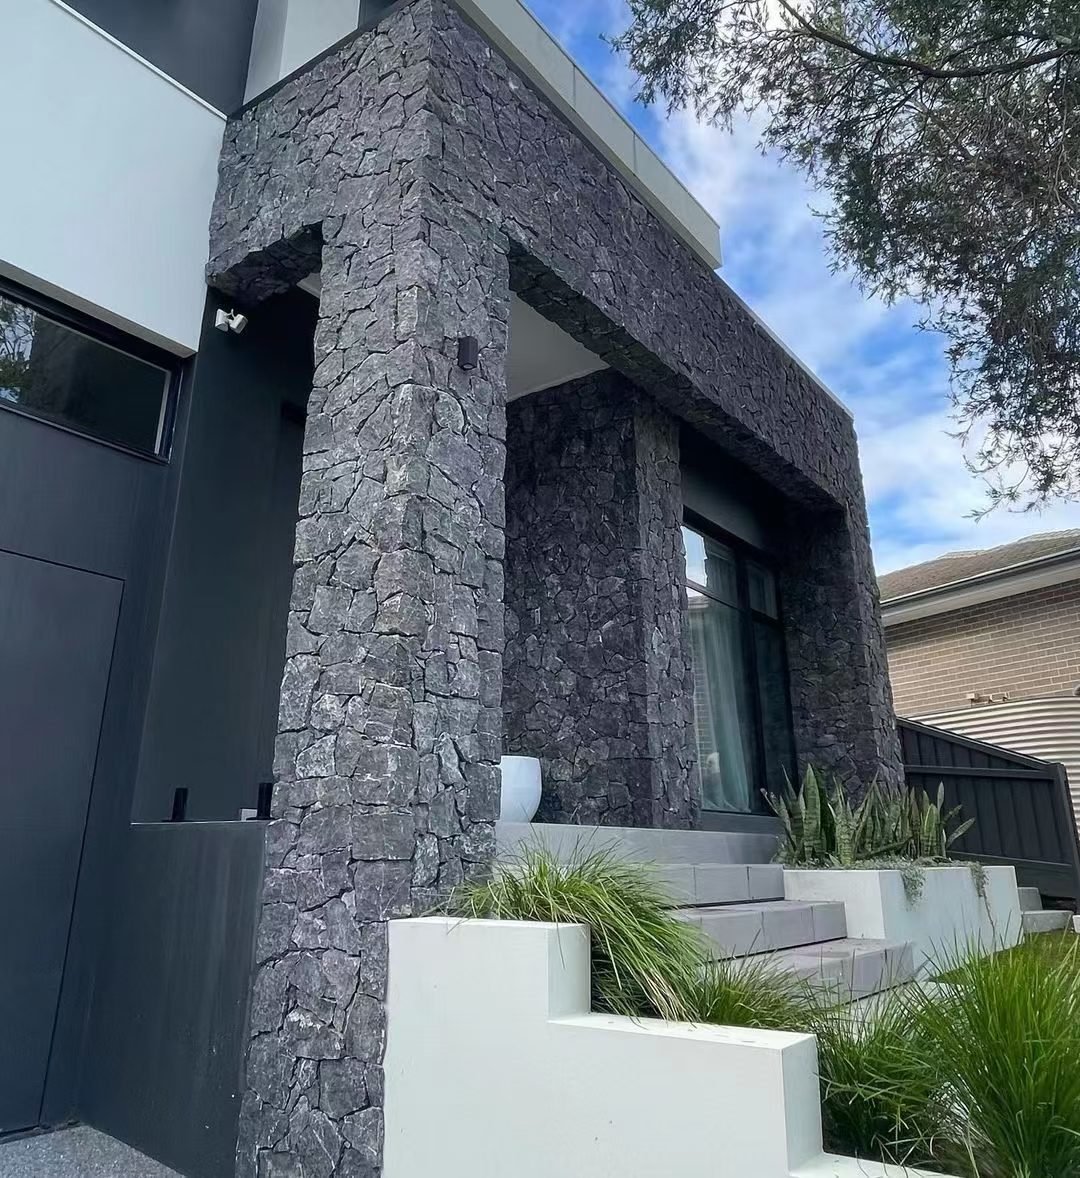
Black or grey stacked stone reads especially well on a corner bar because the elevation is photographed from two directions. The grey color guide and black exterior designs both show how the tonal range behaves on larger surfaces.
Design 4: The Peninsula Breakfast Counter
The peninsula anchors one end to the house or a wall and leaves the other end open, with a raised bar overhang for stools. It is the design that turns a grill into a gathering point: cooking on one side, breakfast and drinks on the other.
Verdict: pick this when the patio connects to the kitchen and the owner wants indoor-outdoor flow.
- Good for: covered patios, sliding-door access, families who eat most meals outdoors in season.
- Watch out: the bar overhang needs a clean reveal under the counter; plan the cap and corner returns before the frame is finished.
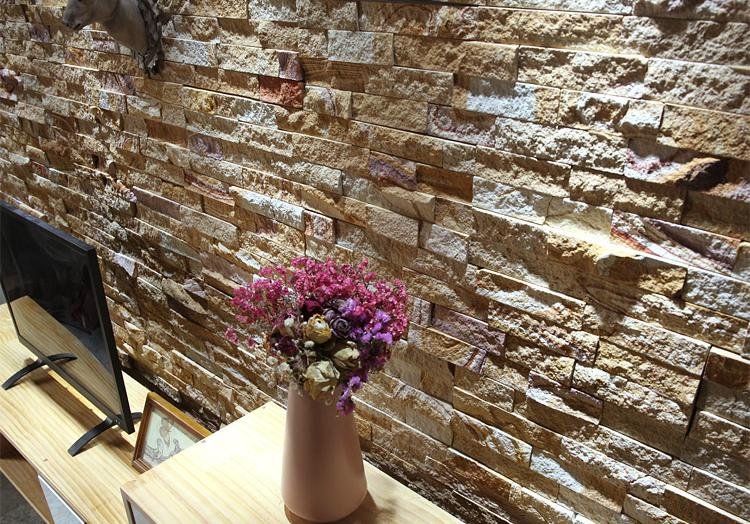
Thin ledgestone at 36x10cm suits the smaller vertical faces around the bar, while the long base elevation performs with stacked stone. The thin ledgestone line gives the peninsula a lighter scale that stops the island from dominating a covered patio.
Design 5: The Full Kitchen Wall
The full kitchen wall is the outdoor equivalent of an indoor run: grill, side burner, sink, fridge, and storage under one long elevation, often along a house wall or a masonry garden wall. It is a building project, not a patio upgrade, and the cladding has to feel architectural.
Verdict: pick this when the client treats outdoor cooking as a permanent room and budgets accordingly.
- Good for: large covered patios, pool houses, hospitality patios where the kitchen runs all season.
- Watch out: every tall elevation is veneer over a frame; follow the exterior substrate and weather-barrier rules from the waterproofing guide.
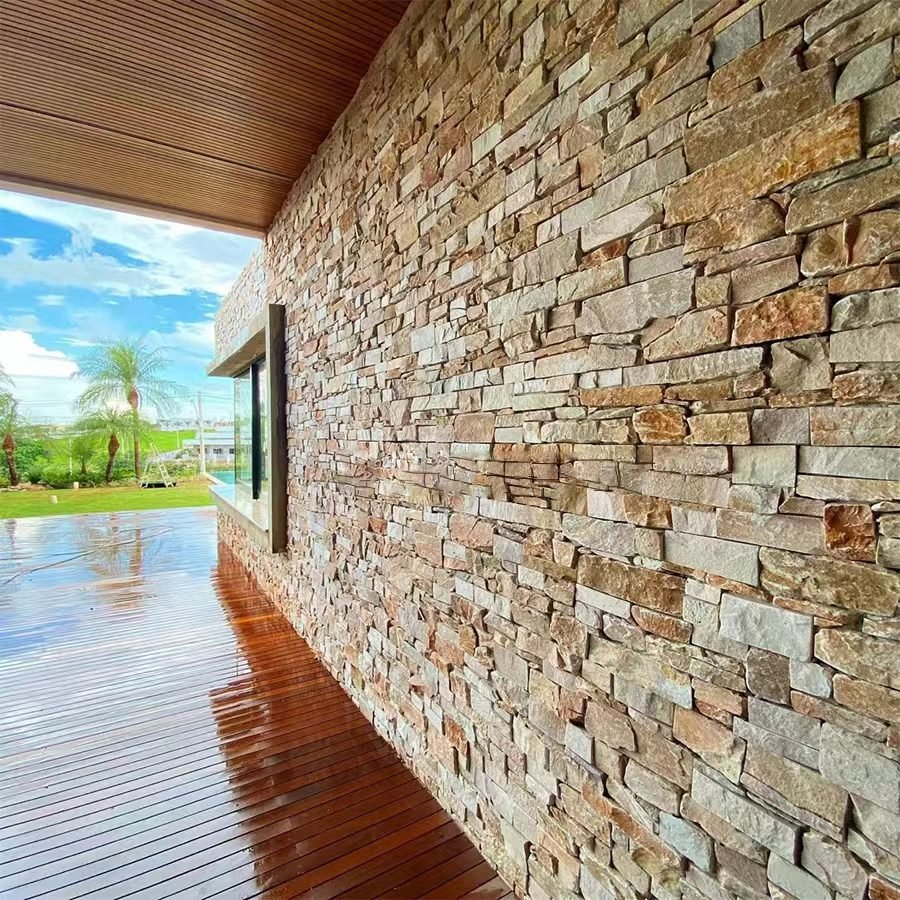
Long walls favor Z-panels for speed and consistency, with stacked stone accents at the columns and bar. The full wall also takes the most finish pieces — caps run the entire top edge — so ordering corners and caps with the panels is the difference between a smooth install and a two-week wait for trim.
Design 6: The Fire-and-Grill Combo
The fire-and-grill combo pairs the outdoor kitchen with a fireplace or fire pit in the same stone family. One elevation carries the grill and counter; the other anchors a seating zone with a flame feature. Done in one cladding program, the patio reads as a resort room instead of a collection of outdoor appliances.
Verdict: pick this when the project budget covers a second feature and the patio has room for a seating zone.
- Good for: year-round patios, evening entertaining, projects where the fireplace sells the build.
- Watch out: natural stone carries A-class fire behavior, but respect the appliance and fireplace clearance specs when placing the flame features.
The same color story across both features is what makes the combo work; factory batch-specific vein selection holds transition consistency above 95%, so the island and the fireplace can ship in one order and match on site. The pool-adjacent version of this thinking is covered in the pool features guide, and commercial patio fire and kitchen work appears in the restaurant feature wall guide.
How to Order Panels and Finish Pieces
Outdoor kitchen cladding orders follow the same path as any exterior veneer order, with the island geometry added to the math. Send the factory the island footprint, wall heights, corner count, counter reveal, and color family, and the quote comes back with panels, L-corners, caps, and freight priced together.
Island math is straight wall math per face. A linear grill island 2.4 meters long and 1.1 meters high carries about 2.6 m2 of cladding per side, which is roughly 29 stacked stone panels at 0.09 m2 each — before the ends, the returns, and the cut allowance. Add all exposed faces, divide each by the panel coverage of the chosen format, and the order writes itself. The same addition applies to island legs, bar fronts, and the fire feature plinth.
| Format | Size | Outdoor kitchen use | Coverage / panel |
|---|---|---|---|
| Stacked stone | 15×60 / 15x55cm | Wrapped islands, returns, bars | 0.09 m2 |
| Thin ledgestone | 36x10cm | Small reveals, accent bands | Line-specific |
| Interlocking Z-panels | 20×55 / 15.2x61cm | Long counter and kitchen walls | 0.11 m2 |
| Thin stone veneer | Random lengths | Feature face around the grill | Varies |
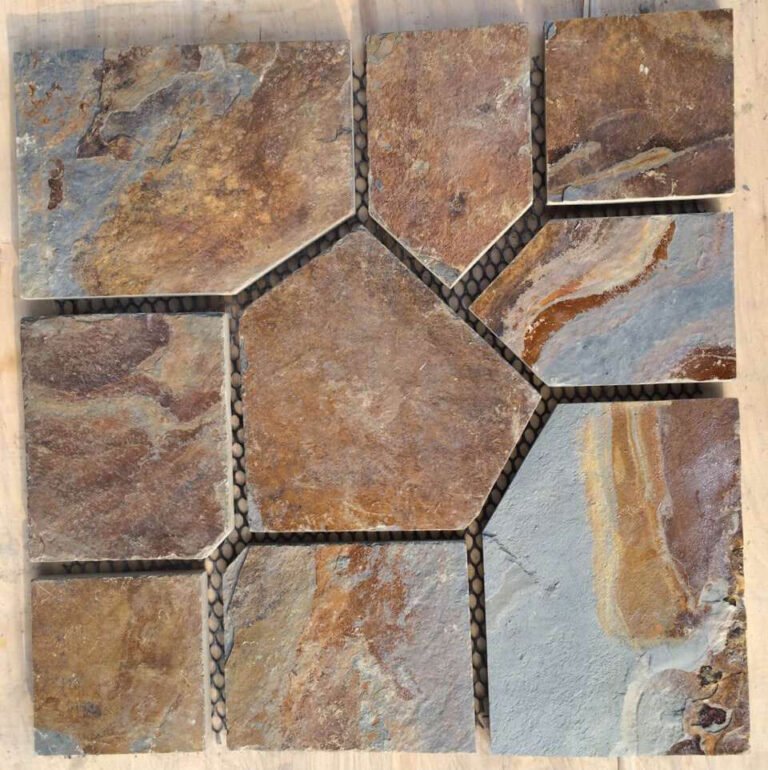
| Flagstone | Random mesh | Patio floor, pool surround, walkways | Area-based |
Samples ship in 1-3 days, so the color decision happens before production. The MOQ is one 20GP container per line, which is enough volume to plan an island and a patio floor together; the flagstone line pairs with the thin veneer and Z-panel walls in that same shipment. Production runs 20-25 working days with terms of 30% deposit and 70% before shipment — and the Zero-Breakage Packaging Protocol handles the rest.
Send the island footprint, corner count, and color family, and get a panel quote with L-corners, caps, and flagstone for the floor in one pass.
The cost conversation belongs on one page: natural stone veneer competes with cultured stone and manufactured panel systems, and the trade-offs are in the natural vs cultured stone comparison and the cladding cost breakdown guide.
FAQ
What stone veneer is best for an outdoor kitchen?
Stacked stone wraps island corners cleanly, Z-panels cover long counter runs fast, and thin veneer adds a hand-set face. All are natural slate or quartzite rated for exterior use.
Can you use natural stone veneer behind a grill?
Yes. Natural stone carries A-class fire behavior and a -30°C to +50°C rating, but always keep the appliance manufacturer’s clearance and heat-shield requirements.
Does stone veneer hold up to outdoor weather?
The panels are UV-stable, salt-spray resistant, and freeze-thaw rated. The assembly still needs a weather barrier, flashing, and proper mortar cure.
Do outdoor kitchen islands need L-corners?
Yes for wrapped returns and counter edges. Pre-made L-corners save about 50% of corner labor compared with cutting miters on site.
How do you clean stone veneer on an outdoor kitchen?
Use water and a soft brush, avoid acid cleaners, and seal the stone after the mortar cures per the sealing guide.
How much stone veneer do I need for an island?
Measure the exposed face area of each island wall, divide by panel coverage (0.09 m2 for 15x60cm stacked stone), and add a cut allowance.
Conclusion
The six designs answer the same question at different scales: what should the patio’s cooking anchor look like and hold? A linear run covers the narrow patio, the U-shape and full wall handle serious cooking, the corner bar and peninsula turn the island into a social fixture, and the fire-and-grill combo makes the patio a year-round room.
- Match the format to the plane: Z-panels for long runs, stacked stone for wrapped corners, ledgestone for small reveals.
- Count L-corners and caps with the order; factory corners cut about 50% of corner labor.
- Keep island, bar, and fire feature on one quarry vein for a uniform color story.
- Pair flagstone with the wall lines to carry the stone program across the patio floor.
Start with the sample: request panels in the color family you are specifying, verify the match against the patio, then order the container with corners and caps included. The sample request takes one message, and the stacked stone and flagstone pages show the finished options to quote from.