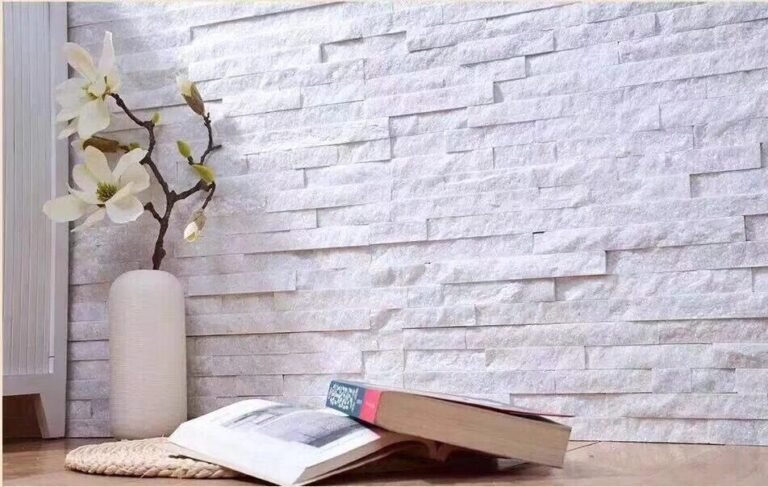
Most stone veneer jobs look fine at the eave and get sloppy at the peak. That is where a gable end lives — a triangle of wall that reads from the street, catches the afternoon sun, and shows every layout shortcut the crew took. Installing stone veneer on a gable wall is the same veneer craft as a flat wall, plus three specific problems: triangle area math, a center seam at the ridge, and rake edges that need returns instead of raw cuts.
Work those three problems in the right order, and the gable becomes the strongest part of the front elevation. Skip the planning, and the crew is re-cutting panels at the rake while the mortar is setting. This guide walks the sequence an installer can run in the field, with the numbers that keep the material order honest.
- Measure the triangle before ordering: base x height / 2, divided by panel coverage (15x60cm = 0.09 m2), plus cut allowance.
- Prep the assembly first: sheathing, weather-resistive barrier, and flashing at the rake, eave, and any dormer or vent.
- Pick the panel format by triangle size and joint look: stacked stone 15×60/15×55, thin ledgestone 36×10, or Z-panels 20×55/15.2×61.
- Order pre-made L-corners with the panels — they cut about 50% of corner labor versus mitering on site.
- Dry-fit the peak and rake pattern before mortar; blend panels from several boxes so the color does not read as a wedge.
- Stone panels handle -30°C to +50°C; fresh mortar still needs a protected, above-freezing cure.

- Why Install Stone Veneer on a Gable Wall
- Calculate Gable Wall Area First
- Read the Gable Assembly Before Panels
- Choose Panels and Finish Pieces
- Set Up Access and Scaffolding
- Dry-Fit the Layout on the Triangle
- Bed, Set, and Joint the Veneer
- Handle the Peak, Rakes, and Transitions
- Seal, Cure, and Weatherproof the Wall
- FAQ
- Conclusion
Why Install Stone Veneer on a Gable Wall
A gable end is the largest uninterrupted exterior surface on most houses, and it usually sits right where the roofline meets the street. Cladding it in natural stone gives the elevation a material anchor that siding alone cannot produce. Builders use the move on new construction and on retrofits, where a stone gable upgrades a plain front elevation without touching the roof.
The same exterior rules apply as any veneer wall: the stone must be installed over a sound assembly, and the joints must shed water before the facade sheds color. Gable-specific installs add height, wind exposure, and a ridge line — which is why the sequence below starts with math and access, not with mortar.
Residential exterior trends favoring stone on the upper facade are covered in the residential stone siding guide, and the cold-climate requirements that govern most gable work in the cold-climate veneer guide. Both assume the same foundation: dense natural stone, properly installed.
Calculate Gable Wall Area First
Ordering starts with the triangle. The gable area formula is base times height divided by two, where the height is measured from the eave line up to the ridge. An 8-meter-wide gable that rises 4 meters from eave to peak holds 16 square meters of net wall — before windows, vents, and waste.
| Order input | Value | Math |
|---|---|---|
| Gable width (base) | 8 m | Measured at eave line |
| Gable height (eave to ridge) | 4 m | Measured plumb at center |
| Net area | 16 m2 | (8 x 4) / 2 |
| Panels at 15x60cm | ~178 | 16 / 0.09 m2 per panel |
| With ~10-15% cut allowance | ~196-205 | Add rake cuts and peak trim |
Panel coverage comes straight from the factory sizes: a 15x60cm stacked stone panel covers 0.09 m2, and a 20x55cm Z-panel covers 0.11 m2. Divide the net triangle area by that number, add a cut allowance for the rake angle and peak trim, and you have the order quantity. The same arithmetic works in square feet when the panel sizes are converted first. A buyer’s quantity calculation guide covers the formula for the whole house.
Two measurements refine the triangle. Subtract the areas of gable-end windows, vents, and louvers from the net figure before dividing, and measure an irregular bottom edge — a gable that stops mid-wall or follows a sloped entry ceiling — as the true base rather than the widest point. Most gable forms are built from two right triangles, so splitting the peak plumb line makes both sides calculate cleanly and fields the order more accurately.
The factory quote should come back in square meters, panels, and containers. Send the net area plus the allowance, and the supplier can price panels, L-corners, caps, and freight against one number instead of a guess.
Read the Gable Assembly Before Panels
A veneer wall is only as durable as the assembly behind it, and gable ends take wind-driven rain harder than the wall below. The sequence: verify the sheathing, install the weather-resistive barrier, run flashing at the rake and eave, and detail every penetration before a single panel is set.
The barrier is non-negotiable on exterior work. Water that gets behind the veneer needs a planned exit, and the flashing at the rake, eave, dormers, and vents is that plan. The exterior waterproofing guide shows the barrier and flashing details, and the substrate preparation guide covers when a gable needs cement board or metal lath rather than direct adhesion.
The warning: never install veneer over bare framing or painted siding on a gable. The triangle amplifies the failure — a popped panel near the ridge falls further and is harder to reach. Fix the substrate before the scaffold goes up.
Choose Panels and Finish Pieces
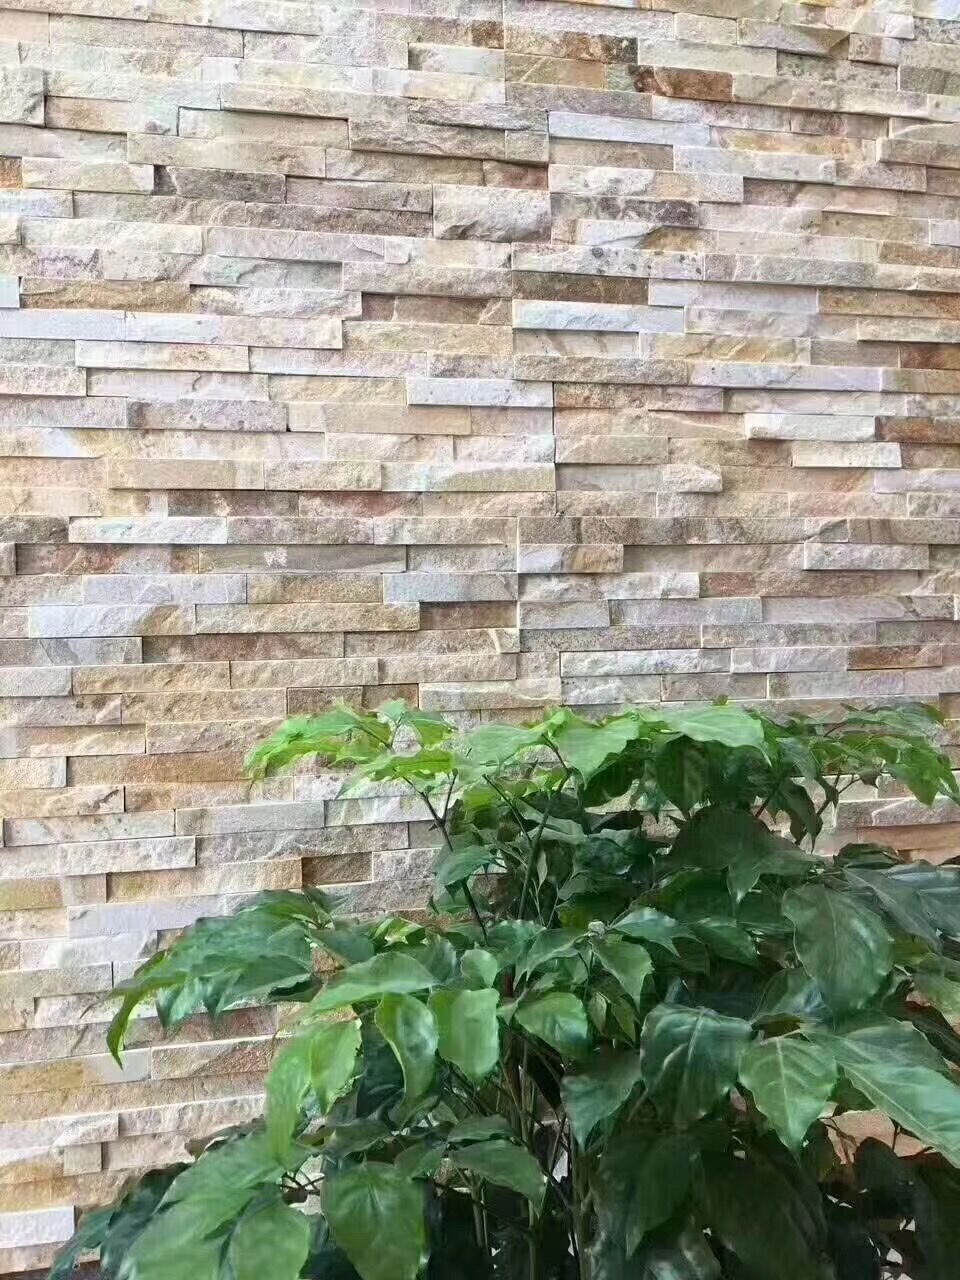
The panel format should follow the gable’s size and the joint look the design needs. Stacked stone panels at 15x60cm give a tight ledger rhythm that reads well on a triangle. Thin ledgestone at 36x10cm suits dormer cheeks and narrow returns. Interlocking Z-panels at 20x55cm or 15.2x61cm cover large gable fields fast, and thin veneer scatter provides a hand-set appearance around the peak.
| Format | Size | Why it works on a gable | Coverage / panel |
|---|---|---|---|
| Stacked stone | 15×60 / 15x55cm | Tight ledger rhythm, matches peak geometry | 0.09 m2 |
| Thin ledgestone | 36x10cm | Lightweight strips for small walls and returns | Line-specific |
| Interlocking Z-panels | 20×55 / 15.2x61cm | Fast field coverage, cement-backed rigidity | 0.11 m2 |
| Thin stone veneer | Random lengths | Natural scatter reads well around the peak | Varies |
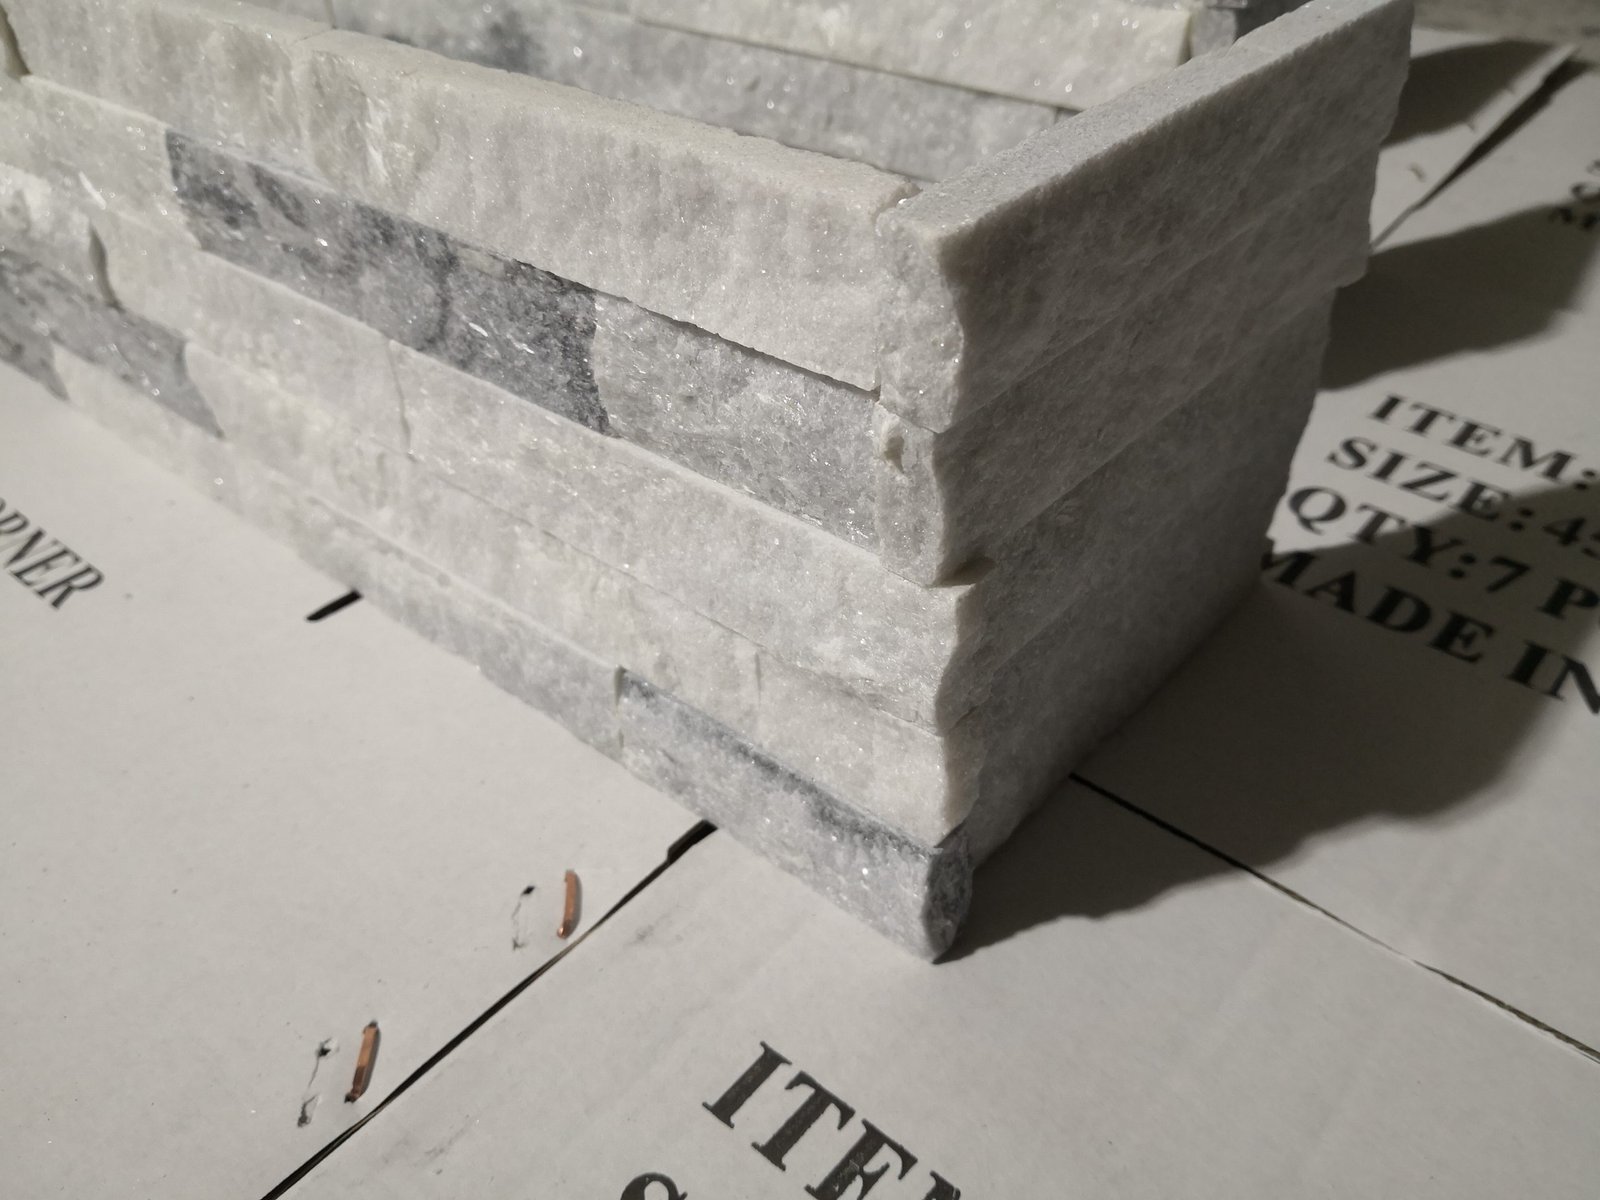
Finish pieces are ordered with the panels, not after them. Pre-made L-corners handle the 90-degree returns at the rake and wall ends, and they cut about 50% of corner labor compared with mitering on site. Cap and coping pieces finish the ridge and the eave transition. The L-corner guide explains how to count corners, and the caps and coping guide shows the finishing-piece logic for the top of the wall.
Color selection for a gable follows the same rule as the rest of the facade: approve the sample before production and keep the approved piece on site as the acceptance reference. Samples from Top Stone Panels ship in 1-3 days, so the color check can happen while access is still being planned, before quarry allocation locks the batch. Designers who want the gable to stand out from the siding below should pick the color family first — black, grey, or multicolor — then let the factory’s vein-matching keep the triangle uniform.
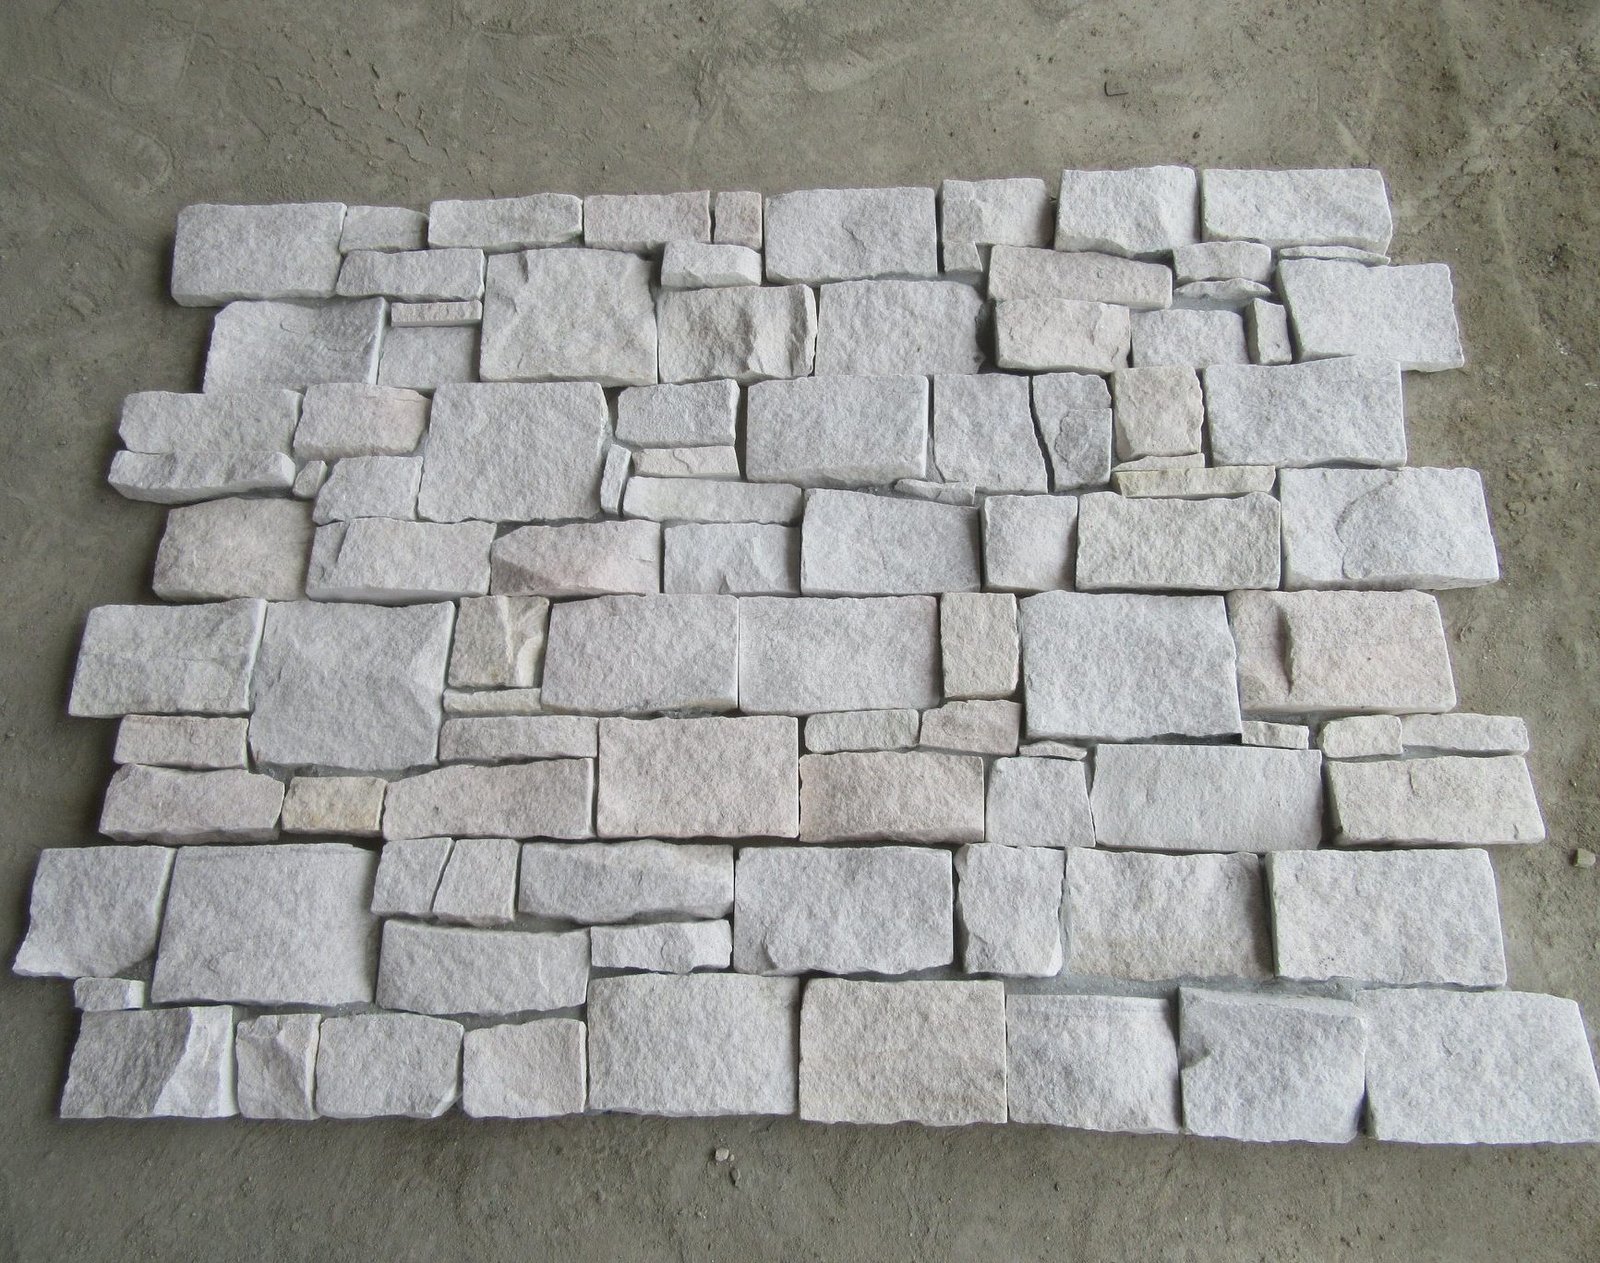
Send the triangle area, panel format, and corner count, and the factory will quote panels, L-corners, caps, and freight as one package.
Set Up Access and Scaffolding
Gable work is elevated work. The triangle sits above the eave line, which means every panel set at the ridge is a panel carried up and worked overhead. A stable platform beats ladders for mortar buckets, panel stacks, and two-person setting, and it keeps the crew off the roof slope where the pitch makes footing worse.
Scaffolding for veneer needs to reach the ridge with working room for a mortar hawk and a full panel. The scaffolding guide for stone veneer lays out platform height, guardrail rules, and the safe way to stage boxes at eave level so the crew is not dragging panels up a ladder all day.
The warning: account for the maximum panel weight at height before the scaffold is rented. Cement-backed Z-panels are heavier than epoxy-backed thin veneer panels, and the platform plan should match the heaviest piece on the job.
Dry-Fit the Layout on the Triangle
A flat wall starts anywhere and looks fine. A gable starts at the peak, because the ridge line is the visual spine and the pattern must step down both sides in balance. Dry-fit the first courses on the ground or a saw table: lay out the center course, decide whether the peak lands on a full panel or a shimmed join, and mark the rake cuts before any mortar is mixed.
Blending matters more on a triangle, where a color drift lays diagonally across the wall and reads as a wedge. Open three to five boxes and rotate panels as the layout climbs; batch-specific vein selection from the factory holds transition consistency above 95%, and on-the-wall blending protects it. The dry-fit layout guide covers the full method, the color mixing guide shows the blending routine, and the pattern layouts guide compares random, linear, and ashlar rhythms for the field.
Bed, Set, and Joint the Veneer
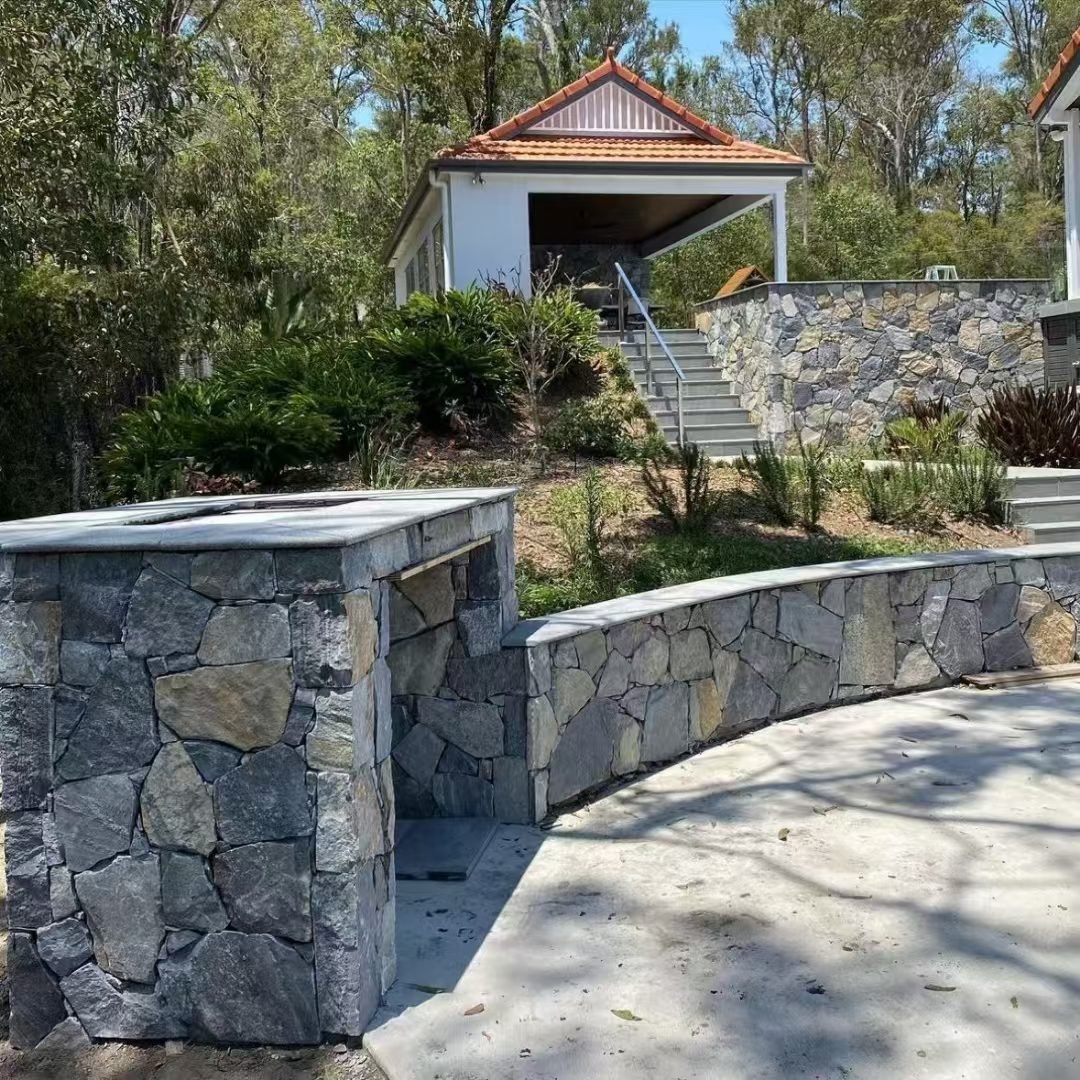
The mortar step is where gables fail on schedule. Trowel a full mortar bed on the wall, back-butter each panel, and set it with firm pressure so the transfer shows on the back of the stone. Pull a panel every few courses and check the coverage; partial bedding is the leading cause of popped panels, and a pop at ridge height is the most expensive repair on the job.
Joint rhythm carries the pattern. Keep the joint width consistent with the format’s design, tool the joints as the mortar firms, and wipe per the schedule rather than rushing the face. On the triangle, snap chalk lines across the field every few courses so the rows stay true as the width shrinks toward the peak; a gable hides nothing, and a drifting course shows up as a visible bow against the rake line. The mortar application guide has the bed and transfer details, and the grouting guide covers the flush versus recessed decisions for stacked stone.
The warning: do not re-temper dried mortar with extra water. It weakens the bond and shows up as joint cracking the first winter. Mix batches the crew can use in the working time, and protect the bed from direct sun on hot gable exposures.
Handle the Peak, Rakes, and Transitions
The peak is the last place to improvise. The ridge cap and the two uppermost rake returns define the triangle’s silhouette, and they should be cut and fit in the dry-fit stage so the wet work goes straight to setting. Cap pieces close the top of the veneer; the caps and coping guide shows the profile options.
Rake edges running up the slope need returns, not raw cutoff faces. Pre-made L-corners do the 90-degree return work at the wall end, and where the veneer meets a corner board, the trim detail belongs in the original order. Penetrations — dormer cheeks, vents, gable-end windows — get the same flashing-and-sealant treatment as any veneer penetration; the windows and doors guide has the sequence.
Where the gable field meets a soffit or an eave overhang, keep a small gap for movement and cover it with the trim piece rather than butting stone tight. Stone panels themselves tolerate -30°C to +50°C, but the assembly moves, and the detail must move with it.
Seal, Cure, and Weatherproof the Wall
Fresh mortar cures slowly in cool weather and stops curing if it freezes before reaching strength. On an exposed gable, check the night forecast before setting the upper courses; if the mercury heads below about 5°C, protect the fresh joints or wait. The stone will handle the winter, and the mortar will not if it freezes wet.
Sealing comes after the mortar has cured and the wall is clean and dry. Sealing too soon traps moisture and leaves white blotches; sealing a dirty wall locks in the haze. The sealing guide gives the timing and test-application routine, including the offcut test every crew should run before touching the finished gable.
The final check: walk the rake lines at dusk with a flashlight and look for mortar smears on the split face. By the time a haze has dried in the fissures, it takes a chemical remover to get it out. This walk-around is the difference between a gable that reads as stone and one that reads as a repair.
FAQ
Can you install stone veneer on a gable wall?
Yes. A gable end is a standard exterior veneer assembly: substrate and weather barrier prep, back-bedded panels, pre-made corners at rakes, and a cap at the peak.
How much stone veneer do I need for a gable?
Measure the triangle: base times height divided by two, divide by the panel’s coverage, then add a cut allowance. A 15x60cm stacked stone panel covers 0.09 m2.
Do I need L-corners on a stone veneer gable?
Yes at rake returns and wall ends. Pre-made L-corners save about 50% of corner labor compared with cutting 45-degree miters on site.
Can stone veneer on a gable withstand freezing weather?
The stone itself is rated from -30°C to +50°C. The mortar between panels needs a protected, above-freezing cure before winter.
When should I seal stone veneer on a gable?
After the mortar has cured and the wall is clean and dry. Test the sealer on an offcut first, then seal the whole face in one run.
Which stone veneer format is best for a gable wall?
Stacked stone panels suit tight ledger joints, Z-panels cover large fields fast, ledgestone suits small returns, and thin veneer scatter reads naturally around the peak.
Conclusion
Install stone veneer on a gable wall the way you would run the job if the peak were the marquee: measure the triangle, fix the assembly, order panels with corners and caps, dry-fit the peak, then set the field. Every step above pulls the next one into place — the math sets the order, the order sets the corners, and the dry-fit sets the rake.
- Order from the triangle: net area divided by panel coverage, plus a 10-15% cut allowance.
- Buy L-corners and caps with the panels; factory corners save about 50% of corner labor.
- Dry-fit the peak and rake before mortar; blend panels across boxes to hold the color story.
- Protect fresh mortar in cold weather and seal only after a clean, full cure.
The panels themselves do the rest — dense natural slate and quartzite rated for -30°C to +50°C, cut square at the factory. Start the order on the stacked stone or Z-panel pages, or request the install spec sheet and samples for the next gable.