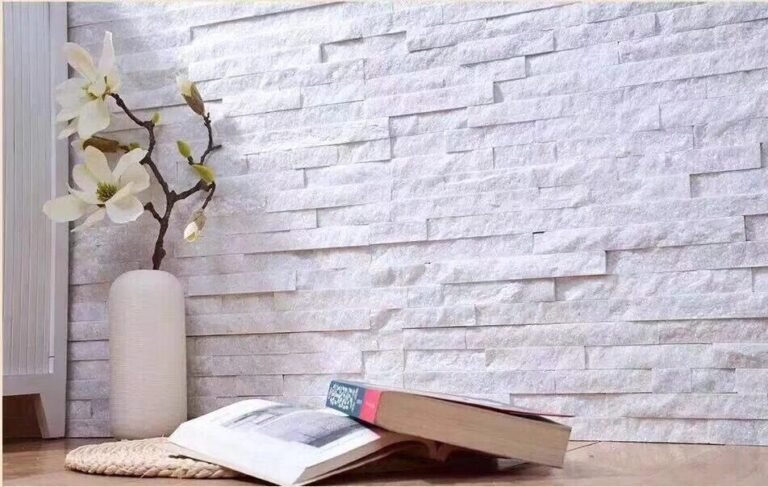
Stone veneer on a staircase is the same technique as a stone wall — until it is not. Stairs add three things a wall never asks for: a sloped tread edge that people walk on, a repeating vertical dimension that has to stay consistent, and a slip-and-fall consequence if the surface is wrong. This guide covers the full stair install, from layout and substrate through mortar, joints, and the anti-slip rules that keep the result usable in snow and rain.
Read it once as the complete process, then use each section as a checklist on the job. The steps assume standard residential and light commercial stairs over solid substrates — concrete, masonry, or framed walls covered with cement board. If your stair is in a building with its own envelope requirements, those govern first.
- Layout comes first: lock every riser height and tread projection before the first panel is cut, and stair tolerances are tighter than wall tolerances.
- Never use a smooth polished face on a tread. The natural cleft of slate and quartzite is what provides traction without grit.
- Mortar, lath, and substrate rules for stairs mirror walls — but the tread edge and nosing deserve their own careful pass.
- Factory-cut panels with precise CNC dimensions cut on-site cutting work in half on a repeatable stair run.
- Protect the job for the full cure — foot traffic on a young mortar bed is how stair installs get re-done.
- What the Job Involves
- Choosing the Right Stone for Steps
- Step 1: Measure and Lay Out the Run
- Step 2: Prepare the Substrate
- Step 3: Cut the Panels to Fit
- Step 4: Install the Riser Faces
- Step 5: Install Treads with the Anti-Slip Rule
- Step 6: Jointing, Curing, and Protection
- Safety and Code Notes
- FAQ
- Conclusion
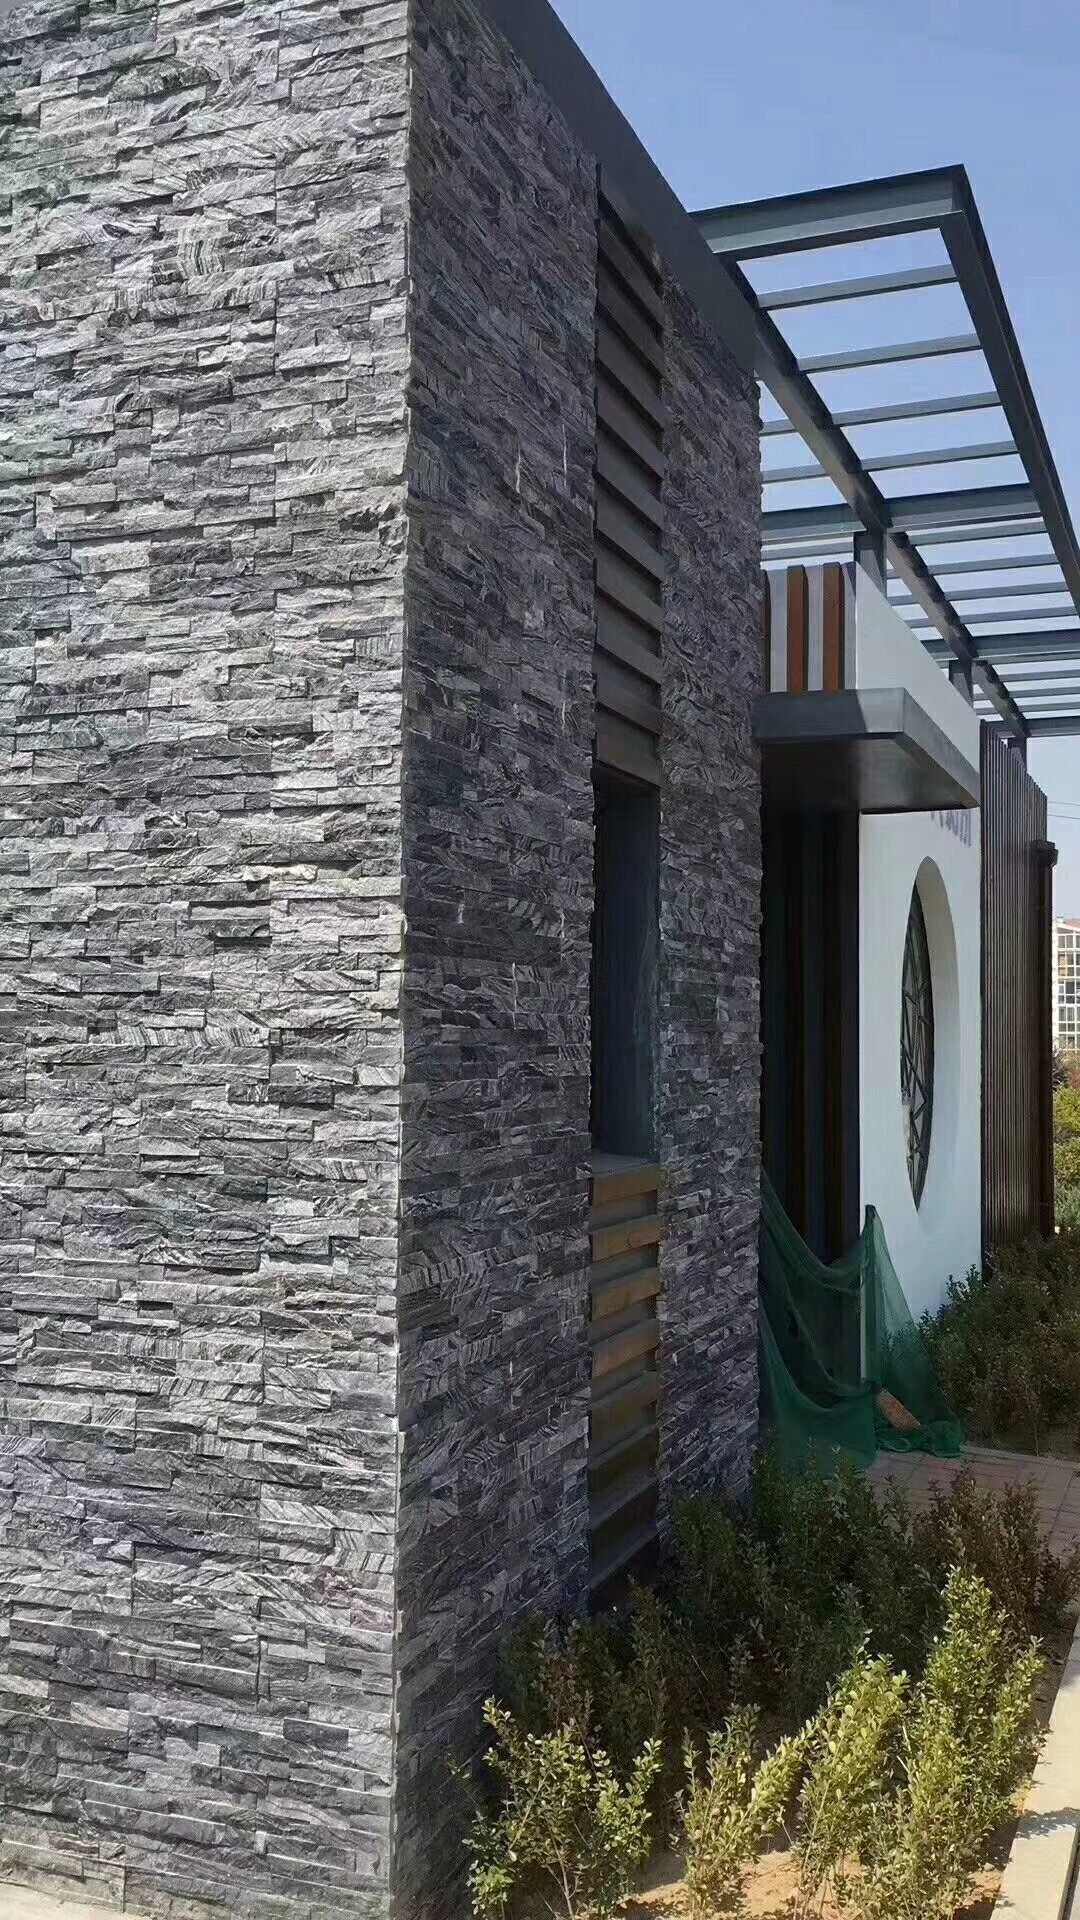
What the Job Involves
A stair install covers two distinct surface types, and they behave differently on site. The riser is the vertical face of each step — an easy target for veneer, because it is a flat wall segment only 15 to 20 cm tall. The tread is the horizontal surface people step on. For veneer applications the tread usually means the vertical edge and nosing of the step — the visible stone return on top of the riser — not the full walking surface. Full tread toppings call for slab stone, not veneer, and that decision belongs in the design phase.
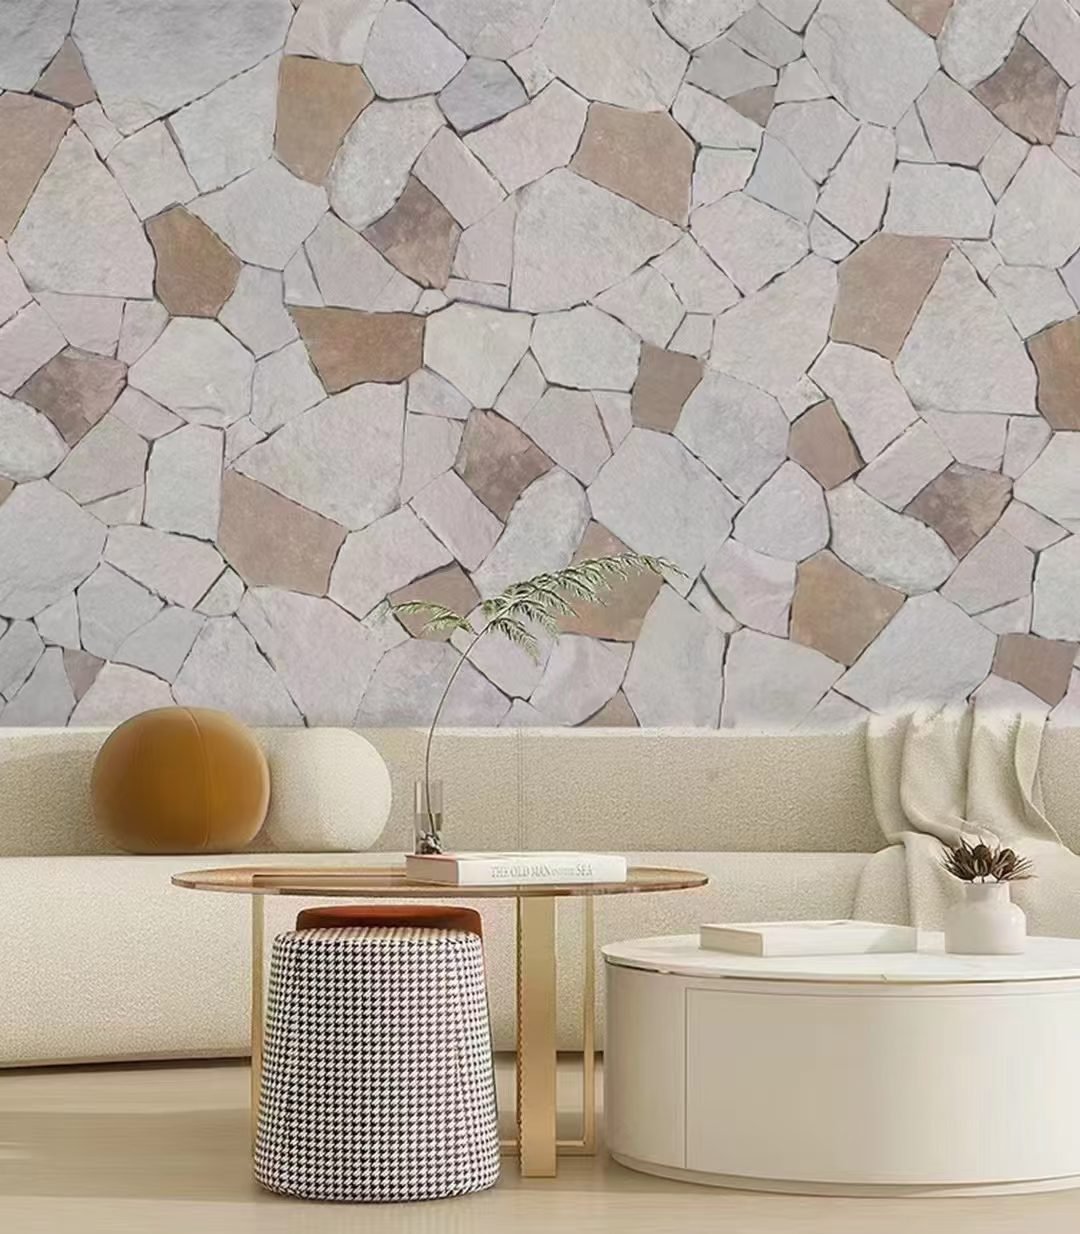
The material split matters almost as much as the technique. A stair run with open risers, a curve, or a landing introduces geometry that a flat wall never sees. On those stairs, loose thin stone veneer fits the irregular shapes with less waste than fixed panels. On straight, repetitive stairs, factory panels win because every riser has the same height and the cut count collapses. The stacked panels vs individual stone comparison lays out which geometry pays for which approach.
Choosing the Right Stone for Steps
Two properties decide whether a stone belongs on a stair: how it behaves when wet, and how it behaves when cold. The cleft texture of natural slate and quartzite — the rough, uneven surface left by splitting — provides grip without added grit, which is the property that keeps a wet tread from becoming a liability. (Slate’s split structure and its long history in load-bearing flooring are covered in the slate overview.) A polished or honed face has no such protection and should stay off treads and nosing.
For cold climates, the stone family has to resist freeze-thaw damage. Slate and quartzite veneer from the factory is rated for -30°C to +50°C duty, which makes it a safe call for exterior stair runs that see frost, salt, and snow-melt chemicals. Indoor stairs in temperate buildings have an easier job, but the same moisture rules apply near the entry, the mudroom, and any stair that opens to a garage.
Format options for stairs follow the geometry: stacked stone panels in the standard 15x60cm family give a clean repeating line on straight runs; thin stone veneer loose strips fit curves and odd riser heights. If the stair has prefabricated corners or stringer returns, order matching L-corner pieces so the visible edges do not require hundreds of miter cuts on site.
| Stair geometry | Format to spec | Why |
|---|---|---|
| Straight run, repeating risers | 15x60cm / 15x55cm stacked panels | Uniform line; fewer cuts on repeatable heights |
| Curved or open-riser stairs | Thin stone veneer loose strips | Fits irregular geometry with less waste |
| Stringer edges and returns | Matching L-corner/return pieces | Continuous edge without on-site miters |
| Tread edge and nosing | Cleft-face slate or quartzite, 2cm-plus | Traction on the walking surface |
Step 1: Measure and Lay Out the Run
Stairs punish improvisation. A wall hides a 5 mm drift; a stair run turns a 5 mm drift into a visible step ladder by step seven. So the first step is a full measurement pass, written down, before anything is cut.
- Riser height: measure every riser, not just one. Old stairs drift by centimeters; the veneer needs to track that or you mask it with thicker mortar beds at the base.
- Tread projection: record the nosing overhang of each tread. The stone skin should follow it without changing the walking line.
- Landings and returns: mark where the stair meets floors, landings, stringers, and walls. Those transitions need corner and return pieces, and they need them in the same batch for color.
- Total area: add 10-12 percent waste for stair work — the cut density is higher than on a flat wall. For repeatable straight risers you can hold closer to 8 percent if the factory CNC-cut sizes match your riser heights.
Batch color consistency matters double on a stair because adjacent risers sit inches apart. Request panels selected from the same quarry vein — the factory’s batch-specific vein selection is what keeps step four from drifting in color against step five.
Step 2: Prepare the Substrate
A stair substrate has to support both the veneer and the foot traffic that shares the stairwell. Concrete and masonry stair faces are the easy case: clean, damp, and ready for a scratch coat and lath. Framed stairs need a flat, rigid skin — cement board over the framing, with the fastening schedule dictated by the panel weight.
- Clean and dampen: remove laitance, paint, or loose material from masonry risers. Dampen the face before the scratch coat so the mortar keys instead of flashing dry.
- Metal lath: where the stair face is smooth or slick, staple or screw expanded metal lath and work a scratch coat into it. Lath is cheap insurance against the bond failure that shows up as hollow drumming on step four.
- Flatness: grind or shim the face so the veneer plane is true; a stair that reads wavy in a hallway is a build error, not a material error.
- Moisture and vapor: exterior stair walls take the same waterproofing and vapor plan as exterior walls — the substrate preparation guide covers each surface type in detail.
The mortar application guide has the trowel sizes, keying, and mortar mix details that apply unchanged to stair faces.
Step 3: Cut the Panels to Fit
Cutting for stairs is repetitive, so the setup saves the time. Riser cuts are mostly identical rectangles: the riser height plus the bed thickness, minus the tread overhang the stone will sit under.
- Cut order: cut all risers of one height class in a batch before the install, then the tread edges and nosing pieces. Batch cutting also lets you inspect and dry-fit the full run before anything is bedded.
- Tooling: a diamond blade on a wet saw keeps natural stone edges clean; score and snap works on thin slate but leaves edges that need dressing for stair nosing.
- Prefab saves real time: infrared CNC-cut panels from the factory arrive with dimensional consistency that on-site cutting cannot match. Factory-precise sizing is the basis for the roughly 20% lower on-site loss that distributors see on precision-cut orders. The stone veneer cutting guide details blade selection and safe technique.
Dry-fit the first three risers and treads before bedding anything. Stairs lock their geometry early — a mismatch found on the first riser costs minutes; the same mismatch found on step ten costs a demo.
Step 4: Install the Riser Faces
Installation starts at the bottom of the run and climbs. The bottom riser sets the level line; every riser from there repeats it.
- Butter the back: apply the mortar or thin-set to the back of the panel, not just the wall, so the bed covers the full face without voids.
- Set plumb and level: press the panel onto the bed and tap it true. Check level on the top edge and plumb on the face of each riser; the next riser repeats that line.
- Keep joints tight: use the joint width that will be grouted — typically 8-12 mm on stacked panels or a flush tight-joint look — and keep it identical on every riser.
- Shim and brace: hold the panel in place until the bed skins over; risers drift out of plane if they are not braced while the mortar firms.
On stairs with prefabricated L-corner and return pieces, fit the corners as you climb so the stringer edge reads continuous. The L-corner measurements guide covers how those pieces size against the riser height.
Step 5: Install Treads with the Anti-Slip Rule
The tread edge and nosing carry the whole anti-slip argument. Rules, in order of importance:
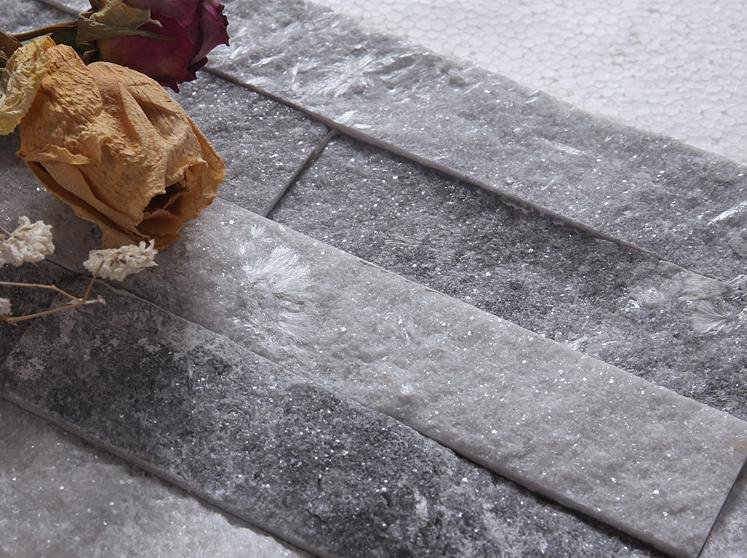
- No polished face on the walking surface. If the tread edge or nosing is stone, use the cleft, split-texture face. Slate and quartzite with the natural cleft surface provide traction without extra grit; a smooth face ends up wearing a mat or gets chipped out.
- Match the overhang. The stone tread edge should follow the original nosing projection — do not add a step that changes the walking line, and do not recess it so far that the tread edge is a bare mortar bed.
- Seal or not, deliberately. On exterior stairs, a penetrating sealer can keep the stone from saturating, but skip glossy coatings on the walking surface — they turn a cleft face into a polished one in the rain.
- Salt and snow: the slate and quartzite family handles freeze-thaw and coastal salt exposure; the freeze-thaw resistance guide explains the failure modes that weather brings to poor selections.
The stair edge between tread and riser is where water pools. Set the nosing so water sheds forward rather than sitting in a pocket behind the tread, and grout that joint completely — a hollow joint under a wet nosing is the slow rot of a stair install.
Step 6: Jointing, Curing, and Protection
Jointing follows the look you chose: flush-and-tight for stacked panels, or recessed grout joints for looser layouts. Whatever the look, the joints on a stair have to be worked in the same pass as the install, not skipped until the end where they become a weekend project.
- Grout or tool the joints before the bed stiffens — on riser faces this keeps the mortar workable and the joints uniform.
- Cure: keep the run damp-cured and foot-free for the full mortar cure, usually 24 to 48 hours minimum per the mortar spec. Poly-sheet the bottom steps if the weather is hot or windy.
- Protect the nosing: until the cure is complete, cover tread edges with boards or tape so toolbags and boots do not chip the green mortar or the cleft face.
- Cleanup: wash mortar haze off faces with clean water before it sets; acid cleaners are for stone-friendly products only, test in an inconspicuous joint first.
The flush vs recessed jointing guide shows the tooling differences and the mortar working times that keep a stair jointing pass clean.
Safety and Code Notes
The veneer does not carry the stair’s structure, and it must not change the stair’s compliance. A few rules that keep the job legal as well as good-looking:
- Geometry stays put: the stone skin should not reduce tread depth, raise riser height beyond code, or create a trip at the landing. Measure the finished geometry after installation, not just the plan dimensions.
- Handrails and lighting are theirs, not yours: if the project needs handrail or lighting provisions, the rough-in happens before the stone or alongside it, not after. The penetration handling guide for windows and doors gives the same logic for rail brackets.
- Slip resistance is a design decision: document the cleft-face selection in the spec; a future repaint or sealer choice can undo it. The cold-climate exterior veneer guide covers how freeze-thaw and winter maintenance interact with treads.
FAQ
Can you install stone veneer on stairs?
Yes. Thin stone veneer installs on stair risers and tread edges over lath and mortar or cement board, using the same wall methods with extra attention to tread overhang, joint consistency, and slip resistance.
What stone veneer is best for stair treads?
Natural cleft slate or quartzite with a split face is best, because the cleft texture provides traction without added grit. Use a 2 cm-plus piece or a prefabricated tread edge, and keep smooth polished faces off the walking surface.
Do stairs need frost-resistant stone veneer?
Outdoor stairs in cold climates do. Slate and quartzite veneer rated for -30°C to +50°C is the right family; polished or high-absorption stones will suffer freeze-thaw damage on exterior treads.
Should stair risers use panels or loose stone?
Both work. Panels install faster and keep a uniform repeating line on straight runs; loose thin stone veneer fits irregular riser heights, curves, and historic stairs with less cutting.
How much extra stone should I order for a stair install?
Add 10-12 percent waste for stair work because the cut density is higher than on a flat wall. On straight repetitive runs with factory-cut panels you can hold closer to 8 percent.
Conclusion
Stone veneer turns a staircase into a continuous stone structure, and the install succeeds on five disciplines: layout before cutting, a substrate prepared like a wall, stairs-appropriate stone with a cleft walking surface, a bottom-up install with level and plumb held on every riser, and a cure period that no one walks on. Miss one and the stair shows it; hit all five and the run looks like it grew there.
Key takeaways:
- Measure every riser and tread before cutting; stair geometry compounds mistakes fast.
- Specify cleft-face slate or quartzite tile for anything people step on.
- Install bottom-up, brace every riser during the bed set, and keep joints consistent.
- Plan the anti-slip rule — no polished walking face, deliberate sealing, water shedding at the nosing.
- Order L-corner and return pieces in the same batch so stringer edges match.
Order stair-matched stone samples from Top Stone Panels — physical samples ship in 1-3 days, and the factory’s stacked stone panels, thin stone veneer, and flagstone lines cover every stair geometry. For a quantity sheet sized to your riser heights, contact the factory team with your stair drawings.