Tilt-up and precast concrete panel construction moves the façade from the field into the plant: panels are cast flat, cured on a casting bed, and later craned into position. That efficiency is real, but the panel face that receives stone veneer is a different substrate from a site-cast footing or a concrete block wall. Form release agent residue left on the surface, closed dense cast faces, and panel-to-panel absorption differences quietly decide whether the bond holds for decades or fails inside the first season.
This guide is written for contractors, project managers, and installers who build at commercial scale. It walks a five-stage sequence — substrate assessment and preparation, receiving and inspection, bonding system selection, setting sequence, and curing with jobsite acceptance — inside the framework of ASTM C1780, the standard practice for cement-based adhered masonry veneer. Every decision below is framed for batch acceptance and repeatable results across the wall panel, not for one-off homeowner fixes.
- Treat the precast face as a bonded substrate: form release agent residue and absorption variability must be resolved before any mortar is applied.
- Run the project on ASTM C1780-20 as the practice framework and ASTM C0270-19 as the mortar reference for adhered veneer assemblies.
- Match the system to the panel: 100% natural quartzite and slate thin stone veneer is wet-set piece by piece, while interlocking cement-backed Z-panels add mechanical interlock on top of adhesion.
- Plan corners before the first panel: pre-made L-corners cut on-site labor by more than 50% and material waste by about 20%.
- Close out with batch acceptance: ≥95% color harmony per batch, backed by inspection video, photo package, and the installation and dieline guide.
Assess and Prepare the Precast Substrate
Precast panels present two bond risks that site-cast concrete rarely does at the same intensity. The first is release agent residue: casting compounds, form oils, and parting films are applied so the panel lifts clean off the bed, and what remains on the face is a hydrophobic layer that stops a cement-based setting mortar from wetting the surface. The second is absorption variability. A densely vibrated, factory-cured panel face can be nearly impermeable in places and porous enough to suck moisture out of the mortar in others, and that difference shows up panel to panel across a single tilt-up field.
Project discipline starts with a written surface acceptance step rather than a visual yes. Walk each lift of panels and confirm that the veneer face is free of oil sheen, glossy patches, latence, and fine dust. Run a simple water response check on representative panels: where water beads and sheets off instead of soaking in and darkening the surface, the release agent film is still present and the surface has not passed. Where water pulls in immediately, plan to control the suction of the setting material rather than assume the panel will behave like a uniform casting.
| Precast surface check | Acceptance target | Why it decides the bond |
|---|---|---|
| Release agent residue | No glossy film or oil sheen; water response test passes | A hydrophobic film blocks mortar wetting at the interface |
| Surface absorption | Consistent response across the panel and between panels | Variable suction changes how the setting bed behaves in place |
| Latence and fine dust | Removed by washing or light mechanical abrasion | Loose fines create a weak failure plane at the surface |
| Honeycomb and bug holes | Filled and cured before veneer work begins | Voids under a setting bed reduce mortar contact area |
| Panel flatness and camber | Flat enough for full-bed contact without rocking | Rocking panels concentrate stress at edges instead of spreading the load |
Conditioning is straightforward when the cause is known. Power washing removes loose film and dust; mechanical scarification or light grinding opens dense cast faces; and areas with high suction are managed with controlled pre-wetting at the time of setting rather than by improvising the mortar. The same acceptance logic applies to other cementitious surfaces crews touch every week, whether that is the mechanical and moisture preparation of cement board and lath assemblies covered in our substrate preparation guide for stone veneer substrates or cast-in-place walls, where the workflow is documented for installing stone veneer over concrete foundation walls.
Receiving, Inspection, and Backing Review
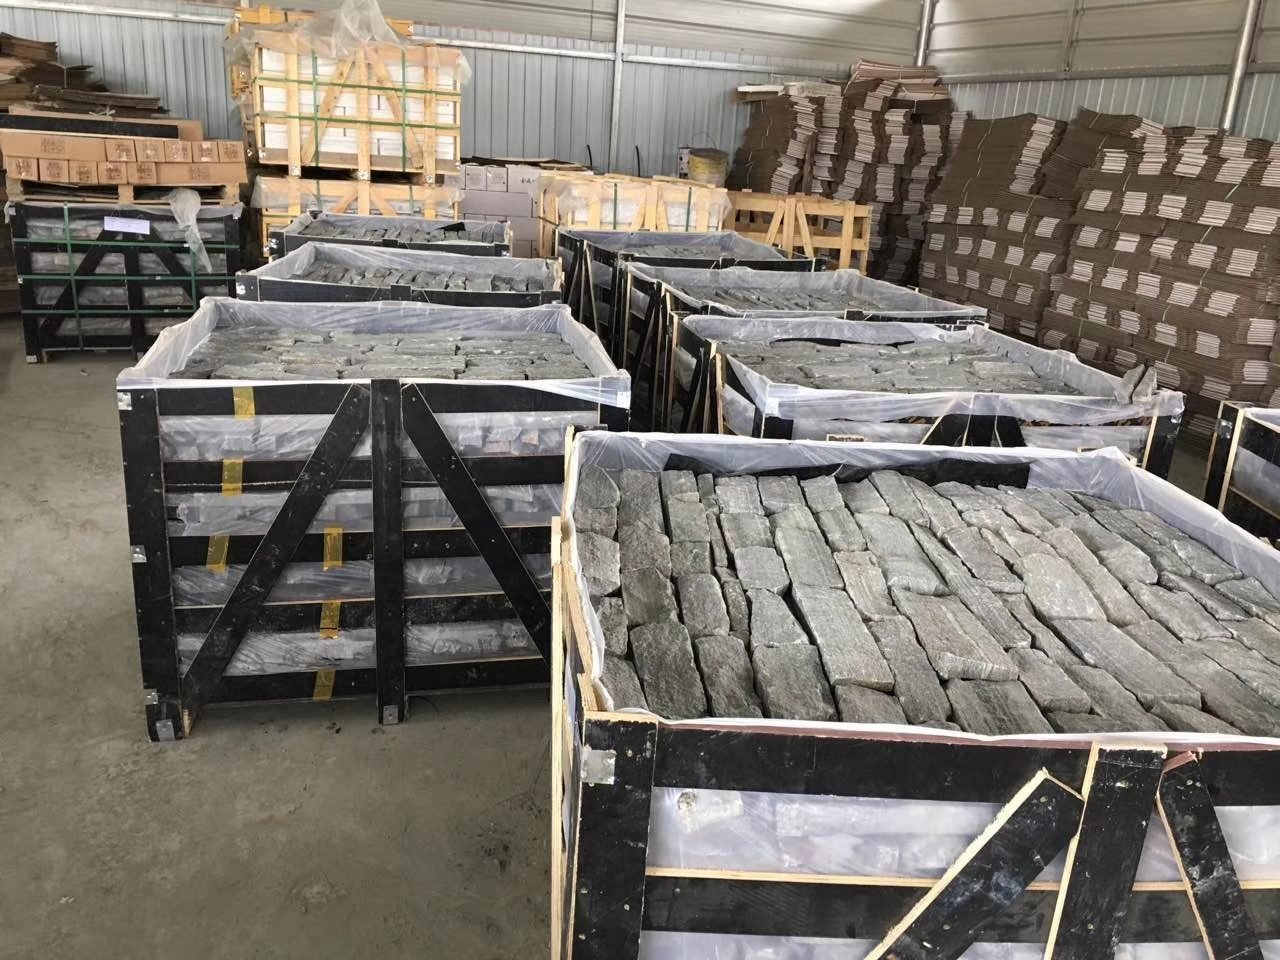
On commercial work, installation discipline starts before a single panel leaves its crate. Stone veneer is shipped in container quantities, and the receiving inspection is where batch quality is locked in. Every Top Stone Panels order passes a 3-Step QC protocol at the factory, with batch-specific quarry vein selection and precision CNC-diamond cutting controlling the product before it is packed. On arrival, the crew checks the shipment against the pre-shipment Photo Package, which documents pallet layouts, so stones can be staged by visual range rather than unloaded at random.
Hold the documentation as part of your quality plan. Each order ships with a Loading and Packaging Inspection Video, a pre-shipment Photo Package, and an Installation and Dieline Guide. That set of deliverables is your traceability trail: the video demonstrates how the crates were loaded, the photo package gives you the layout before balance release decisions, and the dieline guide converts the factory packing logic into a field setting plan.
Then review the backing your system depends on. Thin stone veneer is 100% natural quartzite and slate, naturally split into random loose stone rather than molded units. Because each piece is a natural split, thickness varies piece to piece, and the backing requirement is a full, continuous setting bed that absorbs that variation. Cement-backed interlocking panels, by contrast, arrive with the backing already bonded to the stone face, which changes the jobsite job from building a bed to bedding a pre-assembled unit.
Select the Right Bonding System
The bonding system is a specification decision, not a crew preference. Run the project against ASTM C1780-20, the Standard Practice for Installation Methods for Cement-based Adhered Masonry Veneer, which governs veneer applied to masonry and concrete surfaces, and reference the mortar itself to ASTM C0270-19, the Standard Specification for Mortar for Unit Masonry. For tile and stone bonding work in North America, the Tile Council of North America (TCNA) complements those ASTM documents with industry methods that most commercial crews already recognize. The point is not to pick the strongest mortar; it is to give the contract a single, verifiable practice framework so acceptance is repeatable across every lift of panels.
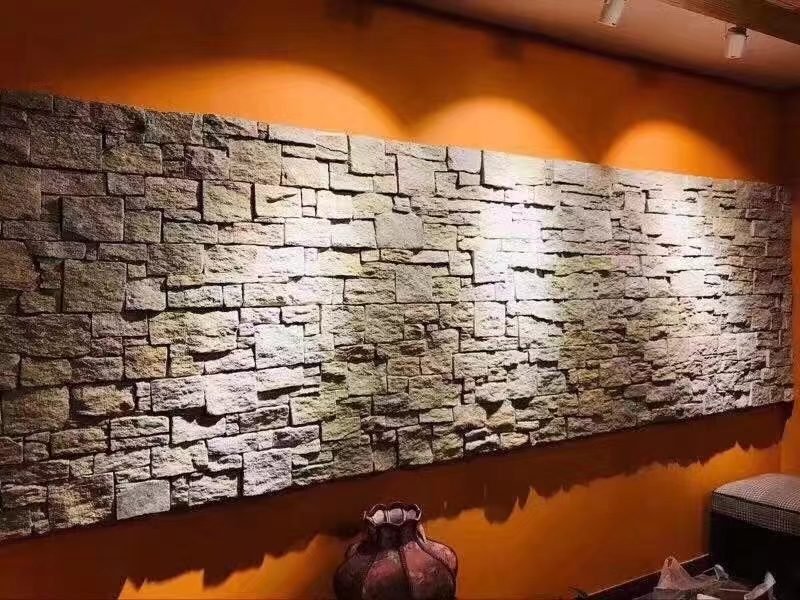
The first system is loose thin stone veneer, wet-set piece by piece. This is 100% natural quartzite and slate from a direct-from-quarry source factory with 18+ years of quarrying and export experience; the stones are naturally split, random loose pieces, and batch-specific quarry vein selection holds ≥95% color harmony across the order. Because each stone is a natural split, the setting bed must be continuous and full — no spot bedding — so the mortar carries the full stone face. Budget the slower, skilled labor this system asks for, and pair it with panel faces that pass the surface checks above. The product data and sourcing details for this system live on our thin stone veneer product page, and crews that need the step-by-step application sequence can follow our guide to installing thin stone veneer on exterior walls.
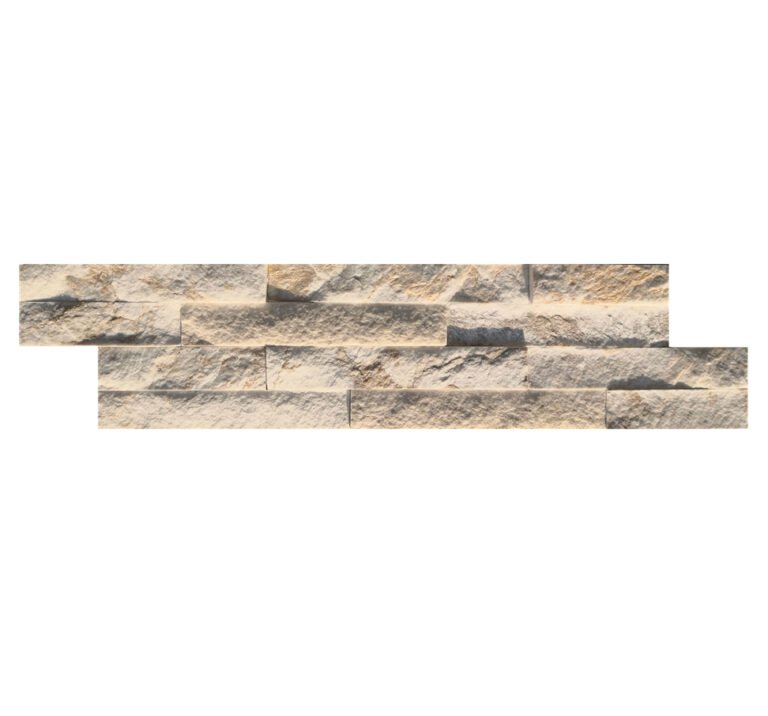
The second system is interlocking cement-backed Z-panels. These panels measure 20x55cm and 15.2x61cm with a cement backing factory-bonded to the stone, and the Z-shape male-female interlock is self-aligning and hides vertical joints, with the system rated stable to -30°C. On precast and tilt-up fields this is the faster path: the crew beds a pre-assembled unit instead of building a mortar bed around each individual stone, and the mechanical interlock carries load between adjacent panels on top of the adhesive plane. It suits large, regular wall fields where the surface is flat enough for the panel backing to sit without rocking.
| Consideration | Loose thin stone veneer | Interlocking cement-backed Z-panels |
|---|---|---|
| Product makeup | 100% natural quartzite and slate, naturally split random loose stone | Cement-backed panels in 20x55cm and 15.2x61cm modules |
| Bond mechanism | Adhesion through a full continuous setting bed | Cement backing plus Z male-female mechanical interlock |
| Color control | Batch-specific quarry vein selection, ≥95% color harmony | Same batch selection protocol applied to panel fabrication |
| Joint behavior | Field-laid, random split-face character | Self-aligning interlock hides vertical joints |
| Cold-climate rating | Quarry-sourced natural stone; system performance depends on the setting bed | System rated stable to -30°C |
| Labor profile | Skilled piece-by-piece setting, slower coverage | Modular installation, faster coverage on large flat fields |
Setting Sequence and Layout Discipline
Setting discipline is what separates a commercial veneer wall from a patchwork. Establish plumb and level reference lines on each panel before loading any mortar, then set from the bottom up and from corners outward. Run a dry layout across the first course at full height to see where narrow slivers will land, and shift the starting point before anything is bonded. On precast panels, where the wall is divided into large flat fields, protect those reference lines across panel joints: a tilt-up field reads as one surface visually, and a drifted course line is far more visible at wall scale than on a fireplace surround.
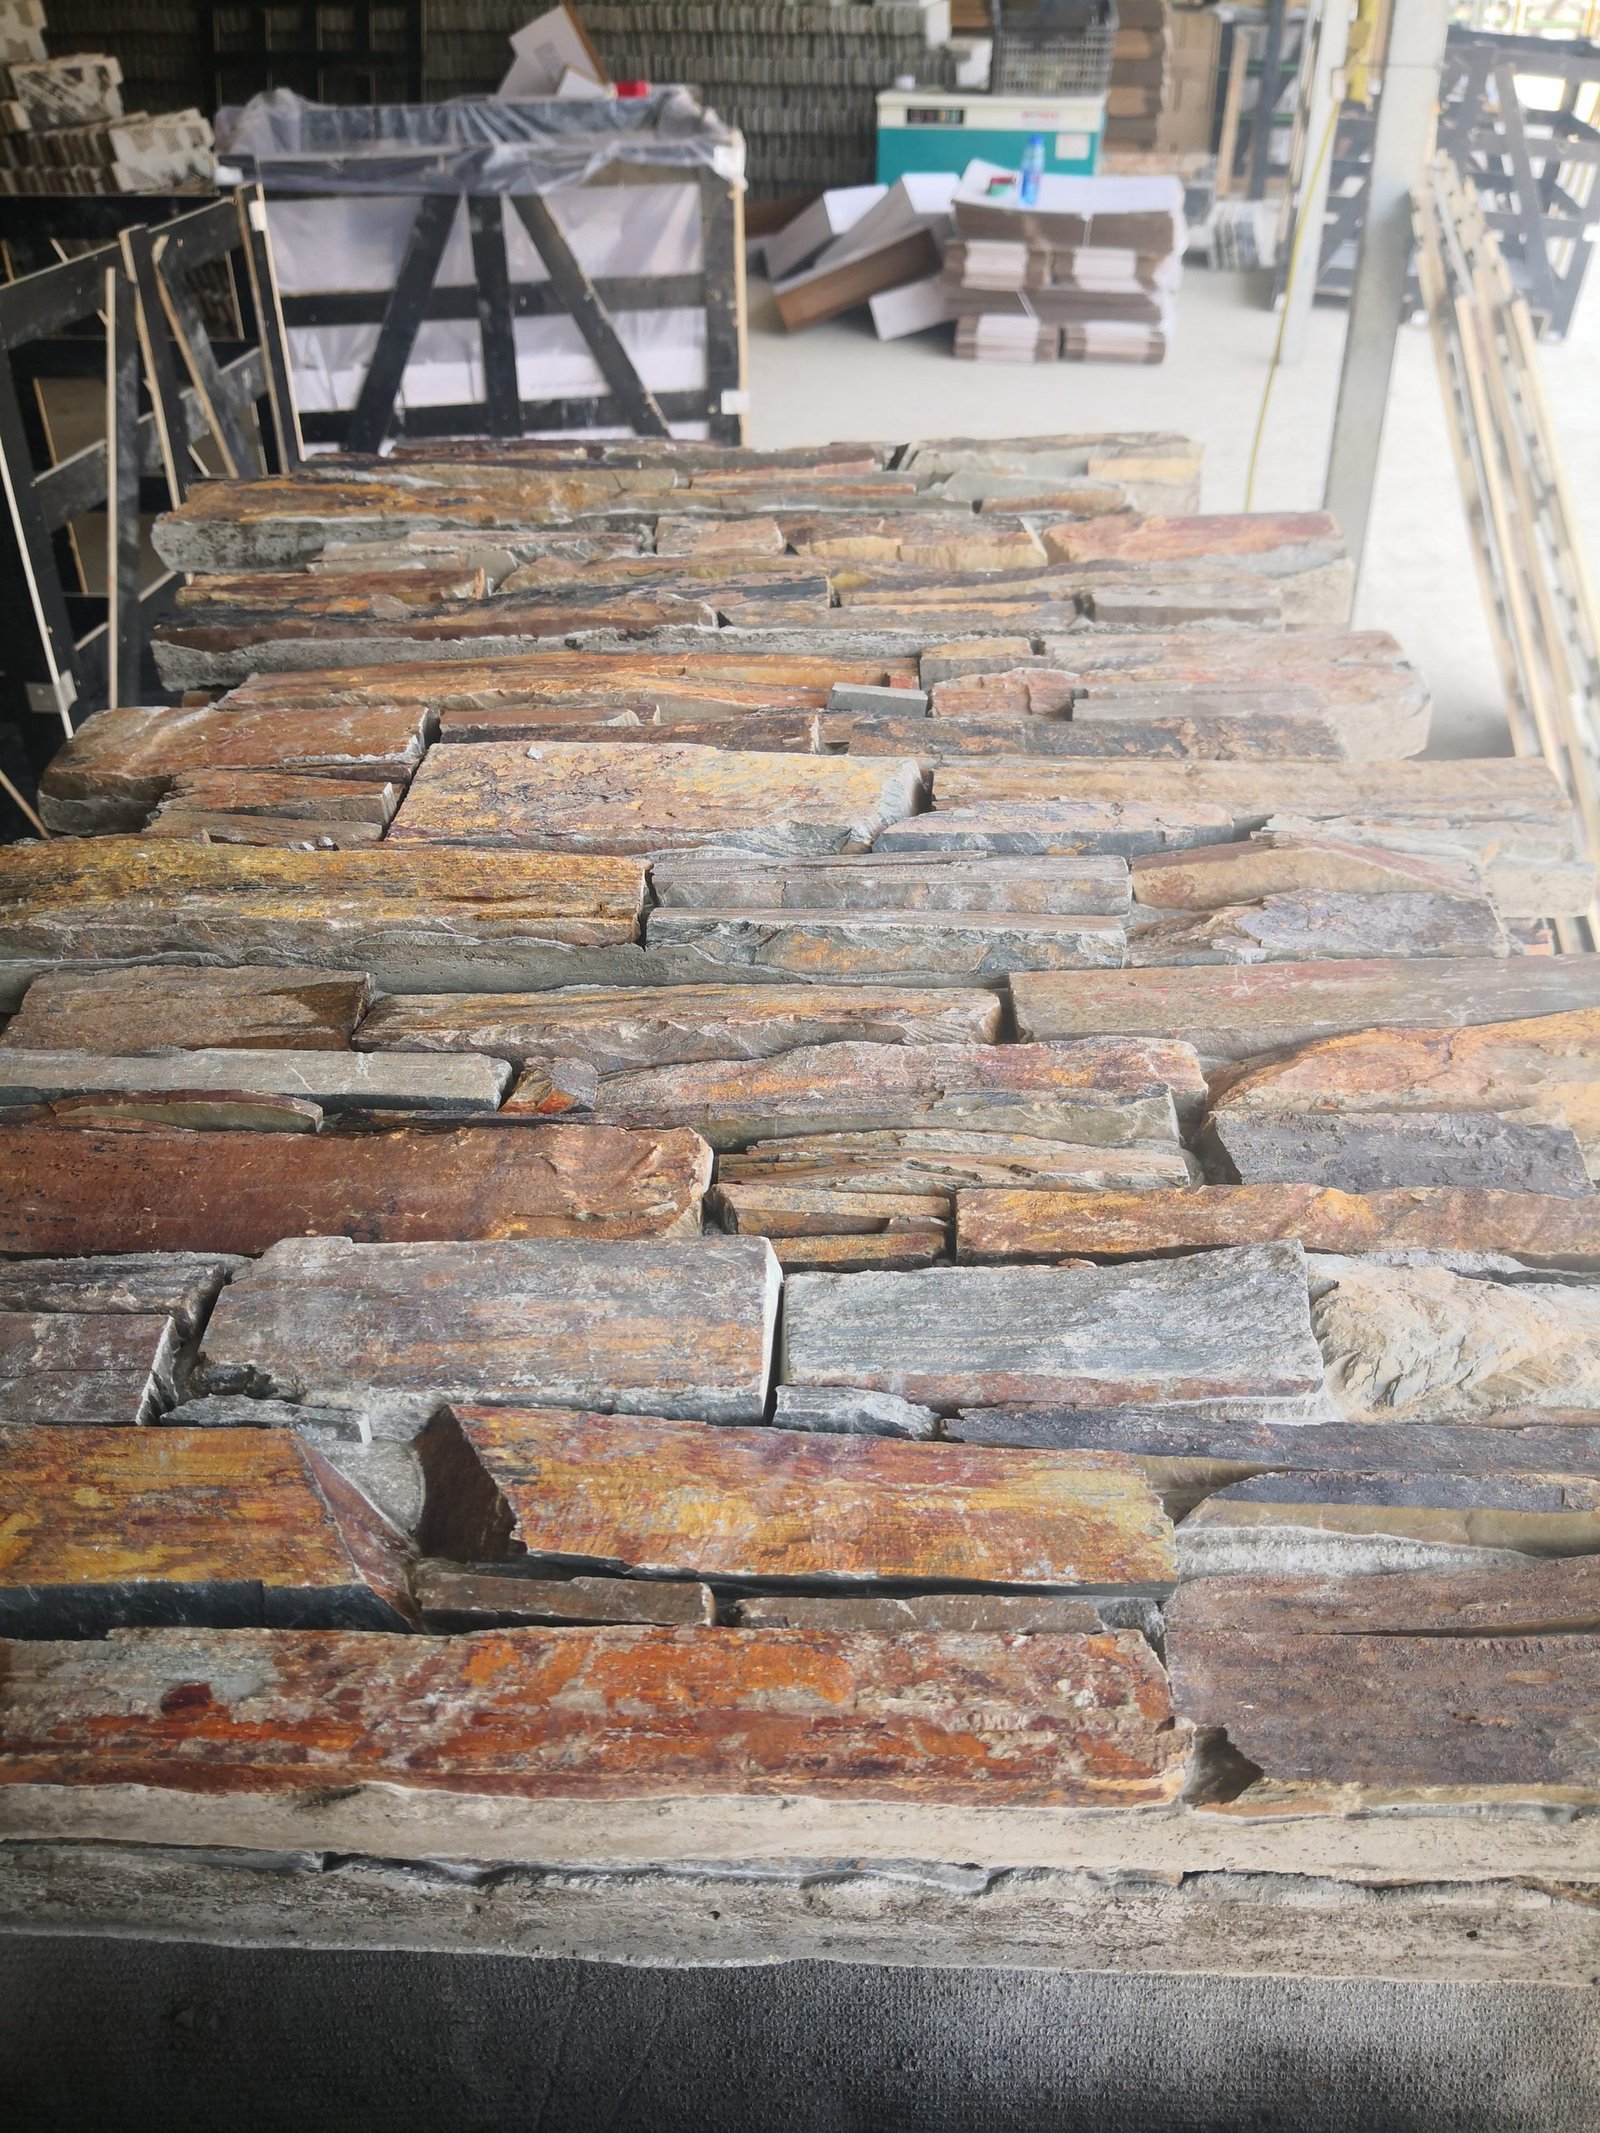
Plan corners in procurement, not on the scaffold. Pre-made L-corners eliminate field 45-degree miter cutting, which cuts on-site labor by more than 50% and material waste by about 20% on corner-heavy work. The same engineered logic extends to stacked stone ledger panels, which are supplied in 15x60cm (6″x24″) and 15x55cm modules bonded with marine-grade epoxy — a rating that covers 26.5-ton heavy-load sea freight and thermal cycling from -30°C to +50°C with 100% zero pop-off. When corner and ledger components arrive pre-assembled, the field crew assembles the wall instead of manufacturing geometry on site, and the hourly labor count drops accordingly.
During setting, keep the mortar bed live and full. Press each piece or panel into place so the bed transfers, wipe exterior faces clean as you go rather than after the bed firms, and keep joints uniform to the approved mock-up. For systems that tolerate it, the interlock carries its own alignment; for loose veneer, the eye of an experienced setter is the tool — distribution of color and split variation across the wall is part of the installation work, not a separate step. Sequencing rules for panelized systems are the same discipline applied to stacked stone veneer panel installation, where the corners and prefabricated components do most of the geometry work.

Curing, Inspection, and Jobsite Acceptance
Curing is where precast projects lose quality silently, because the work looks finished long before the bond is mature. Keep the set veneer protected from rapid drying: shield freshly set areas from wind and direct sun, and keep the surface in the moisture condition established at the time of setting. Where water sensitive details sit behind the veneer plane, the weather barrier and flashing work is completed before setting starts so the wall is closed as a system; our guide to waterproofing behind exterior stone veneer documents that sequence for exterior assemblies.
Inspection happens in two passes. During setting, a daily walk of the active lift checks joint uniformity, surface cleanliness, and color distribution against the approved mock-up. After the wall is complete, a final pass checks contact by sound — a clear ring under tapping where a dull thud should not be — verifies corners, and confirms that no edge of any panel is riding on mortar alone where the interlock or bed is supposed to carry it. For concrete block and other cementitious substrates on the same project, the identical acceptance checklist applies, so the close-out standard stays consistent across stone cladding installed over concrete block walls.
Close out with batch acceptance, not just visual sign-off. Confirm the color field against the ≥95% batch harmony expectation written into your quality plan, stage any documented shots against the pre-shipment Photo Package, and file the Loading and Packaging Inspection Video with the project record. That closes the loop from factory QC through the 3-Step protocol to the finished wall, and it gives the buyer a defensible record if a later dispute ever lands on the bond or the color.
Frequently Asked Questions
Can stone veneer be bonded directly to precast concrete panels?
Yes. Once the panel face passes substrate acceptance under ASTM C1780-20 — release agent residue removed, absorption response checked, and voids filled — both loose thin stone veneer and interlocking cement-backed panels can be installed with a cement-based bond.
Why does form release agent residue break the bond?
Release agents leave a hydrophobic film that stops the setting mortar from wetting the panel face, so the failure plane forms at the interface between the concrete and the mortar instead of inside the mortar itself.
Is loose thin stone veneer or interlocking cement-backed panels better for precast walls?
It depends on the panel and the field. Loose thin stone veneer gives a random split-face texture with ≥95% batch color harmony and absorbs substrate variation through its setting bed, while interlocking Z-panels in 20x55cm or 15.2x61cm modules add mechanical interlock, hide vertical joints, and are rated stable to -30°C.
How is color consistency controlled across a large shipment?
Batch-specific quarry vein selection keeps ≥95% color harmony across thin stone veneer orders, and the pre-shipment Photo Package documents pallet layouts so the crew can stage stones by visual range during unpacking.
How much field labor do pre-made L-corners save?
Pre-made L-corners eliminate field 45-degree miter cutting, cutting on-site labor by more than 50% and material waste by about 20% on corner-heavy precast facades.
What documentation should a contractor request for batch acceptance?
Request the Loading and Packaging Inspection Video, the pre-shipment Photo Package, and the Installation and Dieline Guide; together they create the traceability trail from factory QC to the finished wall.
Conclusion
Stone veneer on precast concrete is technically straightforward and commercially unforgiving: the failures that appear on tilt-up facades are almost always interface failures, and every one of them was visible at the substrate acceptance step. Run the project on ASTM C1780-20, resolve the release agent and absorption questions before the first mortar load, buy corners instead of cutting them in the field, and close the job with documentation instead of a handshake.
The systems that survive these conditions are the ones engineered for them: 100% natural quartzite and slate thin stone veneer with ≥95% batch color harmony, and interlocking cement-backed Z-panels rated to -30°C. Both ship from a direct-from-quarry factory with an 18+ year export record, a 3-Step QC protocol, and the inspection documentation required for defensible batch acceptance on commercial work.
Key takeaways:
- Release agent residue and absorption variability must pass substrate acceptance before any mortar is applied.
- Bonding system choice — wet-set loose veneer versus interlocking cement-backed panels — follows the panel face and the labor plan, never convenience.
- Pre-made corners cut on-site labor by more than 50% and material waste by about 20%.
- Batch acceptance closes the loop from factory QC to the finished wall with video, photo, and dieline documentation.
If your next facade needs a supplier that can document the batch on the wall, send us the panel elevation and your installation timeline — our project team will confirm product, packaging, and delivery details for your schedule at contact us.