Render is the substrate installers trust least and get wrong most. Behind a bag of stone and a bucket of mortar it looks like a fine wall to stick things to: flat, continuous, already finished. But a rendered or plastered skin is not the structure. It is a coating, usually a few centimetres of cementitious or lime material sitting on brick or block, and adhered stone veneer does not care what the wall looks like. It cares whether the layer it is bonded to is going to stay put while carrying several kilos per square metre of rock and a lifetime of weather. Answer that question honestly and the job is straightforward. Skip it and the whole veneer comes away with the render still attached, which is the single most expensive failure on this substrate.
This guide is about the render-specific decision only: how to judge whether the existing render can be built on, when it has to come off, how to rebuild a mechanical key and a water layer over what stays, and how format changes what the base is asked to carry. The generic layers beneath new veneer, the drainage plane on a fresh build, and the seam detailing once panels are set all have their own treatments on this site, so they are linked rather than restated.
- Treat render as a coating, not a structure: the only question that matters is whether it is firmly bonded to masonry and strong enough to carry stone.
- Test sound, condition and strength together: hollow drumming, cracks, dusting and a soft lime base each disqualify render as a substrate.
- A sound smooth render needs a key rebuilt by roughening or by mechanically fixed lath; never trust a bond to a skim.
- Rebuild exterior water control over old render and keep it continuous at heads, sills, corners and openings.
- Choose thin or ultra-thin 36×10 cm formats to cut areal mass on a base that is sound but weaker than solid masonry.
- When render is failed, removing it back to brick or block is cheaper and safer than bonding stone to something that will let go.
- Render Is a Coating, Not a Structure
- Three Tests Before You Commit
- When the Render Must Come Off
- Rebuilding a Key Over Sound Render
- Weight Decides What a Render Wall Can Take
- Waterproofing You Cannot Assume
- Bonding to the Prepared Render
- Openings, Returns and Corners
- The Render Failure Map
- Frequently Asked Questions
- Conclusion
Render Is a Coating, Not a Structure
Start from what render actually is. On most walls it is two or three coats of a cementitious or lime-based mix, scratched and floated onto masonry to give a flat, weather-shedding face. It is designed to shed water and take paint, not to carry a heavy stone cladding on adhesive. Full-thickness stone or even a bonded ledger panel adds real areal mass, and all of that load arrives at the weakest plane in the wall: the interface between the render and the block behind it, or between the render coats themselves. A veneer bonded to render is only as strong as that plane.
Which one of three bonds the failure shows up in decides what the repair costs. Adhesive to stone surface, stone to a render that stayed put, or the render pulling clean off the masonry with the veneer riding on top. The third is the disaster, and it is almost always preventable with a decision made before any mortar is mixed, because render that was going to let go will let go whether or not you loaded it, only the stone makes it visible and expensive. This is why the load-path thinking applied to new walls in the veneer thickness guide matters more, not less, over render.
Three Tests Before You Commit
Do not bond anything to a rendered wall until it has passed three independent tests. Passing one is not passing all three, and installers talk themselves into jobs because a wall looked flat and missed the other two.
- Sound. Tap the surface across the whole area, not one corner. A dull, solid response means the render is still bonded to the masonry; a hollow drum means it has delaminated behind the face and cannot carry anything. Mark and quantify the hollow areas before assuming they are minor.
- Condition. Look for map cracking, straight crack lines, bulging and any powder that comes off on the hand. Dusting and shedding mean the surface is chemically spent; it will not hold a bond no matter how well you fix the substrate behind it.
- Strength. Find out what the render is made of. A hard modern sand-cement render that is firmly attached can often be keyed and built on. A soft lime render, or an old sand-rich mix that crumbles when scratched, has no business carrying adhered stone even when it sounds solid.
These are the same sound-substrate questions a fresh build answers with plywood, board and lath, laid out in substrate preparation for stone veneer; over render you are asking them of a material you did not specify and cannot see behind. Where the wall is solid masonry with only a skim over it, the retrofit logic is closer to the stone veneer over brick retrofit guide, because the real substrate is the masonry and the render is in the way.
When the Render Must Come Off
There are cases where building on render is the wrong call and removal is the honest one. The clear triggers are widespread hollow drumming, active map-cracking with movement, render that scratches to powder, any evidence the render is already separating at the top edge or around fixings, and a soft lime base on an exterior elevation exposed to freeze and sun. In each, the render is going to fail on its own schedule; putting stone on it only decides who pays when it does.
Removing failed render back to sound masonry costs a day of labour and a disposal skip, and it converts a risky bonding job into a normal one: a solid brick or block face that can be keyed, water-proofed and adhered to as designed. Bonding stone to render that should have been removed, by contrast, fails later at many times the cost, and the failure takes the stone with it. The cementitious behaviour behind both calls, why an old render coat can lose strength while still looking intact, is treated by the Portland Cement Association; a supplier who promises you can glue straight over any render without testing it is selling confidence, not a method.
Rebuilding a Key Over Sound Render
When the render passes the tests, the surface still rarely gives an adhered stone a good mechanical grip. Modern floated render is close to a skim: smooth, sometimes with a sealed or painted skin that was meant for paint, not for mortar. Bonding stone straight to that relies on surface contact alone, and the joints are where it first shows. There are two legitimate ways to rebuild a key.
The first is to roughen what is there: scarify, score or hack the render to open a profile fresh mortar can be squeezed into and harden inside, and to remove any paint or sealer entirely. The second, and the safer one on a base that is sound but not strong, is to bridge the render with mechanically fixed lath so the veneer is tied to the structure and not to the coating at all. Fixing through to solid masonry and carrying the mesh continuous around corners turns a bonding job into a keying job. How that mesh, scrim and keyed scratch-coat detail behaves at seams and corners is covered in stone veneer joint preparation.
Either route is a legitimate answer to the same problem: a smooth, marginal face that must be made grabbable before anything heavy sits on it. Picking neither and relying on a polymer-modified thinset to do the work of a missing key is the shortcut that fails. Adhesive selection for a properly prepared base, once the key exists, is its own decision, worked through in stone veneer adhesive types.
Weight Decides What a Render Wall Can Take
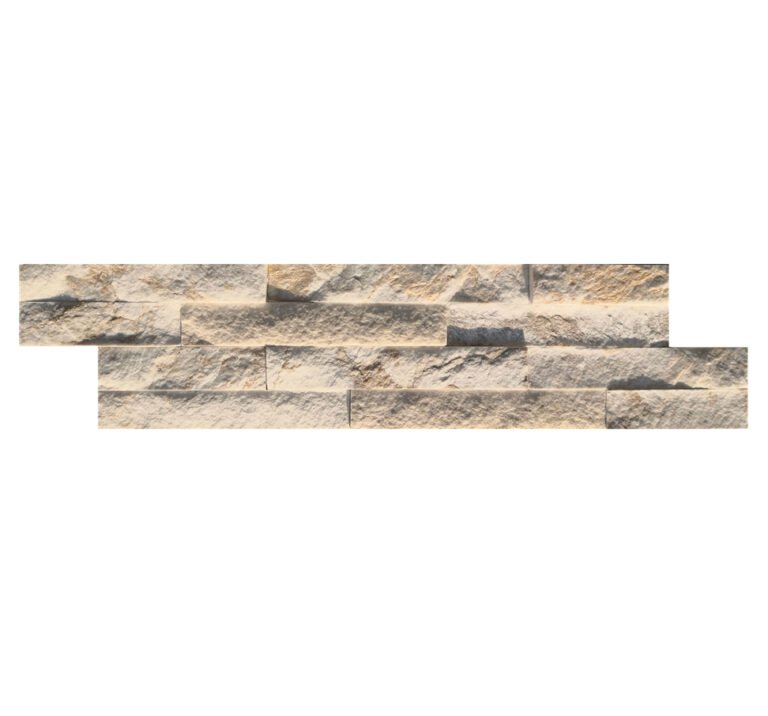
Even a sound render is weaker than the block behind it, so the lighter the stone, the more headroom the base has. This is where format stops being a look decision and becomes a structural one. Full-thickness stone on render is asking a coating to carry mass it was never designed for; thin adhered stone puts a fraction of that on the same wall. Bonded ledger panels arrive in 15×60 cm and 15×55 cm with either an adhesive or a mesh back, and the ultra-thin mini ledgestone line at 36×10 cm is engineered to cut areal mass precisely so a marginal or freight-constrained situation does not carry more than it should.
Reducing mass does not reduce the requirement to test and key the render; it reduces the consequence of a base that is merely adequate rather than excellent. Where the render is sound but you would not want to bet against a heavier build, thin and ultra-thin formats buy safety margin. The lighter formats also ease the retrofit logic at openings and returns, and the thin-veneer-versus-full-thickness comparison in thin veneer versus full-thickness stone is the underlying reason a render job is usually a thin-veneer job. Sourcing genuinely thin stone rather than thick-cut-and-hyped comes through the real thin stone veneer sourcing guide.
Waterproofing You Cannot Assume
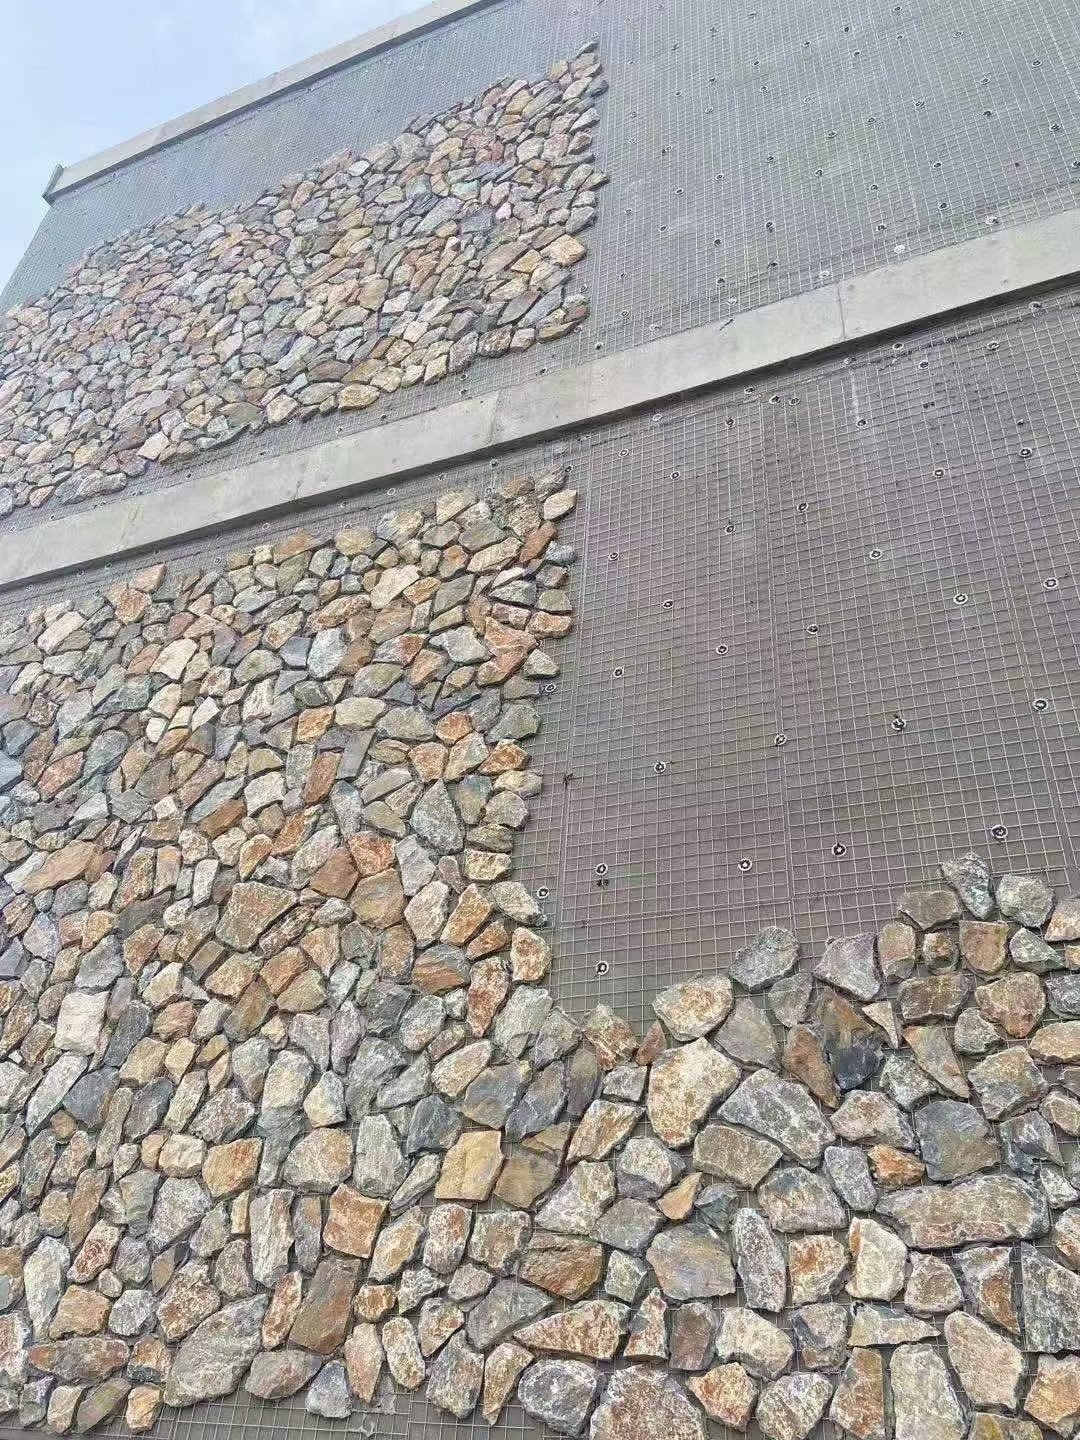
A new veneer wall is built over a designed drainage and water-resistive layer. Old render almost never has one behind it; the render itself was the weather barrier. The moment you put an adhered stone face over render on an exterior wall, you create a fresh rain-screen assembly that will trap water against a substrate that was relying on being able to dry outward. So the water-control layer is rebuilt, not assumed, and kept continuous around every opening and corner rather than patched field-to-field.
On an exterior render job this is not optional, because trapping moisture against render is how you get freeze damage, salt transport and the efflorescence that blooms white through the joints later. The dedicated sequence for putting a drainage plane behind adhered stone is in waterproofing behind exterior stone veneer, and how joints are sealed to shed water once the wall is up is in weatherproofing stone veneer joints. If the render wall is interior, this whole layer drops away and only the key and the bond matter, which simplifies the job considerably. Efflorescence risk on any cementitious build-up, and what it signals, is covered in efflorescence on stone veneer.
Bonding to the Prepared Render
With the render proven, keyed or lathed, and the water layer rebuilt where it belongs, the bonding step is the familiar one. Mortar or adhesive is applied to the prepared face and to the back of each stone so the two meet in full contact rather than in spots, and the panel is twisted and pressed to squeeze the bed to thickness and push air out. This is exactly the technique set out in how to apply mortar to stone veneer panels; over render the difference is that the surface it goes onto had to be engineered to receive it first.
Two render-specific cautions apply. Old render can suck water out of fresh mortar faster than a new base, because a porous or dusty coating pulls moisture from the bed; wetting the prepared face or using a bond that holds its open time manages it. And a very smooth sealed render, even scored, may want a bonding agent compatible with the adhesive system chosen for the job, which is where the adhesive-types guide and the accepted installation methods maintained by the Tile Council of North America set the boundary of what is a defensible detail versus an assumption.
Openings, Returns and Corners
Render walls are full of the transitions where veneer goes wrong: window heads and sills, the reveal where a rendered wall meets a frame, corner returns, and the base of the elevation where render meets ground or a plinth. These are where a coating is thinnest and most likely to be already failing, and where a drainage layer has to be detailed around, not just behind. Getting the veneer to meet openings cleanly without trapping water is a detailing task in its own right, covered in installing stone veneer around windows and doors.
At outside corners, the honest choice on a render base is a factory corner rather than a field miter, because the highest-stress line on the wall should not be a 45-degree cut through the thinnest render. Pre-made L-corner sets remove that cut, save roughly 20 percent material waste and more than 50 percent corner labour, and carry the key around the turn instead of butting it at the apex, as detailed in the L-corner pieces guide.
The Render Failure Map
Most failures over render are decided in the first two hours, not the last. The table maps each symptom to the cause on this specific substrate and to the step that should have caught it.
| Symptom on the finished wall | Actual cause on render | Step that should have caught it |
|---|---|---|
| A panel or a patch lets go with render still on the back | Render was delaminated from masonry (hollow) but was bonded to anyway | The sound/tap test before committing |
| Veneer debonds as a clean sheet from a smooth face | Paint, sealer or skim left in place; no mechanical key rebuilt | Scarifying or adding lath over sound render |
| Cracks telegraph through from behind the stone | Render was already map-cracked or moving and was treated as stable | The condition test; removal where movement is active |
| Powder and hollows at the joint line weeks later | Porous old render drew water out of the mortar bed | Wetting the face / managing open time on bonding |
| Freeze damage or efflorescence after first winter | Water trapped against render with no rebuilt drainage layer | Rebuild and detail waterproofing on exterior work |
Frequently Asked Questions
Can you put stone veneer over render or plaster?
Yes, but only where the render is firmly bonded, crack-free and strong enough to carry the stone. Sound render can be keyed or overlaid with lath; hollow, cracked or soft render must be removed back to solid masonry first.
How do you tell if render is too weak for veneer?
Tap for hollow drumming, look for cracks and dusting, and check what the render is made of. A soft lime or crumbly sand-rich render that sheds powder will not hold adhered stone, however the surface looks.
Do I need lath over existing render?
Not always. A sound, rough render can take a key directly. A smooth or marginal render is safer with mechanically fixed lath bridging the stone to the structure, not to the render alone.
Does stone veneer over render need waterproofing?
On an exterior wall, yes. Old render rarely carries a modern drainage layer behind the skin, so the water-control plane is rebuilt and kept continuous at heads, sills and corners before stone goes on.
What stone is lightest for a render wall?
Thin and ultra-thin formats. A 36×10 cm mini ledgestone or a thin bonded ledger puts far less areal mass on the wall than full-thickness stone, which is the deciding factor on a sound-but-not-strong base.
Conclusion
Stone veneer over render or plaster is a legitimate build, but the substrate has to be interrogated before it is covered. Prove the render is sound, in good condition and strong enough, or take it back to masonry; rebuild a mechanical key by roughening or by lath over what stays; put a continuous drainage layer back where exterior work needs it; and choose thin or ultra-thin formats so the coating is not asked to carry mass a solid wall would shrug off. Do those five things and a rendered wall is just another substrate. Skip the honesty test and you have built tomorrow’s expensive failure behind a very nice-looking facade.
- Test render for sound, condition and strength together, not by eye.
- Remove failed or soft render to masonry rather than bonding to a coating that will let go.
- Rebuild a key over smooth render by scarifying or adding mechanically fixed lath.
- Rebuild exterior waterproofing and keep it continuous at openings and corners.
- Use thin or 36×10 cm ultra-thin stone to cut areal mass on a sound-but-marginal base.
- Take corners as factory L-units instead of a 45-degree miter through the thinnest render.
Specifying a veneer retrofit over an existing rendered or stucco facade and unsure whether the base will carry it? Send the wall details and photos to the Top Stone Panels team and we will match a thin format and a dieline guide that respects what your render can actually hold.